Advertisement
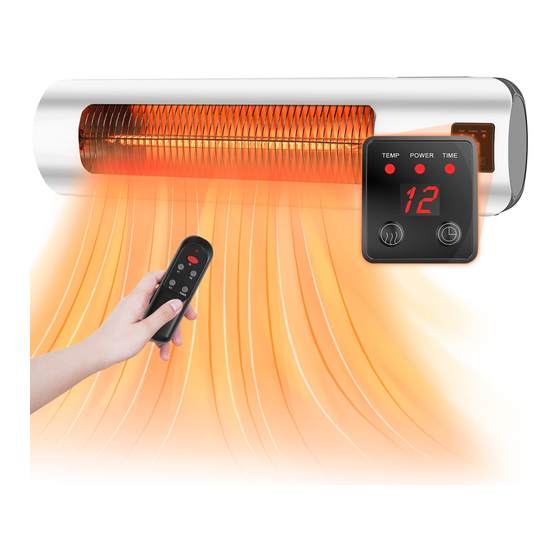
PATIO HEATER
MODEL:WPH-15R
Thank you for purchasing your new heater.
These operating instructions will help you use it properly and safely.
We recommend that you spend some time reading this instruction manual in order that
you fully understand all the operational features it offers.
Read all the safety instructions carefully before use and keep this instruction manual for
future reference
Facebook: #SundayLiving
Message: #SundayLiving
Email: service@sundaylivinginc.com
Advertisement
Table of Contents

Related Manuals for Sunday Living WPH-15R

Summary of Contents for Sunday Living WPH-15R
- Page 1 PATIO HEATER MODEL:WPH-15R Thank you for purchasing your new heater. These operating instructions will help you use it properly and safely. We recommend that you spend some time reading this instruction manual in order that you fully understand all the operational features it offers.
- Page 2 INTRODUCTION Please take a few minutes to read this manual carefully. Proper maintenance and operation of this machine can provide better service. CAUTION: Before fitting or removing the appliance, ensure that the heater's power line supplying the heater is disconnected. Check that the power line is connected to a 30mA differential circuit breaker.
- Page 3 GROUNDING INSTRUCTIONS This heater is for use on 120 volts. The cord has a plug as shown at A . An adapter as shown at C is available for connecting three-blade grounding-type plugs to two-slot receptacles. The green grounding lug extending from the adapter must be connected to a permanent ground such as a properly grounded outlet box.
- Page 4 provided that it has been placed or installed in its intended normal operating position and they have been given supervision or instruction concerning use of the appliance in a safe way and understand the hazards involved. Children aged from 3 years and less than 8 years shall not plug in, regulate and clean the appliance or perform user maintenance.
- Page 5 INSTALLTION DIAGRAM Email: service@sundaylivinginc.com Facebook: #SundayLiving...
- Page 6 Step 1 Punch three holes on the wall with a diameter of 6mm and a depth of 40mm. Mark the holes on the wall according to the holes on the wall bracket. Step 2 Knock three 6*30 expansion screws into the punched holes. Step 3 Insert the product into the wall bracket, and the wall bracket on the back of the product is aligned with the wall bracket.
- Page 7 Step 4 Insert the blot and fix it with the nut. Tighten the nut by wrench. Step 5 Fix the wall bracket behind the product to the wall with three 4*30mm self-tapping screws. Email: service@sundaylivinginc.com Facebook: #SundayLiving...
- Page 8 OPERATION The control panel is shown below: TIMER POWER/MODE -Position : switch on/off -Position : 500W (press once) -Position 1000W (press once) -Position 1500W (press once) Remarks: above all the steps can be recycled The appliance is switched on by remote control. NOTE: Please feel free to contact Service Team for help if the remote control is missing or damaged.
Need help?
Do you have a question about the WPH-15R and is the answer not in the manual?
Questions and answers