Table of Contents
Advertisement
Quick Links
Advertisement
Table of Contents

Subscribe to Our Youtube Channel
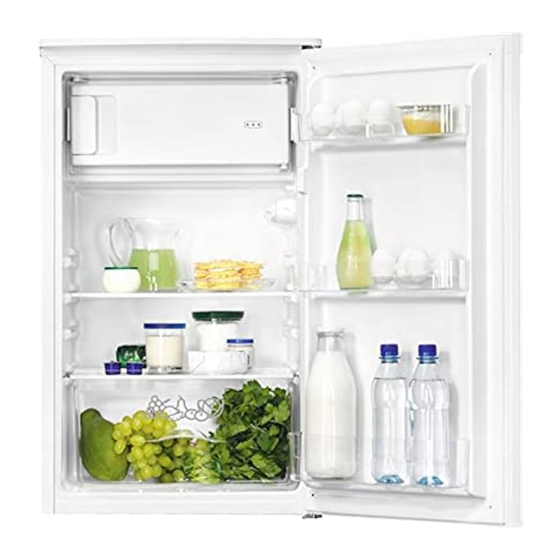
Summary of Contents for Zanussi ZXAN9FW0
- Page 1 User Manual GETTING STARTED? EASY. ZXAN9FW0 EN User Manual Refrigerator...
-
Page 2: Safety Information
VISIT OUR WEBSITE TO: Get usage advice, brochures, trouble shooter, service and repair information: www.zanussi.com/support SAFETY INFORMATION Before the installation and use of the appliance, carefully read the supplied instructions. The manufacturer is not responsible for any injuries or damage that are the result of incorrect installation or usage. - Page 3 This appliance may be used in, offices, hotel guest rooms, bed • & breakfast guest rooms, farm guest houses and other similar accommodation where such use does not exceed (average) domestic usage levels. To avoid contamination of food respect the following •...
-
Page 4: Safety Instructions
SAFETY INSTRUCTIONS INSTALLATION • The mains cable must stay below the level of the mains plug. WARNING! Only a qualified person • Connect the mains plug to the mains socket must install this appliance. only at the end of the installation. Make sure that there is access to the mains plug after the •... -
Page 5: Installation
• Concerning the lamp(s) inside this product and • The following spare parts will be available for 7 spare part lamps sold separately: These lamps years after the model has been discontinued: are intended to withstand extreme physical thermostats, temperature sensors, printed conditions in household appliances, such as circuit boards, light sources, door handles, door temperature, vibration, humidity, or are intended... - Page 6 DIMENSIONS necessary to allow door opening to the minimum angle permitting removal of all internal equipment Overall dimensions ¹ LOCATION This appliance is not intended to be used as a built- in appliance. In case of different installation from freestanding respecting space required in use dimensions, the appliance will function correctly but energy consumption might increase slightly.
-
Page 7: Door Reversibility
2. Open the door and remove the door CAUTION! If you install the appliance equipment. Refer to the "Daily Use" chapter. next to a wall, refer to the installation Close the door. instructions to understand the 3. Unscrew the screws on the back of the top minimum distance between the wall cover. -
Page 8: Reversing The Freezer Compartment Door
place. 11. Set the door into its new place, making sure the pin enters the bushing at the lower frame section. 12. Secure the upper hinge. Make sure the pin 2. Open a freezer compartment door slightly. Pull enters the bushing at the upper frame section. down the freezer compartment door and the 13. -
Page 9: Operation
bearing. is no gap between it and cavity, then fix the screw. 5. Fit the freezer compartment door and close them. 7. Take out hole covers from a bag and put them 6. Fix the installation button to the door lower in the holes left after the door hinge. -
Page 10: Movable Shelves
3. Lift the left side of the shelf and remove it. STORAGE OF FROZEN FOOD To put the shelf back in: When activating an appliance for the first time or 1. Place the shelf flat on the door. after a period out of use, before putting the 2. -
Page 11: Hints For Storage Of Frozen Food
• Do not open the door frequently or leave it open • Leave enough space around the food to allow longer than necessary. air to circulate freely. • Freezer: The colder the temperature setting, the • For adequate storage refer to food packaging higher the energy consumption. -
Page 12: Care And Cleaning
Type of food Shelf life (months) Poultry 9 - 12 Beef 6 - 12 Pork 4 - 6 Lamb 6 - 9 Sausage 1 - 2 1 - 2 Leftovers with meat 2 - 3 HINTS FOR FRESH FOOD REFRIGERATION HINTS FOR FOOD REFRIGERATION •... -
Page 13: Periods Of Non-Operation
DEFROSTING OF THE FREEZER 3. Remove the ice tray. 4. Leave the door open. Protect the floor from the CAUTION! Never use sharp metal defrosting water e.g. with a cloth or a flat tools to scrape off frost from the vessel. - Page 14 Problem Possible cause Solution The compressor operates con- Temperature is set incorrectly. Refer to "Operation" chapter. tinually. Many food products were put Wait a few hours and then in at the same time. check the temperature again. The room temperature is too Refer to "Installation"...
-
Page 15: Replacing The Lamp
Problem Possible cause Solution Stored food was not wrapped. Wrap food in suitable packag- ing before storing it in the ap- pliance. Water flows inside the refriger- Food products prevent the wa- Make sure that food products ator. ter from flowing into the water do not touch the rear plate. -
Page 16: Technical Data
NOISES SSSRRR! BRRR! CLICK! HISSS! BLUBB! TECHNICAL DATA The technical information is situated in the rating It is also possible to find the same information in plate on the internal side of the appliance and on EPREL using the link https://eprel.ec.europa.eu the energy label. -
Page 17: Environmental Concerns
ENVIRONMENTAL CONCERNS with the symbol with the household waste. Recycle materials with the symbol . Put the Return the product to your local recycling facility or packaging in relevant containers to recycle it. Help contact your municipal office. protect the environment and human health by recycling waste of electrical and electronic appliances. - Page 20 WWW.ZANUSSI.COM/SHOP...


Need help?
Do you have a question about the ZXAN9FW0 and is the answer not in the manual?
Questions and answers