Table of Contents
Advertisement
Quick Links
Instruction manual
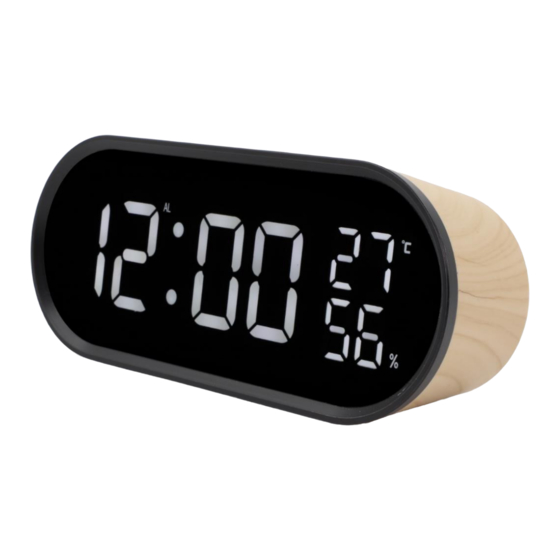
Clock Radio Wood
Keycode: 43056002
Safety instructions:
Please read all safety instruction warnings carefully before using this product. Improper use of this product may result in
damage to this products. To ensure the production works well, please never use this in the following conditions:
1. Moist or underwater conditions.
2. Near heater or high temperature service.
3. direct and strong sunshine.
4. Do not use chemical solvent on cleaning this product.
Packing contents:
Clock radio x 1
5V 1A adapter x 1
DC cable x 1
User manual x 1
Charging the clock.
A. Insert 3 x AAA batteries into the battery compartment inside the back of the clock, ensure the polarity of
the batteries match the polarity inside the battery compartment.
B. Plug in DC cable (included) with a DC 5V 1A USB adapter (included).
NOTE: Once power off, all setting will back to default data.
Advertisement
Table of Contents

Related Manuals for anko 43056002


Summary of Contents for anko 43056002
- Page 1 Instruction manual Clock Radio Wood Keycode: 43056002 Safety instructions: Please read all safety instruction warnings carefully before using this product. Improper use of this product may result in damage to this products. To ensure the production works well, please never use this in the following conditions: 1.
- Page 2 Product Overview: TIME SETTING: Long press for 2 seconds to enter into time setting mode. The setting article will flash, press UP Button or DOWN Button to set, Once confirmed, press . The setting sequence: 12/24H -> Hour -> Minute -> °C/°F selectable ->...
- Page 3 SNOOZE Function: When the alarm ringing, press , the alarm will stop and ring again every 5 minutes (default), press any other button (except ) to stop the alarm. LIGHT SENSOR Function: 1. Long press UP Button for 2 seconds to turn on/off light sensor function, ON/OFF will display on LED screen. If the sensor mode is selection not working, please refer to the “Night mode”...
- Page 4 12 Month Warranty Thank you for your purchase from Kmart. Kmart Australia Ltd warrants your new product to be free from defects in materials and workmanship for the period stated above, from the date of purchase, provided that the product is used in accordance with accompanying recommendations or instructions where provided.
Need help?
Do you have a question about the 43056002 and is the answer not in the manual?
Questions and answers
đồng hồ của tôi tắt dột ngột trong khi đó nó vẫn còn nhiều điện và mới mua
The anko 43056002 clock may turn off its LED display suddenly even with new batteries because, when using only AAA batteries, the LED display automatically turns off after 10 seconds to save power. This is a normal function. To keep the LED display always on, the DC cable must be connected with the adapter.
This answer is automatically generated