Advertisement
Advertisement

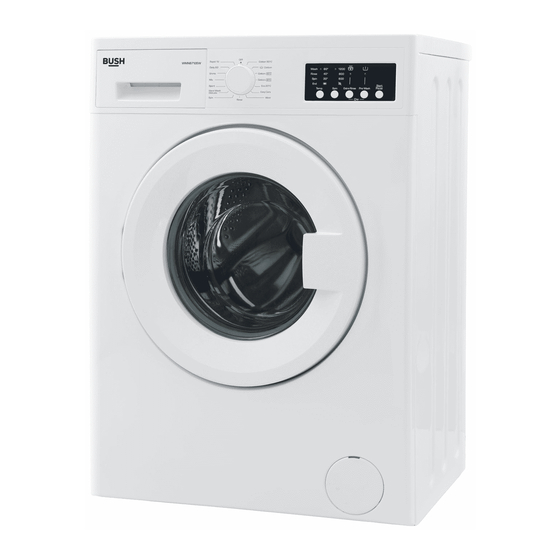
Summary of Contents for Bush WMNB Series
-
Page 2: Table Of Contents
Customer service manual BUSH WMNB Series Washing Machine 7,8,9,10 Kg Contents Precautions Page 2 Tub Bellow Seal Page 4 Detergent Drawer Page 11 Door Lock Page 12 Drain Pump Page 14 Heater Page 20 Door Hinge Handle Page 26 Additional Support... -
Page 4: Tub Bellow Seal
Applicable models REPLACEMENT PROCEDURE General Part name Tub Bellow Seal 1. Necessary Tools Pliers Flat head thin screwdriver Cordless screwdriver or classic screwdriver with torx bits (T20) 2. Disconnection Remove the plug 2.1. 2.2. Turn off the tap and disconnect the hose from the valve... - Page 5 Applicable models REPLACEMENT PROCEDURE General Part name Tub Bellow Seal Turn off the tap and disconnect the hose from the valve 2.3. Disassembly Instructions 3.1. Turn off the tap and disconnect the hose from 3.2. Push the top-plate back and pull it up. the valve 3.3.
- Page 6 Applicable models REPLACEMENT PROCEDURE General Part name Tub Bellow Seal 3.6 Remove the screw on support bracket and two 3.5 Remove two screws fixing control panel. screws fixing front panel to body 3.7 Remove the screw fixing twinjet elbow. 3.8 Remove the screws fixing the door lock. 3.9 Remove the screw and plastic part located under the pump cover 3.10 Remove the screw fixing the front panel at 3.11 Remove the wire by using small screwdriver...
- Page 7 Applicable models REPLACEMENT PROCEDURE General Part name Tub Bellow Seal 3.13 Remove twinjet hoses from tub bellow seal 3.12 Pull up and remove the front panel. pulling them up. 3.14 Remove the tub gasket clip by using small screwdriver. 3.15 Hold the gasket bellows and the gasket body pull out in and out at the same time. Assembly Instructions 4.1.
- Page 8 Applicable models REPLACEMENT PROCEDURE General Part name Tub Bellow Seal 4.4. Assemble the twinjet nozes and tighten the 4.3. Pull the tub gasket clip to the up by hand and fit it clips 4.5. Put the front panel to the cabinet and push down to 4.6.
- Page 9 Applicable models REPLACEMENT PROCEDURE General Part name Tub Bellow Seal 4.9. Fit the screw and plastic part located under the pump cover 4.11. Tighten the screw on support bracket and two 4.10. Assemble the twinjet elbow to the front panel screws fixing front panel to body 4.13.
- Page 10 Applicable models REPLACEMENT PROCEDURE General Part name Tub Bellow Seal Tighten two screws that fix the top-plate at the back. 4.16.
-
Page 12: Door Lock
Applicable models REPLACEMENT PROCEDURE General Part name Door Lock 1. Necessary Tools A) Flat head thin screwdriver B) Torx T20 C) Cordless screwdriver or classic screwdriver to use torx head (T20) 2. Disconnection Remove the plug Disassembly Instructions 3.1. Remove the screws fixing the door lock. 3.2. - Page 13 Applicable models REPLACEMENT PROCEDURE General Part name Door Lock 3.3. Remove the right side of the tub bellows seal and reach to door lock 4. Assembly Instructions 4.1. 4.2. Unplug the connector and remove the door lock. While supporting the door lock by hand, Connect the new door lock to connector tighten the screws fixing the door lock.
-
Page 20: Heater
Applicable models REPLACEMENT PROCEDURE General Part name HEATER... - Page 32 3.6 If the hinge on your product is the same as the photo above, you must change it as a group since it is not possible to remove the pin. DOOR HANDLE ASSEMBLY (Please follow the instructions suitable for your models) Assembly Instructions for the handle form inside 3.8 Fit the pin to the house and as shown in the photo above.
-
Page 35: Additional Support
Applicable models ADDITIONAL SUPPORT General The following parts are available for the customer to undertake repairs at their own risk. Please carefully follow the guidance given in this manual including all safety measures. • Door • Door hinge and seals •...


Need help?
Do you have a question about the WMNB Series and is the answer not in the manual?
Questions and answers
My machine is not working