
Subscribe to Our Youtube Channel
Related Manuals for CTC Union GIERSCH RG1-L-Na

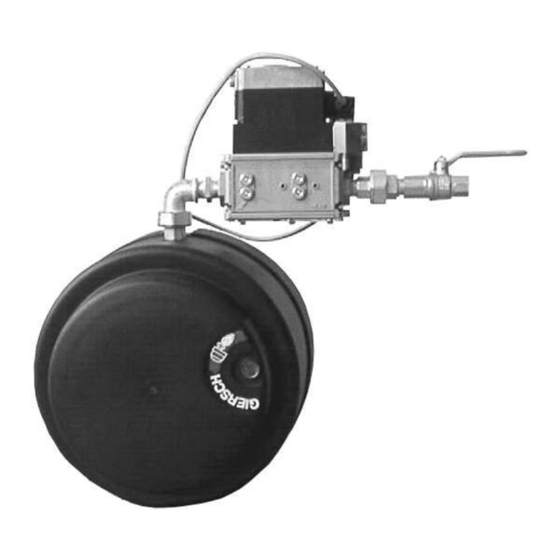
Summary of Contents for CTC Union GIERSCH RG1-L-Na
- Page 1 Technical Information • Installation Instructions Edition August 2019 Right reserved to effect techn. modifica- tions in the interest of product improvement.
-
Page 2: Table Of Contents
Contents Overview ......................3 General information / safety information ..................3 Checking scope of delivery and connection data............... 3 Operating instructions ........................ 4 Instruction of operating personnel....................4 Maintenance and customer service ................... 4 Key for code designation ......................4 Technical specifications ...................... -
Page 3: Overview
Overview Overview General information / safety information The installation of a gas-fired system must conform to extensive regulations and requirements. It is there- fore the duty of the installer to be familiar with all applicable regulations and requirements. Installation, start- up and maintenance must be performed with utmost care. -
Page 4: Maintenance And Customer Service
Overview Maintenance and customer service The complete system should be checked once a year for correct functioning and leaks by a representative of the manufacturer or other suitably qualified person. We accept no liability for consequential damage in cases of incorrect installation or repair, the fitting of non- genuine parts or where the equipment has been used for purposes for which it was not intended. -
Page 5: Installation
Installation Installation Installing flange and burner When installing the sliding flange, only tighten screws 1 and 2 otherwise it will not be possible to secure the burner pipe with screw 3. Slide in the burner, adjust to furnace depth and tighten the screws in the following sequence: 3, 4, 5, raising the housing in the process. -
Page 6: Establishing Electrical Connections
Installation Establishing electrical connections • Disconnect system from power supply. Main switch "OFF". • Check polarity of all connectors. • Wire connector unit in accordance with connection diagram. Lay flexible control line so that boiler door can still be swivelled. •... -
Page 7: Function
Function Function Control unit LME Testing the control unit for proper functioning Danger of fatal injury from electric shocks! Disconnect electrical cable from power supply before carrying out any work on live parts! Troubleshooting may only be carried out by authorised and trained per- sonnel! Unlocking may only be carried out by an autho- rised specialist. - Page 8 Function Operational status indication Color code table for multicolor signal lamp (LED) Status Colore code Color Waiting time «tw», other waiting states ......... Oil preheater on Yellow ......... Ignition phase, ignition controlled Flashing yellow Operation, flame o.k. Green ......... Operation, flame not o.k. Flashing green Extraneous light on burner startup Green-red...
- Page 9 Function Diagnostics of the cause of fault After lockout, the red signal lamp will remain steady on. In that condition, visual diagnostics of the cause of fault according to the error code table can be activated by pressing the lockout reset button for more than 3 seconds.
-
Page 10: Air Flow Setting, Measurement "A
Function Air flow setting, measurement "A" 1. Distance "A" 2. Locknut for air-restrictor setting Turn screw (3) clockwise: Air - Turn screw (3) anticlockwise: Air + Air flap positioning motor (-L type) Cooling of furnace avoided during burner standstill. SA2-F: Position "OPEN"... -
Page 11: Compact Gas Unit
Function Compact gas unit The compact gas units for GIERSCH gas burners are preassembled and checked for leaks. Version KE 15: 1-stage precision pressure regulator with high control quality and adjustable starting gas pressure. Version KE 10: 1-stage precision pressure controller with high control quality and adjustable start gas pressure. -
Page 12: Start-Up
Start-up Start-up The values given in the tables are only setting values for start-up. The system settings required in each case must be redefined if values such as boiler output, calorific value and altitude deviate. A correction is required in any case. Adjustment tables: RG1-Na Burner output... -
Page 13: Adjusting Gas Burner And Boiler
Start-up RG1-Nb Burner output Boiler output Gas type = 9.3 [kWh/m Air flow Natural gas LL: H at η = 92% measurement "A" Gas nozzle pressure Gas flow [kW] [kW] [mbar] [mm] 25.0 10 - 11 33.7 11 - 12 39.1 12 - 13 44.6... - Page 14 Start-up Single-stage gas burner with compact units: Installation of compact unit Installation position, vertical line: as desired Installation position, horizontal line: tilted up to max. 90° to left or right, not over head Minimum distance to walling: 20 mm Gas supply pressure measuring point A (P inlet KE 10 Gas nozzle pressure measuring point B (P...
-
Page 15: Calculation Principle For Gas Burner Adjustment
Start-up Precision adjustment on KE 15: • At measuring point B measure gas nozzle pressure. Gas nozzle pressure ≤ 5mbar: • Start burner; if there is no flame formation, check adjustment. • After approx. 10 sec. correct starting gas pressure ps according to adjustment table. Gas nozzle pressure >... - Page 16 Start-up Gas flow in operating state (V ------ - ----- - ---------------- - ------ - 0 94 Conversion factor (f) × -------------- ------------------- - 273 ϑ 1013 Annual average air pressure Mean geodesic height of from supplied region ASL [m] Annual average of (mbar) 1016 1013 1007 1001 995 air pressure...
-
Page 17: Design
Design Design Exploded view and parts list Seq. No. Designation Order No. Flow plate with combination electrode for -N 34-90-10165 Flow plate with combination electrode for -F 34-390-10166 Combination electrode 37-50-20644 Replacement set Ionisation cable and Ignition cable 47-90-28005 Connector unit, 7-pin, green 37-50-11015 Socket unit 7-pin black-brown 37-50-20731... -
Page 18: Service Instructions/Dimensions
Service instructions/dimensions Service instructions/dimensions Measuring ionisation current The ionisation current must be measured during burn- er start-up and maintenance or after a fault indication in the control box. Measurement of ionisation current shortly after burner start during: • Maintenance • Start-up •... -
Page 19: Declaration Of Conformity
Service instructions/dimensions Declaration of conformity Declaration of Conformity for Gas Burners We, Enertech GmbH, Adjutantenkamp 18 in D-58675 Hemer declare under our responsibility that gas burner type RG... is conform with the regulations of these directives MD2006/42/EG EMC2014/30/EU GAD 2016/426/EU LVD2014/35/EU RoHS 2011/65/EU DIN EN 676... -
Page 20: Burner Overall Dimensions / Boiler Connection Dimensions
Burner overall dimensions / boiler connection dimensions All dimensions in mm 90° KE 10 340 ± 10 KE 15 min.155 Pipe outside dia. d 88 mm min. 290 Hole circle dia. k 150 mm Outside dia. f 170 mm Working ranges R G1 -Na R G1 -Fa R G1 - Fb/Nb...
Need help?
Do you have a question about the GIERSCH RG1-L-Na and is the answer not in the manual?
Questions and answers