Table of Contents
Advertisement
Advertisement
Table of Contents

Related Manuals for Theralux Therachlor

Summary of Contents for Theralux Therachlor
- Page 1 Therachlor pH Wireless Pump pH Wireless Ver.21-7...
- Page 2 WARNING Before carrying out any installation or maintenance of the pH Wireless pump, discon- nect it from the mains power supply. This appliance is not intended for use by people (including children) that lack experi- ence and knowledge, unless they have been given supervision or instruction con- cerning the use of the appliance by a responsible person.
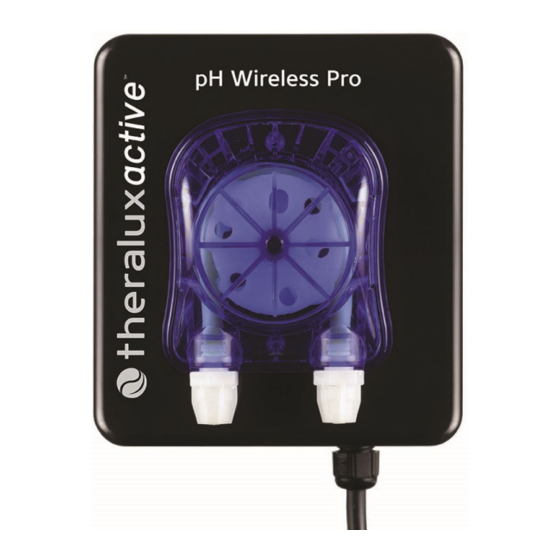
- Page 3 DESCRIPTION The pH wireless pump works together with your SMC chlorinator to correct the pH level of your pool by injecting corrective acid solution into the circuit. The chlorinator monitors the pH continuously by means of its pH sensor and sends a dosing signal to the wireless pump which will, in turn, inject acid into the pool when needed.
- Page 4 MECHANICAL AND HYDRAULIC INSTALLATION During installation ensure that the mains cable is disconnected from the power supply. Acids are very corrosive and can harm your eyes, skin and airways. When working with pH correctors necessary caution and preventive measures should be taken.
- Page 5 MECHANICAL AND HYDRAULIC INSTALLATION Installation of the probe. 1. Probe 2. Probe Tightener 3. O Ring 4. Push Nut 5. Flat Gasket 6. Probe Housing Acid injection. Acid injection must be installed at the last point of return to pool. Must be installed horizontal to the feed tube so it cannot be blocked.
- Page 6 pH Wireless Ver.21-7...
- Page 7 INSTALLATION NOTES pH Wireless Ver.21-7...
- Page 8 ELECTRICAL INSTALATION Power supply Connect the 230 VAC power supply cable plug into a mains power point provided with a protective earthing conductor (PE) OPERATING Priming Once all different elements have been installed, push the priming button [3] to make the peristaltic pump turn until the acid in the tube has reached the injection point.
- Page 9 OPERATION, CONFIGURATION AND CALIBRATION The settings related to pH are located in MENU 6 “pH config.” To access it, press the MENU key from the main screen and scroll with the help of the arrows to menu 6. MAIN MENU 6 pH config.
- Page 10 You can set both points and choose the percentage of dosage for each of them. To do it, place the cursor with the MENU key under the parameter you want to modify and USE arrows to change the value. Press OK to save the data and exit the sub- menu.
- Page 11 Insert the probe in the 4 pH buffer calibration, remove it slightly with the probe and wait for a stable reading value to be reached. Once the reading value has stabilized press OK key to save calibration and exit. Then, remove probe from the pH4 buffer solution, rinse its bottom with clean water and shake gently to remove an excess of water.
- Page 12 5. Radio chanel pH Configuration pH 7.40 reg 20% 6 Radio channel TX 30 canal 07 This function allows you to check transmission status and change the transmission channel. pH 7.40 pH reading value Reg 20% Calculated dosage regulation TX30 Command sent to the pump.
- Page 13 3 Year Warranty on New Domestic Installations Theralux warrants all its products used in new domestic installations to be free from defects in material and/or workmanship for a period of 3 years from the original date of purchase or installation.
- Page 14 12 Gatwood Close, Padstow, Sydney, NSW, 2211 sales@interquad.com.au h ps://www.theralux.com.au/ 1300 131 788 © Copyright pH Wireless Manual Ver.21-7-Theralux pH Wireless Ver.21-7...
Need help?
Do you have a question about the Therachlor and is the answer not in the manual?
Questions and answers