Table of Contents
Advertisement
Quick Links
Advertisement
Table of Contents

Subscribe to Our Youtube Channel
Related Manuals for scigiene Mycotox CUSFY-1


Summary of Contents for scigiene Mycotox CUSFY-1
- Page 1 Operation Manual for Mycotoxin LFD Incubator CUSFY-1...
-
Page 2: Table Of Contents
Contents 1 Introduction……………………………………………………………………………………………..3 1.1 Components…………………………………………………………………………………..….3 1.2 Primary Structure………………………………………………………………………...4 1.3 Installation…………………………………………………………………………………..5 2 Technical Parameter…………………………………………………………………………….…6 3 Safety Warning…………………………………………………………………………………………6 4.Operation Procedure...................7 4.1 Set up a new Procedure…………………………………………………………………….…7 4.2 Set S.N. of Procedure……………………………………………………………………………7 4.3 Set Temperature……………………………………………………………………………..……7 4.4 Set Time………………………………………………………………………………………….….7 4.5 Set Time Unit……………………………………………………………………………………...8 4.6 Procedure On/Off……………………………………………………………………………..8 4.7 Other Functions..……………………………………………………………………………9 5 Maintenance………………………………………………………………………………………….….10 6 Troubleshooting……………………………………………………………………………………..10... -
Page 3: Introduction
Thanks for purchasing Scigiene’s Mycotoxin LFD Incubator. This manual includes device function and operation procedure. Please read the manual before operation. Please check device components once you receive goods and contact us immediately if you found any parts mismatched, missing or damaged. -
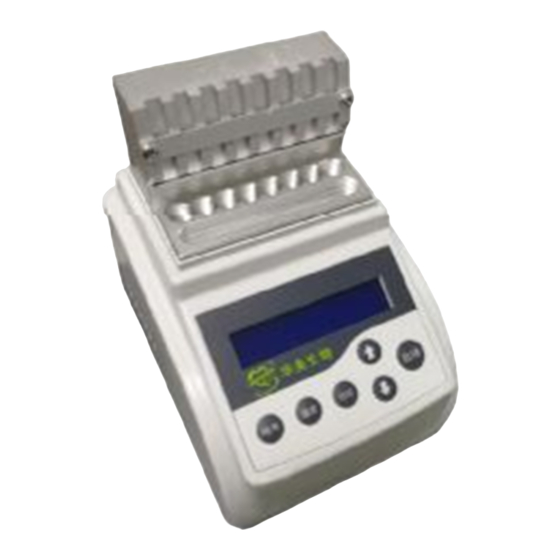
Page 4: Primary Structure
1.2 Primary Structure Metal Module Display Operation Panel Power Switch Power Input Socket... -
Page 5: Installation
1.3 Installation 1.3.1 Put it on horizontal working table. 1.3.2 Insert cylindrical socket of power adapter into power input socket, then connect the other end of power adapter with power grid between 100V and 240V. Check below chart. 1.3.3 Power switch on and then it will reach to setting temperature. Basically, it takes five minutes. 1.3.4 Put test tube onto metal module after reaching setting temperature. -
Page 6: Technical Parameter
2 Technical Parameter Model CUSFY-1 Power Supply DC24V MAX Power Average Power Consumption Temperature Range RT+5 ℃ ~ 100℃ 1sec~999sec Timing Range 1min ~ 999min 1hour~99hour Temperature Precision ≤± 0.3℃ Display Accuracy 0.1℃ Heating up Time ≤20min (from 40 ℃ to 100℃) Environment Temperature 5℃... -
Page 7: Operation Procedure
The device is supposed to put the place where contains low humidity, little dust, well-ventilated, avoiding water and sunshine or strong direct light or corrosive gas or high intensity magnetic field or heating or fire or other heat source. Power Switch. Press “ I ” , power on. Press“ O ” , power off. Power Input is DC24V, center of socket is “+”, outer ring is “-”. -
Page 8: Set Time Unit
P2-A 55.5 032 H 4.5 Set Time Unit: P2-A 55.5 032 M Cursor will point time unit by quickly pressing Timer key, then you can change time unit in second, minute or hour by ▲ or ▼. P2-A 55.5 032 s 4.6 Procedure On/Off 4.6.1 Power on then it will increase temperature ----28.7----... -
Page 9: Other Functions
All keys will be blocked when system comes into counterdown interface. Please restart it if you need to config parameter or select procedure. It will goes into running interface in 3 seconds. Then press start/stop key over 2 seconds, you will see parameter configuration interface. At last, press start/stop key quickly to run it when you finished setting parameter. -
Page 10: Maintenance
5 Maintenance Regularly clean longhole on module with clean soft cloth that takes a little absolute alcohol. Make sure tube contact wall of taper hole sufficiently, good thermal conductivity and avoiding contamination. Use soft cloth that takes cleansing cream to clean the surface. Must turn off power before cleaning the device.
Need help?
Do you have a question about the Mycotox CUSFY-1 and is the answer not in the manual?
Questions and answers