Sign In
Upload
Download
Table of Contents
Contents
Add to my manuals
Delete from my manuals
Share
URL of this page:
HTML Link:
Bookmark this page
Add
Manual will be automatically added to "My Manuals"
Print this page
×
Bookmark added
×
Added to my manuals
Manuals
Brands
Tektronix Manuals
Test Equipment
RSA300 Series
Instruction manual
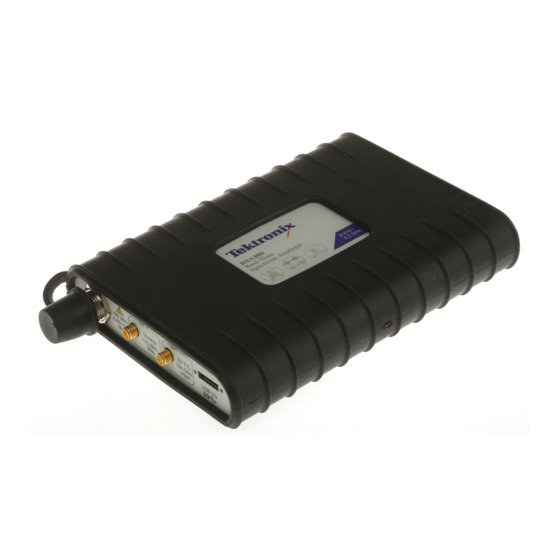
Tektronix RSA300 Series Instruction Manual
Usb spectrum analyzers
Hide thumbs
1
2
3
4
Table Of Contents
5
6
7
8
9
10
11
12
13
14
15
16
17
18
19
20
21
22
23
24
25
26
27
28
29
30
31
32
33
34
35
36
37
38
39
40
41
42
43
44
45
46
47
48
49
50
51
52
53
54
55
56
57
58
59
60
61
62
63
64
65
66
67
68
69
70
71
72
73
74
75
76
77
78
79
80
81
82
83
84
85
86
87
88
89
90
91
92
93
94
95
96
97
98
99
100
101
102
103
104
105
106
107
108
109
110
page
of
110
Go
/
110
Contents
Table of Contents
Bookmarks
Table of Contents
Table of Contents
Introduction
Demo Guide Overview
Over-The-Air Demo
EMI Spurious Search
Fundamental Operations of Spectrum Analyzers
Real-Time DPX
Modulation
Tracking Generator
Setup
Installing Signalvu-PC
Activating Signalvu-PC
Setting up the Connection
Demo 1: FM Listening (Demo Board Not Needed)
Demo 2: ISM Band DPX (Demo Board Not Needed)
Demo 3: EMI Spurious (Demo Board Not Needed)
Demo 4: Basic Spectrum Measurements with Markers
Demo 5: Power Measurements with Markers
Demo 6: Traces and Detectors
Demo 7: Save and Recall
Demo 8: DPX and Transient Capture
Demo 9: Transient Capture - Mask Test and Act on Violation
Demo 10: Analog Modulation Analysis
Demo 11: Digital Modulation Analysis
Demo 12: Transmission Gain Measurement (Tracking Generator Needed, Available on the RSA500/600 Series)
Advertisement
Quick Links
Download this manual
Tektronix RSA300, RSA500, and RSA600 Series
USB Spectrum Analyzers
Self-Guided Demo
*P071333002*
071333002
Table of
Contents
Previous
Page
Next
Page
1
2
3
4
5
Advertisement
Table of Contents
Need help?
Do you have a question about the RSA300 Series and is the answer not in the manual?
Ask a question
Questions and answers
Related Manuals for Tektronix RSA300 Series
Test Equipment Tektronix 7603 Operator's Manual
(32 pages)
Test Equipment Tektronix 7603 Instruction Manual
(226 pages)
Test Equipment Tektronix R3051 Instruction Manual
Microprocessor support (64 pages)
Test Equipment tektronix 502 series Service Manual
Sweep-time accuracy ± 3% (4 pages)
Test Equipment Tektronix 453 Instruction Manual
(247 pages)
Test Equipment Tektronix 485 Instruction Manual
Oscilloscope (192 pages)
Test Equipment Tektronix 453A Instruction Manual
(324 pages)
Test Equipment Tektronix 7844 Instruction Manual
Dual-beam oscilloscope (50 pages)
Test Equipment Tektronix 7844 Instruction Manual
Dual-beam oscilloscope with options operator (50 pages)
Test Equipment Tektronix 7613 Instruction Manual
Storage oscilloscope (27 pages)
Test Equipment Tektronix 7613 Instruction Manual
Storage oscilloscope (224 pages)
Test Equipment Tektronix 5000 Series Manual
(80 pages)
Test Equipment Tektronix 7704A Manual
P31 cathode ray tube replacement (5 pages)
Test Equipment Tektronix 502A Instruction Manual
(201 pages)
Test Equipment Tektronix 5111A Instruction Manual
Storage oscilloscope with options (141 pages)
Test Equipment Tektronix 544 Product Modification
(18 pages)
This manual is also suitable for:
Rsa500 series
Rsa600 series
Table of Contents
Print
Rename the bookmark
Delete bookmark?
Delete from my manuals?
Login
Sign In
OR
Sign in with Facebook
Sign in with Google
Upload manual
Upload from disk
Upload from URL


Need help?
Do you have a question about the RSA300 Series and is the answer not in the manual?
Questions and answers