
Related Manuals for Panasonic SB-W40P


Summary of Contents for Panasonic SB-W40P
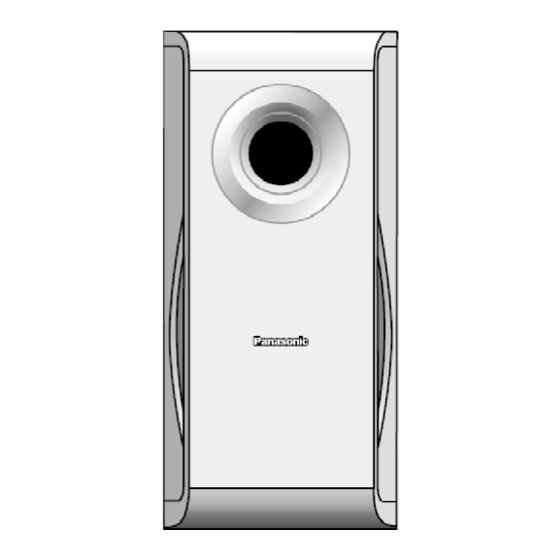
- Page 1 ORDER NO. MD0512475C7 Subwoofer System SB-W40P Colour (S)... Silver Type SPECIFICATIONS Specification PDF created with pdfFactory Pro trial version www.pdffactory.com...
- Page 2 Music Center : SA-HT40P-S System : SC-HT40P-S Front Speaker : SB-PF40P-S Surround Speaker : SB-PS40P-S Center Speaker : SB-PC40P-S Subwoofer : SB-W40P-S Music Center : SA-HT40PC-S System : SC-HT40PC-S Front Speaker : SB-PF40P-S Surround Speaker : SB-PS40P-S Center Speaker : SB-PC40P-S...
-
Page 3: Assembling And Disassembling
2005 Matsushita Electric Industrial Co. Ltd.. All rights reserved. Unauthorized copying and distribution is a violation of law. 1. Assembling and Disassembling “ATTENTION SERVICER” Some chassis components may have sharp edges. Be careful when disassembling and servicing. 1. This section describes procedures for checking the operation of the major printed circuit boards and replacing the main components. - Page 4 3. Select items from the following index when checks or replacement are required. 4. Refer to the Parts No. on the page of “Parts Location and Replacement Parts List” (Section 5), if necessary. Below is the list of disassembly sections - Disassembly of Front Cabinet Assembly - Disassembly of Woofer 1.1.
- Page 5 Step 1: Upset the unit as shown above. Step 2: Insert a steel rule into the grooves of the Speaker unit. Push the steel rule forward and backward as arrow shown. Step 3: Insert a flathead screwdriver into the grooves as arrow shown. Ensure that the screwdriver is above the steel rule.
- Page 6 insert the Wood chip. Step 5: At the boss area push up as arrow shown to open the bosses. Caution: Do not exert strong force as it may damage the Front Cabinet Assembly. 1.3. Disassembly of Woofer Follow (step 1) to (step 5) of item 1.2. Step 1: Remove all 4 screws from the Woofer.
- Page 7 Step 2: Insert a steel rule between the Woofer and Speaker Cabinet Assembly to push out the Woofer. Step 3: Take out the Woofer unit. PDF created with pdfFactory Pro trial version www.pdffactory.com...
-
Page 8: Connection Of The Speaker Cables
Step 4: Remove the Woofer by detaching the (+) white and (-) blue wires. 1.4. Assembly of Subwoofer Unit Step 1: Scrape off using the scriber and clean up the remaining glue at the 6 bosses and 6 holes as arrow shown and replace with the normal glue. Step 2: Fix the Front Cabinet Assembly firmly back to the Speaker Cabinet Assembly. - Page 9 power supply cord. - The load impedance of any speaker used with this unit must be 6 . - Be sure to connect the cable from the right speaker to the right terminal and the cable from the left speaker to the left terminal. 1.
- Page 10 Positioning for best effect How you set up your speakers can affect the bass and the sound field. Note the following points. - Place the speakers on flat secure bases. - Placing speakers too close to floors, walls, and corners can result in excessive bass.
-
Page 11: Exploded View
3. Connection of Wiring Diagram 4. Exploded view 4.1. Cabinet Parts Location PDF created with pdfFactory Pro trial version www.pdffactory.com... - Page 12 4.2. Packaging PDF created with pdfFactory Pro trial version www.pdffactory.com...
- Page 13 PDF created with pdfFactory Pro trial version www.pdffactory.com...
-
Page 14: Replacement Parts List
5. Replacement Parts List Notes : - Important safety notice : When replacing any of these components, be sure to use only manufacturer’s specified parts shown in the parts list. - [M] markings in the Remarks columns indicates parts supplied by PAVCSG.
Need help?
Do you have a question about the SB-W40P and is the answer not in the manual?
Questions and answers