Table of Contents
Advertisement
Quick Links
LCD Icon / STATUS INDICATION IN RADIO
Icon Name
Icon
Radio Status
Received Signal
The number of bars displayed represents the radio signal strength
Strength Indicator (RSSI)
and is only displayed while the radio is in receiving mode.
New message/unread message
Inbox is full
Sent successfully
Message Icons
Send failed
Send in-progress
Private Call
Call Icons
Group Call/All Call
or
Power Icons
Radio is set at low power (L) or high power (H)
Scan feature is enabled
Scan Icons
Priority scan detects activity on channel/group designated as
Priority 1 (if • is blinking) or Priority 2 (if • is steady)
Monitor
Selected channel is being monitored
Tones Disable
Tones are turned off
Emergency Icon
Radio is in Emergency mode
Privacy Icon
The Privacy feature is enabled
The radio is currently configured for direct radio to radio
Talkaround Icon
communication.
Complete User Manual at: RCACommunicationsSystems.com
Notes:
www.rcacommunicationssystems.com
products@rcacommunicationssystems.com
(877) 822-2915
Created in U.S.A.
RCA and the RCA logo are trademarks of Technicolor SA and are used under license. All other trademarks are the property of their respective owners. © 2020 RCA Communications Systems. All rights reserved.
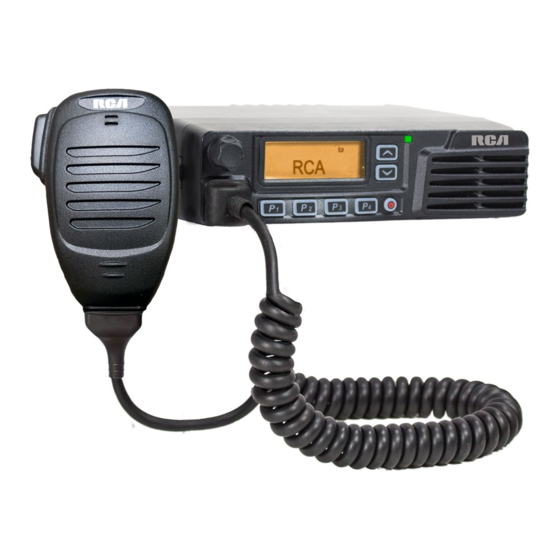
BRM350D Mobile
Two-Way Radio
Communications Systems
What's Included:
BRM350D
MM301HD
Microphone
Mobile Radio
Mobile Mic
Hanger
Mounting
DC Power Cable
Bracket
Volume Control
1
LCD Display
2
Channel Selector
3
LED Indicator
4
Microphone Jack
5
Buttons P1 - P4
6
On / Off Button
7
Internal Speaker
8
Complete User Manual at: RCACommunicationsSystems.com
QUICK START GUIDE
TRANSCEIVER PREPARATION
Installation/Tools Needed
•
Electric drill with 6mm bit or above
•
Cross head screwdriver
•
Hex socket sleeve (used for mounting 5mm × 16mm self-tapping screw)
When installing your transceiver, be sure to select a safe, convenient location. If you're
installing inside your vehicle, choose a location that minimizes danger to your passengers
and yourself while the vehicle is in motion. Consider installing the unit so that knees or legs
will not strike the unit during vehicle operation. Try to pick a well ventilated location that is
shielded from direct sunlight for your installation location.
Install the mounting bracket in the vehicle using the supplied self-tapping screws (4), flat
washers (4), and spring washers (4). Position the bracket so that the 3 long screw hole
positions on the side of the mounting bracket are towards the rear of the bracket. (Figure 1)
Use the 3 screw positions on the side of the mounting bracket to determine the appropriate
angle of the transceiver. (Figure 2) Position the transceiver, then insert and tighten the
supplied hexagon SEMS screws (4) and flat washers (4). (Figure 3) Double check that all
hardware is securely fastened to ensure that vehicle vibration will not loosen the bracket
or transceiver.
Mounting Bracket
Self-tapping screw
(5mm x 16mm)
Spring washer
(Programmable)
Flat washer
(Programmable)
(Programmable)
Figure 1
Figure 2
Advertisement
Table of Contents

Related Manuals for RCA BRM350D


Summary of Contents for RCA BRM350D
- Page 1 Internal Speaker RCA and the RCA logo are trademarks of Technicolor SA and are used under license. All other trademarks are the property of their respective owners. © 2020 RCA Communications Systems. All rights reserved. Figure 1 Figure 2...
- Page 2 During a call, if the Channel Free Indication feature Attach the supplied microphone hanger using included screws in an easy to access Antenna connector is enabled on your radio (programmed by your RCA Figure 6 location that will not interfere with vehicle operation. (Figure 9)
Need help?
Do you have a question about the BRM350D and is the answer not in the manual?
Questions and answers