Advertisement
Table of Contents
- 1 Table of Contents
- 2 Step 1. Unpack the Box
- 3 Activation Code
- 4 Important Tips
- 5 Step 2. Connect to Your Broadband Modem
- 6 Step 3. Connect to Your TV Antenna
- 7 Step 4. Connect to Your TV
- 8 Step 5. Power up Your Fetch Mighty
- 9 Step 6. Start up Your Fetch Mighty
- 10 Fetch Mobile App
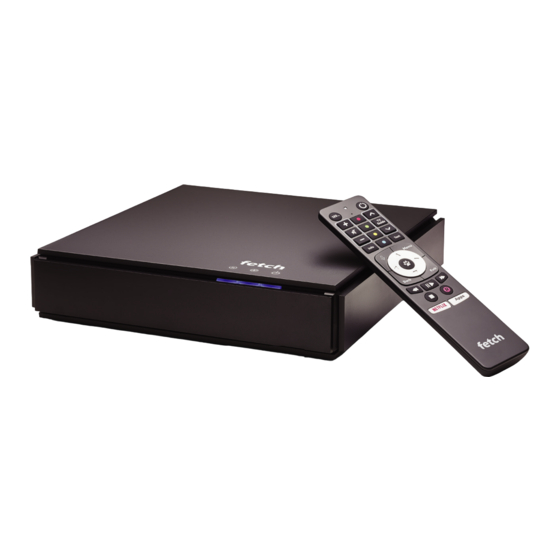
- 11 Remote Control
- 12 Fetch Mighty
- 13 Troubleshooting
- 14 Specifications
- Download this manual
Advertisement
Table of Contents


Need help?
Do you have a question about the M616T and is the answer not in the manual?
Questions and answers