
Related Manuals for Majestic TAB 812 4G


Summary of Contents for Majestic TAB 812 4G
- Page 1 TAB 812 4G Tablet PC Android™ 10 Instruction Manual New Majestic S.p.A. Via Rossi Martini, 41 26013 Crema (CR) – Italy www.newmajestic.com MADE IN CHINA...
-
Page 2: Table Of Contents
Table of Contents • Specifications • What’s inside the box • Tablet Parts • SIM Card and Micro SD installation • Getting started - Charging battery - Power On/Off - Screen lock - Home screen - Browsing keys - Set up menu - Telephone functions •... -
Page 3: Specifications
• Trouble Shooting - Force quit an application - Power Off - Restore default setting • Warnings Specifications Display: 10.1” IPS HD( 1280x800) Capacitive multi-touch screen 1.3GHz A53 Quad Core MT8765B processor RAM: 3GB DDRIII GPU Graphics IMG GE 8100 32GB built-in memory* Expandable memory via Micro SD card up to 64GB (NOT included) -
Page 4: What's Inside The Box
GSM frequencies (GPRS/EDGE) 850/900/1800 / 1900Mhz Built-in Bluetooth (version 4.2 LE) Built-in GPS (GPS + AGPS) 0.3 Mpixels front camera and 2 Mpixels rear camera with Flash LED Built-in microphone Built-in stereo speakers Micro USB input (USB cable included) DC 5V - 2A Power adaptor Android™... -
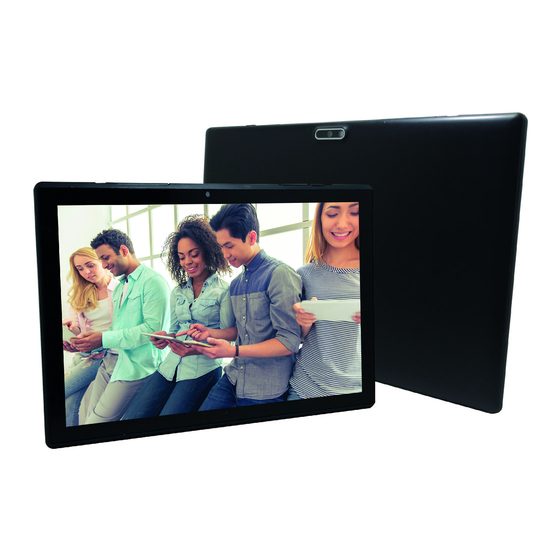
Page 5: Tablet Parts
Tablet – 1pc Power adaptor – 1pc USB Cable-1pc Instruction manual - 1pc Warranty card - 1pc Tablet Parts 1 Reset Reset the system in case of device stuck and restart... -
Page 6: Sim Card And Micro Sd Installation
2 Volume Press to increase/decrease the volume 3 Power Keep pressed to turn on/off the tablet; shortly press to activate standby 4 Speaker Built-in speakers 5 Earphone Connect earphone to this standard 3.5mm jack jack (earphone not included) 6 Rear 2 Mpixels camera camera 7 Flash LED... -
Page 7: Getting Started
Getting Started Battery Charging The tablet has a built-in rechargeable Li-polymer battery. * To charge connect the AC power adapter to the micro USB jack on the top side of the tablet. * The battery icon shows the battery status and charging status. -
Page 8: Power On/Off
Power ON/OFF Press the button for 3 seconds until the tablet turns “ON”. OFF: 1.Press the button for 2 seconds and it will appear Select POWER OFF to turn off the tablet Screen Lock This feature locks the screen, at the same time turn OFF the screen’s backlight after a few seconds. - Page 9 The Home screen will look similar to the picture below. To switch between screens, simply slide your finger left or right across the display. The status bar and navigation buttons are always visible, no matter which Home screen you can currently viewing. The desktop contains links to the most used applications.
- Page 10 The status bar displays system information, such as current time, 3G/WiFi connectivity and battery status. Drag your finger from the top edge of the screen inwards to view the notification menu. Drag the notification menu down again to display a second quick access menu. Through...
- Page 11 this menu it is possible to change functions such as screen brightness, automatic rotation, activate and deactivate radio connections, manage geolocation and the do not disturb function. NAVIGATION BUTTONS The button moves back one step to the previous menu/page. The button returns immediately to the main screen. The button display a menu of recently opened applications.
- Page 12 Settings Menu The settings menu allows you to adjust Tablet system configuration. To change settings: • Touch the "Settings" menu icon on the Application menu. The Settings menu will open. • Touch a category title to view further options on the right side of the screen.
-
Page 13: Telephone Functions
screen rotation, etc ..; Digital well-being and Parental Control: manage the time of use of the app and Parental Control; Google: menu dedicated to all Google account settings; System: language selection and input, spell check, date and time, keyboard settings, data backup, factory data reset, etc ...;... -
Page 14: How To Use Tf Card
How to use the TF card: With the tablet off, insert the micro SD card in the appropriate slot (see "Installing the micro SD card"). Gently push the card into the slot until it clicks into place. A notification will appear on the screen: "New SD card detected". -
Page 15: Software Keyboard
If the micro SD card is used as a "portable memory", access the "Settings / Storage space" panel, then touch the "eject" symbol on the micro SD card. At this point the card will have been deactivated and can be safely removed. Software Keyboard The tablet has a software keyboard which automatically show up when you tap the place on screen where text or... -
Page 16: Internet Connection
Long Press: press and hold one icon to make appear a menu related to the executed function (if available). Drag: press the icon and drag it to a different screen. How to connect with computer Note: Turn on your Tablet before connect the Tablet to PC by USB cable. -
Page 17: Web Browsing
1 Select “ Settings” 2 Select “Network and Internet Wi-Fi” and slide OFF to ON status. 3 All detected wireless networks in the area will be listed, Click to select desired wireless connection. 4 Enter network key if necessary. 5 Once connected to a wireless network, settings will be saved 6 Wireless icon will appear on the taskbar when connected successfully. -
Page 18: Camera
Connect to the internet and launch the browser.(Chrome), chose the site and confirm the choice. Camera Touch the icon to enter camera mode Touch the icon to take photo Touch the icon to start camera recording. Press again to stop it. Touch the icon to switch between the rear... - Page 19 camera and the front camera or vice versa. Touch the icon to manage the flash operation (automatic / always on / off). Touch the icon created from the last image taken to view it or share it. Touch the button to return to the camera.
- Page 20 - New Majestic Spa is not responsible for problems that third-party software may cause to the device. - New Majestic Spa is not responsible for problems of any incompatibilities found when using software developed by third parties. - New Majestic Spa declines all responsibility for the infringement of copyright laws by the user.
- Page 21 To avoid the danger of electric shock or fire, do not expose to rain or moisture. Read all safety instructions before use. DANGEROUS VOLTAGE! The symbol to the side warns the user of the presence of voltage that could not isolated and may cause electric shock . This symbol warns the user that before using the unit, it is necessary to carefully read the instruction booklet.
- Page 22 • Children must not use the appliance as a game. • Do not allow the appliance to be used by children or the disabled without supervision • Keep away from pets • Never use the appliance in places where the cord, plug and the product itself may come into contact with water or wet surfaces.
- Page 23 • Do not touch the appliance with wet hands and do not place it near sinks, tubs or containers of liquids. Use the product only if it is in perfect condition. If the appliance has been immersed in water or is damaged, contact qualified personnel.
- Page 24 INFORMATION TO USERS OF DOMESTIC EQUIPMENTS Pursuant to Art. 25, Paragraph 1 of the Legislative Act N. 49 14th March 2014, "Implement of the Directives 2011/65 / EU and 2012/19 / EU concerning the reduction of the use of hazardous substances in electrical and electronic equipment, as well as waste disposal".
Need help?
Do you have a question about the TAB 812 4G and is the answer not in the manual?
Questions and answers