
Related Manuals for Elkay LKAV7051F


Summary of Contents for Elkay LKAV7051F
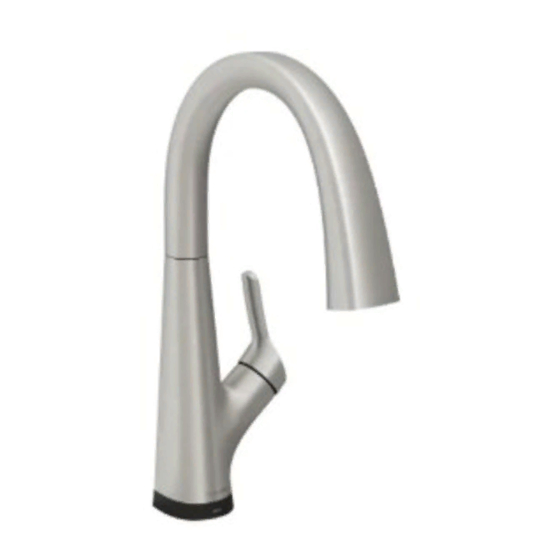
- Page 1 INSTALLATION / OWNER'S MANUAL Single Handle Kitchen Faucet Model # LKAV7051F Screwdriver Groove joint pliers Wrench Electric drill Safety goggles SAVE FOR CONSUMER...
- Page 2 WARNING: Please carefully read and properly follow the instructions for installation found in this manual. STEPS: Optional Flange Installation: Optional Deck Plate Installation: Before installation, ensure that the Before installation, align the hole in the gasket (1) and deck plate (2) with the the new faucet assembly.
- Page 3 WARNING: Please carefully read and properly follow the instructions for installation found in this manual. STEPS: 1 1 1 1 1 1 1 1 Install the weight clip (2) at the point of the hose marking “weight here”. Insert the weight (1) onto the clip (2) by sliding it down onto the clip (2). Attach the tee connector (5) onto the outlet of the cold water supply valve (1) and tighten with wrench.
- Page 4 WARNING: Please carefully read and properly follow the instructions for installation found in this manual. STEPS: Green Connect the end of the hose (7) with the quick connector to the tee connector (6). Push the quick connector with the green tab on the hose (7) firmly upward and attach it to the receiving block with green on the tee connector (6).
- Page 5 WARNING: Please carefully read and properly follow the instructions for installation found in this manual. STEPS: 3/16 in. to 3/8 in. Wall 15 in. Min. Before installation, select the location for the filtration manifold (5). The screws should be placed a minimum of 15 in. above the bottom of the floor where the filtration system is to be mounted.
- Page 6 WARNING: Please carefully read and properly follow the instructions for installation found in this manual. STEPS: Install the sensor cable (1) to the connection (2) of the timer (7). Ensure the holes (3) on the sensor cable (1) and the pins (4) on the timer (7) are aligned to one another to ensure proper installation.
-
Page 7: Cartridge Replacement
CARTRIDGE REPLACEMENT Loosen cartridge nut (1) by turning it Shut off water supply. With valves in "closed" position, counter-clockwise and lift out the cartridge (2). Insert loosen the set screw (2) from handle (1) and remove new cartridge. Reinstall the handle. handle (1) from faucet. -
Page 8: Care And Cleaning Instructions
Fig 2. CARE AND CLEANING INSTRUCTIONS FOR CARE AND MAINTENANCE: Congratulations on your purchase of an Elkay product. ·The water in certain areas of the world can be very caustic - Although your product is extremely durable, attention should standing water around the product can cause damage. -
Page 9: Warranty
If the product should leak or drip during normal use, Elkay will provide, model and/or component part. free of charge, a replacement cartridge. For other defects in material or...
Need help?
Do you have a question about the LKAV7051F and is the answer not in the manual?
Questions and answers