
Related Manuals for DesignHouse 599001-WHT


Summary of Contents for DesignHouse 599001-WHT
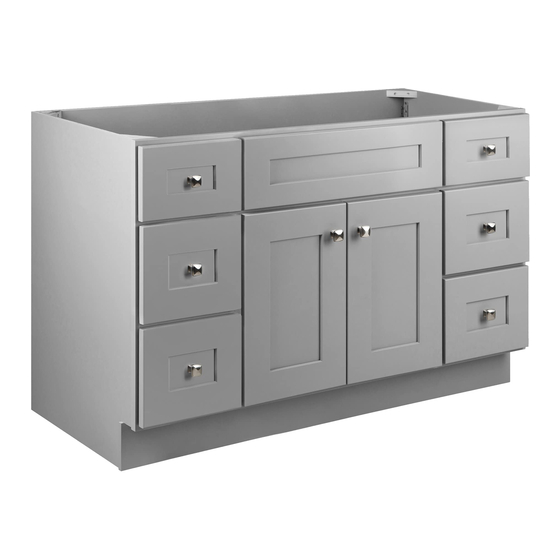
- Page 1 Part#: 599001-WHT、 599001-GRY 599001-MBH、 599001-ESP ASSEMBLY INSTRUCTIONS Two Door six Drawer Vanity Base Cabinet...
-
Page 2: Unpacking Precautions
Unpacking Precautions If using a sharp object to unpack the vanity components and the packing materials, be careful to avoid scratching or damaging the vanity components. The various packing materials are used to protect the vanity components during shipping. During the unpacking process, place the various components away from and to the side of the work area so that they will not be inadvertently knocked over or otherwise damaged. -
Page 4: Hardware List
HARDWARE LIST 动 b.PLASTIC CLIP(L/R) a.UNDERMOUNT SOFT CLOSE GLIDE(L/R) � e. RUBBER BUMPER 28 PCS d. WOODEN TRIANGLE 4PCS c. KNOB 8PCS ~ ” g. 1/2 FLAT (ROUND)HEAD SCREW28PCS f. GLIDE BRACKET 12PCS ROUND HEAD SCREW FOR ESPRESSO METAL CLIP ONLY ”... - Page 5 Step 1 Lay the face frame with doors (A) on a soft surface, doors facing down. ⑧ Step 2 Attach rubber bumpers to both the top and bottom of each door where they make contact with the face frame to prevent damage and reduce noise. ⑧...
- Page 6 Step 3 Using the wood glue, squeeze a small bead of glue in all grooves before assembling the cabinet sides, bottom, top and back panels. Be careful not to use too much glue, this could cause excess glue to squeeze out and onto the panels, if this should happen, be sure to remove quickly.
- Page 7 Step 5 Slide bottom panel (D) into the groove of the right and left side panels, and then into the groove in the frame below until it is fully seated. Slide in the back panel (E) and attach the male clips to the back panel. There are three clips on the left side and three clips on the right side.
- Page 8 Step 6 Use the long screws (i), attach the back panel to the edges of the bottom panels using the pre-drilled holes provided.Secure the toe kick (F) into the bottom of the cabinet with two small screws (g) in each of the two clips. ⑥...
- Page 10 Step 10 Attach the plastic clips on the bottom of the drawer,using six small flat head screws(L), three screws for each. Step 11 。 。 Use two small screws(L) to attach the glide bracket to the interior sets f pre-drilled h les on the back panel.Use one small screw(L) to attach the glide on the face frame.
Need help?
Do you have a question about the 599001-WHT and is the answer not in the manual?
Questions and answers