
Related Manuals for Ring Engineering AM-1S


Summary of Contents for Ring Engineering AM-1S
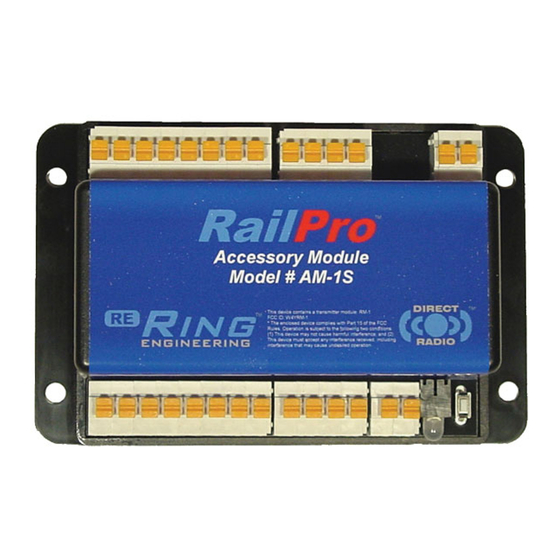
- Page 1 Model Railroad Accessory Module (AM-1S) User Manual Ring Engineering Inc. (219) 322-0279 www.RingEngineering.com Revision 2.01 Copyright © 2018 Ring Engineering Inc. All rights reserved.
-
Page 2: Table Of Contents
You can use the Ring Engineering RailPro Assistant Software to load projects Ring Engineering provides or even build custom Projects for your AM-1S! You can add your own picture and include custom logic to add some intelligence to your projects too! Introduction................2... -
Page 3: Warnings
Installation Step 1 – Mount your AM-1S Position the AM-1S near the products that you plan to wire to the AM-1S under your layout. Use at least 2 screws and mount the AM-1S. If only using two screws, be sure the screws are located in opposite corners. The red arrows in figure 1 below identify mounting holes. - Page 4 Step 2 – Connect the Power Be sure the power supply you are going to connect to the AM-1S is turned off. Then connect power supply to the “Power In” terminals labeled ‘P1’ and ‘P2’ with 16-gauge wire. Only connect a Ring Engineering approved power supply to the proper power input connections such as the PWR-56.
- Page 5 Figure 3. Step 3 – “Find Product” on your Controlling Device Power up the AM-1S and press the “Find Product” button on your controlling device such as the HC-2 handheld controller. If you look in the Accessories Page you will see a new picture of a AM-1S.
- Page 6 Speaker 2 IMPORTANT: Speaker can be from 4 to 16 ohms. AM-1S can drive up to 1.2 Watts of power into a 8 ohm speaker. The AM-1S will drive up to 2.0 Watts of power into a 4 ohm speaker.
- Page 7 Wire LEDs (Only 'Light 1' connection shown) You can connect up to 8 lights to the sourcing outputs on the AM-1S. Connection terminals for all lights to the sourcing outputs. Switch Terminals Light 1 Light 2 Light 3 Light 4...
- Page 8 Wire Light Bulbs (Only 'Light 1' connection shown) You can connect up to 8 lights to the sourcing outputs on the AM-1S. Connection terminals for all lights to the sourcing outputs are displayed below. Switch Terminals Light 1 Light 2...
- Page 9 Motor 2 Motor 3 Motor 4 Be sure any motor connected to a AM-1S can withstand 14 volts and will not over heat while being speed controlled with high frequency pulse width modulation. IMPORTANT: The motor should have stall currents of 1 Amp or less. The maximum allowed current for outputs O1-O8 is 400mA per point continuous and 400mA continuous for all points combined.
- Page 10 Wire Inputs (Only 'Input 1' and 'Input 2' connections are shown). You can connect up to 8 Inputs to the AM-1S. See below for the proper terminals to connect the 8 Inputs to. Switch Terminals Input 1 Input 2 Input 3...
-
Page 11: Status Indicator Light
Adjustments Name The reason to give your AM-1S a name is so you can tell it apart from another AM-1S. If you had two or more AM-1S’s and did not name them, it would be difficult to tell which one you are going to control when you touch the picture of a AM-1S on your controlling device. -
Page 12: Terminal Connections
Ring Engineering, Inc. (Ring Engineering) warrants that for a period of one year from the date of purchase, this product will be free from defects in material and workmanship. Ring Engineering, at its option, will repair or replace this product or any component of the product found to be defective during the warranty period.
Need help?
Do you have a question about the AM-1S and is the answer not in the manual?
Questions and answers