
Related Manuals for Midian PR-10

Summary of Contents for Midian PR-10
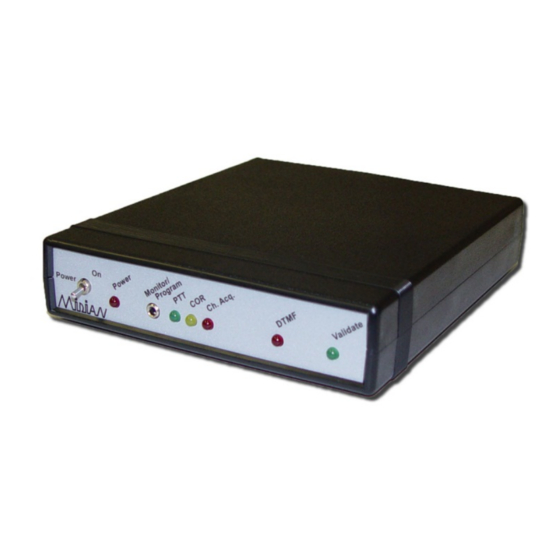
- Page 1 P R-10 Tone and Voice Paging Regenerator Simplex Repeater Maker with Selective Repeat M anual Revision: 2013-07-23 Covers Firmware Revisions: 1.60 & Higher Covers Hardware Revisions: 7705D & Higher...
-
Page 2: Table Of Contents
T ABLE OF CONTENTS Specifications General Information Hardware Installation Product Programming Controls & Indicators Operation Technical Notes Contact Information... -
Page 3: Specifications
S PECIFICATIONS Voltage/Current: External Power 12-18 VDC Standby Current with Power LED 5 mA Current with COR or PTT LED 6 mA Radio Inputs/Outputs: AGC Dynamic Range 30 db Audio Output Level Adjustable from 140 mVpp to 3 Vpp unloaded Audio Output Impedance 1 k or 47 k Jumper Selectable PTT Out:... -
Page 4: General Information
Simplex Repeater Mode: The PR-10 can be connected to a simplex mobile or base station to create a simplex store and forward repeater. When the PR-10 sees a busy indication from the connected radio it will start recording the received audio. When the busy indication goes away for a programmed amount of time, the PR-10 will key the radio and retransmit the recorded audio. -
Page 5: Hardware Installation
Be certain to follow standard anti-static procedures when handling any of Midian’s products. Use the enclosed matching cables with RJ45 type connectors to plug into the PR-10. The other ends can be connected to the appropriate type of radio connector using the pin out and color codes show below. See connector pin out in the chart below. -
Page 6: Product Programming
3.5 mm stereo plug into the J8 connector on the PR-10. To program the PR-10, turn power onto the PR-10, push and hold the power button on the KL-4F, and within 15 seconds click “Program Unit” in the menu bar to send the file to the unit. The LED on the interface will flash indicating programming is complete. - Page 7 VOX Settings > Decay Time: This sets the time before the PR-10 will drop the VOX detection. Be certain to set this long enough so that you do not have drop outs between words or on brief pauses.
- Page 8 Retransmit Settings Tab: Key-Up Delay: This sets the amount of time the PR-10 waits after keying the base station radio before it starts to retransmit the recorded audio. Trunking Delay Enable: Check this box if using a trunking system. This will cause the PR-10 to hold off regenerating the recorded audio until the PR-10 has received a channel acquisition acknowledgement from the base station radio.
- Page 9 Basic Inputs Tab: COR > Active Polarity: This sets whether the PR-10 looks for an active low or active high to start recording the received audio. Note: The associated COR LED, when programmed for an active low, will be off when COR is inactive and on when COR is active.
- Page 10 Aux Inputs Tab: Validation Input > Active Polarity: This sets whether the PR-10 looks for an active low or active high to validate a decode from the internal tone decoder or an external validate. Note: The internal tone decoder uses an active low polarity.
- Page 11 This feature is a busy channel lockout for connection to a second radio that is being used as the transmitter. Option 1 > Active Polarity: This sets whether the PR-10 needs an active low or active high indication from the radio to indicate the channel is busy.
- Page 12 Using a service monitor, send a full quieting signal, modulated with a 1 KHz tone at 100% of maximum system modulation, 5 kc for wide band or 2.5 kc for narrow band. Allow the PR-10 to record enough audio to check the modulation of the transmitter.
- Page 13 PR-10 Tone Decoder Programming Parameters: The PR-10 offers predictive and non-predictive decode methods as follows: Predictive Decode: Upon decode of one of the 3 tone sequences programmed into the decode registers, the unit will validate the page. Example: Decode Register 1 is programmed for cap code 112 and Decoder Register 2 is programmed for cap code 129 with a Decode Format of Motorola General.
-
Page 14: Controls & Indicators
Power LED: This red LED indicates that power is applied to the unit and that the switch is on. COR LED: This yellow LED indicates that the PR-10 is receiving a busy indication from the radio. Note: The COR LED, when programmed for an active low, will be off when COR is inactive and on when COR is active. However, the COR LED, when programmed for an active high, will be on when COR is inactive and off when COR is active. -
Page 15: Operation
COR dropout time ends the PR-10 will issue a PTT output to the radio and retransmit the paging tones and audio if the PR-10 receives a validate. If COR is not available VOX detect can be used. -
Page 16: Technical Notes
TECHNICAL NOTES No technical notes are available at this time. MIDIAN CONTACT INFORMATION MIDIAN ELECTRONICS, INC. 2302 East 22 Street Tucson, Arizona 85713 USA Toll-Free: 1-800-MIDIANS Main: 520-884-7981 E-mail: s ales@midians.com Web: w ww.midians.com... - Page 17 LMV324 TP14 100p 560p .001u C135 C136 C137 C140 100p 560p 2.2u .001u NOTE: J3:1 - PR-10 : VALIDATE VAE-10 : EMERGENCY 100p 560p .1µ .1µ IS-2 : NOT CONNECTED TP33 2mm Pin 5.5mm OD 1N4001 LM7805 EXTERNAL POWER 100p 560p 2.2u...
- Page 18 This page intentionally left blank...
Need help?
Do you have a question about the PR-10 and is the answer not in the manual?
Questions and answers