Table of Contents
Advertisement
Quick Links
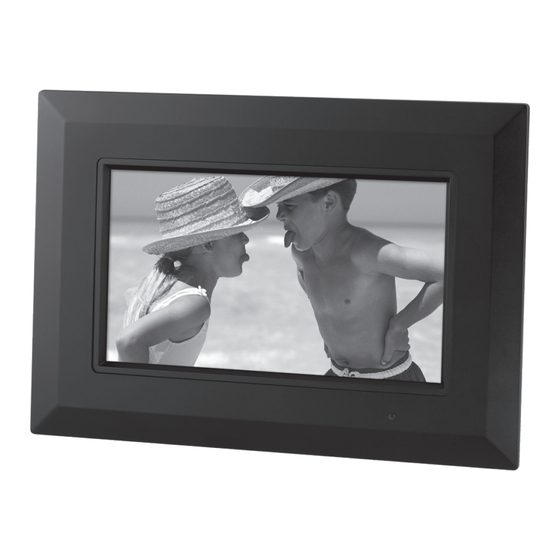
PF928
INSTRUCTION MANUAL
Contents
Warnings and Precautions ............................................................................... 2
Important Safety Instructions ............................................................................ 3
In the Box & Changing the Remote Battery...................................................... 4
Powering the Unit & Compatible Storage Devices ........................................... 5
Viewing Photos ................................................................................................. 6
Playing Music ................................................................................................... 7
Viewing Photos & Playing Music ...................................................................... 8
Setting the Time and Date & Setting the Alarm ................................................ 9
Taking a Frame Off & Putting a Frame On ................................................ 10-11
Location of Controls & Control Definitions ................................................. 12-15
Service Information......................................................................................... 16
Advertisement
Table of Contents

Subscribe to Our Youtube Channel
Related Manuals for GPX PF928


Summary of Contents for GPX PF928
-
Page 1: Table Of Contents
PF928 INSTRUCTION MANUAL Contents Warnings and Precautions ... 2 Important Safety Instructions ... 3 In the Box & Changing the Remote Battery... 4 Powering the Unit & Compatible Storage Devices ... 5 Viewing Photos ... 6 Playing Music ... 7 Viewing Photos &... -
Page 2: Warnings And Precautions
Warnings and Precautions TO PREVENT FIRE OR SHOCK HAZARDS, DO NOT EXPOSE THIS UNIT TO RAIN OR MOISTURE. This symbol, located on back or bottom of the unit, is intended to alert the user to the presence of uninsulated “dangerous voltage” within the product’s enclosure that may be of sufficient magnitude to constitute a risk of electric shock to persons. -
Page 3: Important Safety Instructions
Important Safety Instructions 1. Read these instructions. All the safety and operating instruction should be read before the product is operated. 2. Keep these instructions. The safety and operating instruction should be retained for future reference. 3. Heed all warnings. All warning on the product and in the operating instructions should be adhered to. -
Page 4: In The Box & Changing The Remote Battery
In the Box • Digital Photo Frame • AC/DC Adapter • Remote Control • Documentation Changing the Remote Battery CR2025 OPEN PUSH 1. Push to remove the Battery Compartment cover. 2. Replace the old battery with an equivalent new battery (CR2025). -
Page 5: Powering The Unit & Compatible Storage Devices
Powering the Unit To power the unit, simply connect it to an AC outlet using the included AC adapter. Compatible Storage Devices The following types of digital storage devices can be connected to the unit to play photos and music on the unit. USB Mass Storage Device (not included) Memory Cards... -
Page 6: Viewing Photos
5. To access photos from a loaded memory card, select the Card option. To access photos from a connected USB thumb drive, select the USB option. To view pre- loaded photos on the digital photo frame, select the Favorite option. 6. Press the Enter/Mode Button to select Card, USB, or Favorite. -
Page 7: Playing Music
Playing Music 1. Connect a XD, MS, MMC, or SD memory card, or a USB Thumb Drive, to the unit. The memory card or thumb drive that is connected to the unit must have jpeg images loaded onto it. 2. Press the Power/Snooze Button to turn the unit on. 3. -
Page 8: Viewing Photos & Playing Music
Viewing Photos & Playing Music 1. Connect a XD, MS, MMC, or SD memory card, or a USB Thumb Drive, to the unit. The memory card or thumb drive that is connected to the unit must have jpeg images loaded onto it. 2. -
Page 9: Setting The Time And Date & Setting The Alarm
Setting the Time and Date 1. Press the Power/Snooze Button to turn the unit on. 2. Press the Menu/AL Off Button twice to access the unit’s main menu. 3. Press the Left and Right Buttons to navigate and highlight the options on the main menu (Card, USB, Favorite, Clock, Calendar, and Setup) 4. -
Page 10: Taking A Frame Off & Putting A Frame On
Taking a Frame Off 1. Lay the unit down on a flat surface, with the display facing upward. 2. Place a soft cotton cloth over the display. This will keep the display clean of finger prints while changing the frame. 3. -
Page 11: Putting A Frame On
Putting a Frame On 5. Remove the soft cotton cloth that was used in step 2 so that it does not get in the way. 6. Match the engraved up arrow on the inside of the frame with the top of the unit. Match the small clear window on the frame with the infrared receiver on the unit. -
Page 12: Location Of Controls & Control Definitions
Location of Controls... - Page 13 Control Definitions 1 TFT Display The TFT Display displays the unit’s menus and photos. 2 Infrared Receiver The Infrared Receiver receives signals from the remote control. 3 DC Input Connect the DC Input to power the unit. 4 Left/Right Buttons Use the Left/Right Buttons to navigate the unit’s menus.
- Page 14 Location of Controls...
- Page 15 Control Definitions 13 Standby Button Press the Standby Button to turn the unit off and on. 14 Photo Speed Button Press the Photo Speed Button to adjust the speed of the photo slideshow during play. 15 Menu/AL Off Button Press the Menu Button to go back to the Main Menu. Press the AL Off Button to turn the alarm off after it sounds.
-
Page 16: Service Information
2007 DPI, Inc. All trademarks appearing herein are the property of their respective owners. All products subject to change without notice. Para descargar este manual de instrucción en inglés, español, o francés visite la sección de la ayu- da en www.gpx.com. Pour télécharger manuel d’instruction en anglais, espagnol,...
Need help?
Do you have a question about the PF928 and is the answer not in the manual?
Questions and answers