Advertisement
Quick Links
THANK YOU FOR
CHOOSING ROBOTIQ
This step-by-step guide will allow you to install and use
your Robotiq SD-100 Screwdriver on Universal Robots.
1.WHAT IS SUPPLIED?
Standard upon delivery of a Universal Robots kit:
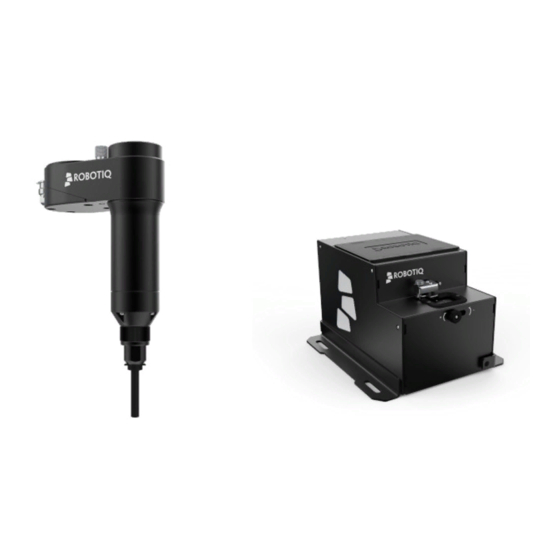
SD-100 Screwdriver Basic Kit (SOL-SDS-SD100):
• Robotiq SD-100 Screwdriver
• Vacuum sleeve kit
• 8-meter pneumatic hose
• Robotiq device coupling
• RS-485 to USB signal converter
• 10-meter High-flex device cable
• 79-dB muffler
• Hardware and tools
One of the following Screwdriving Bit Kits:
• Phillips kit (PH1, PH2)
• Torx® kit (T8, T10, T15, T20)
• Metric Hex Socket kit (2, 2.5, 3 mm)
• Imperial Hex Socket kit (5/64, 7/64, 3/32 in.)
Robotiq Force Copilot license dongle (e-Series only)
FT 300-S Force Torque Sensor (CB-series only)
(in separate package)
2.TOOLS YOU NEED
4 mm
1/2 inch
hex key
wrenches
PLEASE ENFORCE WORKPLACE, LOCAL STATE OR
!
FEDERAL REGULATIONS IN TERMS OF HEARING
PERSONAL PROTECTION EQUIPMENT.
PLEASE READ THE INSTRUCTION MANUAL
!
BEFORE OPERATING THE ROBOTIQ SCREWDRIVER.
1. Get the up-to-date instruction manual (PDF).
2. Get the corresponding Robotiq_Screwdriving-X.X.X.urcap and
Robotiq_Copilot-X.X.X.urcap .
3. Download the .urcap files on a USB stick.
INSTALLATION ON CB-SERIES ROBOTS REQUIRES
THE FT 300-S FORCE TORQUE SENSOR. PLEASE
REFER TO THE QUICKSTART GUIDE OF THE FT 300-S
FORCE TORQUE SENSOR PROVIDED WITH THE KIT.
1. Mount the coupling onto the robot arm. Align with the
provided dowel pin.
2. Secure using the provided M6 screws and tooth lock washers.
fwefwebfdsbsn
3. Mount the Screwdriver onto the coupling. Align with the
screwdriver's dowel pin.
4. Secure using the provided M5 screws and tooth lock washers.
5. Connect the coupling cable to the provided High-flex cable.
6. Connect the pneumatic hose to the air supply inlet port.
7. Make sure the safety clip is present to secure the connection.
8. Route the High-flex cable and the tubing along the
robot arm using a cable management method.
9. Unscrew the coupler locking nut and the coupler adjuster.
10. Unscrew the bit holder knob from the bit holder
chuck using the provided 1/2 inch wrenches
on the flats.
11. Insert the bit corresponding to your application
into the bit holder chuck.
MAKE SURE THE BIT REACHES THE BOTTOM OF THE CHUCK.
HEX SHANK MISALIGNMENT AND O-RING FRICTION CAN
2.5 mm
LEAD TO MECHANICAL INSERTION RESISTANCE.
slotted screwdriver
(not included)
12. Use the provided 1/2 inch wrenches to tighten the bit
holder assembly and secure the screwdriving bit.
(Recommended torque: 0.5 Nm to 1 Nm)
Tip : In absence of a torque wrench or torque meter, tighten the
assembly until it no longer turns, then unscrew it half a turn.
3.GET THE LATEST
4.MOUNTING
Vacuum sleeve
(To select and
mount)
LEAVE ENOUGH EXCESS
!
TUBING AND CABLE TO ALLOW
FULL ROBOT MOVEMENT.
Coupler
locking nut*
REFER TO THE VACUUM SLEEVE
SELECTION CHART TO CHOOSE
Coupler
THE RIGHT COMBINATION FOR
adjuster*
YOUR APPLICATION.
Screwdriving bit
(To select and
mount)
Muffler types:
Bit holder
knob*
Bit holder
chuck
Screwdriver
body
M5 screws
and washers
Air supply
inlet port
Safety
clip
M6 screws
85-dB
and washers
Muffler
Robotiq device
coupling
Dowel pin
*Already mounted
on the Screwdriver
• RECOMMENDED AIR PRESSURE : 5.5 BAR (80 PSI) TO
7 BAR (101.5 PSI)
!
• OPTIMAL AIR PRESSUSRE : 7 BAR (101.5 PSI)
• DRY AND FILTERED AIR ONLY;
FOLLOW ISO 8573-1, CLASS 3.4.3 STANDARD.
• USE OF A LOCAL PRESSURE REGULATOR WITH A FILTER
AND AIR DRYER IS RECOMMENDED.
79-dB
85-dB
High-flex
device
cable
Advertisement

Related Manuals for ROBOTIQ SD-100

Summary of Contents for ROBOTIQ SD-100
- Page 1 THE RIGHT COMBINATION FOR This step-by-step guide will allow you to install and use Robotiq_Copilot-X.X.X.urcap . adjuster* YOUR APPLICATION. your Robotiq SD-100 Screwdriver on Universal Robots. 3. Download the .urcap files on a USB stick. Screwdriving bit (To select and 1.WHAT IS SUPPLIED?
- Page 2 7. After the restart, remove the USB stick and insert the For installation on 2. Screw the 79-dB muffler in place of the former. Robotiq Force Copilot license dongle in an available Universal Robots port of the robot controller. For CB-Series: 5.
Need help?
Do you have a question about the SD-100 and is the answer not in the manual?
Questions and answers