
Subscribe to Our Youtube Channel
Related Manuals for Cognex VisionView


Summary of Contents for Cognex VisionView
- Page 1 ® VisionView Application Note Mitsubishi Touch Screen Panels 05/11/2017 Version: 1.6.8.16...
- Page 3 Copyright © 2010 - 2013 Cognex Corporation. All Rights Reserved. Portions of the hardware and software provided by Cognex may be covered by one or more U.S. and foreign patents, as well as pending U.S. and foreign patents listed on the Cognex web site at: http://www.cognex.com/patents.
-
Page 5: Table Of Contents
Insert Object Write to GOT Configure the VisionView Application License License the VisionView Application Emergency License Troubleshooting No Image on VisionView VGA VisionView VGA’s Display Position is Misaligned Cannot Operate the VisionView VGA from Mitsubishi GOT Using the Touch Screen... -
Page 7: Introduction
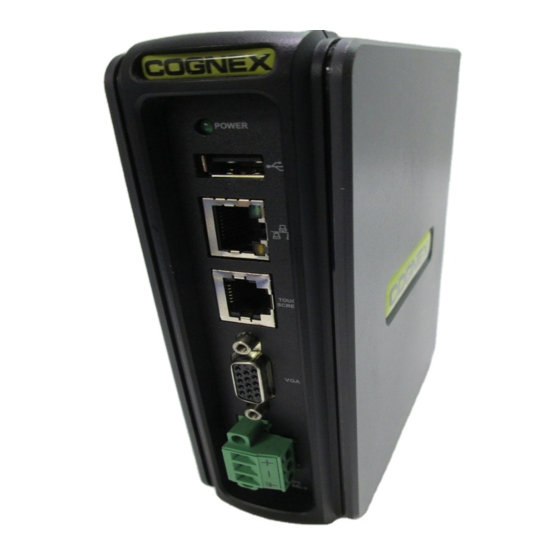
Introduction This application note describes the necessary steps to connect a VisionView VGA adapter to a Mitsubishi GT15 or GT16 series touch screen. VisionView Support Cognex online support is available to assist you in using the VisionView application software. For online support, documentation, and downloads, visit: http://www.cognex.com/Support/VisionView. -
Page 9: Installation And Configuration
2. Attach the optional Video/RGB Input Unit to the Mitsubishi GOT for video input. The RS-232 connection to the terminal allows data points from the touch screen to be sent to and from the VisionView VGA. Refer to the table below to determine the card that is appropriate for the touch screen model. -
Page 10: Controller Setting
Controller Setting 1. From the Common menu, click Controller Setting… 2. The Controller Setting dialog appears. Select the manufacturer, controller type, GOT interface and communication driver for the controller to be connected. Figure 2-1: Controller Setting Dialog 3. Set the Ethernet address for the connection to the correct Ethernet adapter for your system. This example shows the connection to the built-in Ethernet port on the QnUDE PLC. -
Page 11: Pc Remote Operation
Installation and Configuration PC Remote Operation 1. From the Common menu, click Peripheral Setting > PC Remote Operation. 2. The PC Remote Operation dialog appears. Select Standard I/F(RS232) from the Destination I/F drop-down list. 3. Check the Use PC Remote Operation (Ethernet) checkbox. 4. -
Page 12: Video/Rgb Input
1. From the Common menu, click Peripheral Setting > Video/RGB Input. 2. The Video/RGB Input dialog appears. Configure a bit to enable the display from the VisionView VGA to appear on the terminal. This can be a bit from the PLC that turns on when required, or it can be a bit from the GOT, as shown below. -
Page 13: I/F Communication Setting
Installation and Configuration I/F Communication Setting 1. From the Common menu, click I/F Communication Setting. 2. The I/F Communication Setting dialog appears. For the Standard I/F Setting, specify the following for the RS232 connection: CH No.: 8 Driver: PC Remote Operation (Serial) 3. -
Page 14: Insert Object
Insert Object 1. From the Object menu, click Switch > Bit Switch. 2. Click the position where the bit switch should be located to complete the arrangement. 3. Repeat to insert a second bit switch. Figure 2-6: Switch Screen 4. Double-click the first arranged bit switch to display the Bit Switch dialog. 5. - Page 15 Installation and Configuration 6. Click the OK button. Figure 2-7: Bit Switch Dialog: VGA Input 7. Double-click the second arranged bit switch to display the Bit Switch dialog. 8. Designate the switch to enable the remote mouse operation. 9. Click the OK button. Figure 2-8: Bit Switch Dialog: Remote Mouse Operation...
-
Page 16: Write To Got
Write to GOT 1. From the Communication menu, click Write to GOT… 2. The Communication Configuration dialog appears. Configure the communication settings between the GOT and the PC. 3. Click the OK button. Figure 2-9: Communicate Configuration Dialog 4. The Communicate with GOT dialog appears. Specify the correct Communication drivers and communication settings. - Page 17 Installation and Configuration 5. Check the Video/RGB checkbox. 6. Check the appropriate PC Remote Operation checkbox. 7. Click the GOT Write button. 8. Click the Close button. Figure 2-11: Communicate with GOT Dialog: Video/RGB...
-
Page 18: Configure The Visionview Application
Configure the VisionView Application 1. Ensure that a USB mouse is connected to the VisionView VGA’s USB port. 2. Using the USB mouse, specify the appropriate language. 3. Click the OK button. Figure 2-12: Language Screen 4. From the Cognex VisionView Setup screen, click the Settings button. - Page 19 5. From the Settings screen, click the Display Settings button. Figure 2-14: Settings Screen 6. From the Display Settings screen, click the Touch Screen Type button. Figure 2-15: Display Settings Screen...
- Page 20 Figure 2-16: Display Settings Screen: Select Touch Screen Type 8. Click the OK button to apply the settings. The VisionView VGA will automatically reboot. Touch screen operation should now be functional and the runtime display can be customized using the VisionView application.
-
Page 21: License
License the VisionView Application To deploy the VisionView application on the panel, you must purchase and install a license. To install a license, launch the VisionView application, click the green key button in the Cognex VisionView Setup screen, enter the Activation ID provided by Cognex in the Enter the Activation ID screen, and click OK. -
Page 23: Troubleshooting
3. Verify that the Communication I/F Setting is assigned to the PC Remote Operation (Serial) as CH No.8. Refer to PC Remote Operation on page 5. 4. From the VisionView VGA, open the Display Settings screen to verify that the Touch Screen Type is Mitsubishi. Refer to Configure the VisionView Application on page 12. - Page 26 Copyright © 2010 - 2013...
Need help?
Do you have a question about the VisionView and is the answer not in the manual?
Questions and answers