Advertisement
Quick Links
Advertisement

Related Manuals for CraftyMech BITKIT

Summary of Contents for CraftyMech BITKIT
- Page 2 BITKIT 8Bit FPGA Updated June 2021 (C) 2017-21 CraftyMech LLC http://craftymech.com...
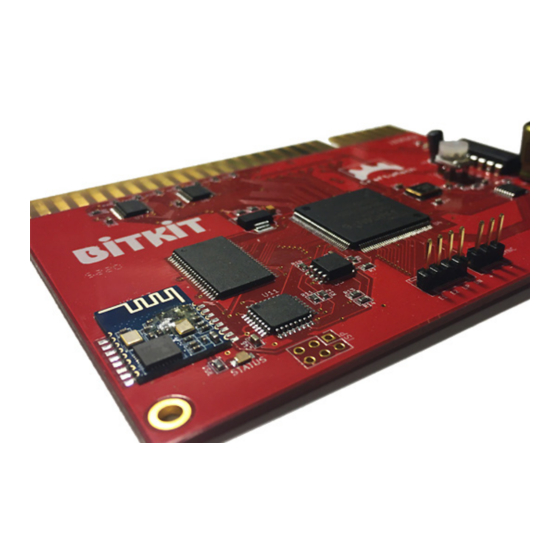
- Page 3 About The BitKit is an 8bit FPGA platform for accurately playing arcade classics in any JAMMA compatible cabinet. The BitKit features Bluetooth con- nectivity for updating firmware, and loading games (rom files are NOT included). FEATURES • Game Menu w/ screenshots •...
- Page 4 How do I update firmware, upload game files, or download high scores? Download the BitKit Manager desktop application from the link above. Once installed, start the application and click the “Getting Started” link at the bottom of the left-hand navigation menu.
- Page 5 I am direct booting a game, how do I return to the Game Menu ? The Game Menu can be reached by exiting the booted game and holding Player 1 Start. If only 1 game is installed on the BitKit, exiting the game will always display the Options menu.
-
Page 6: Table Of Contents
CONTENTS 1. Game Menu 2. Options Menu 3. Special Features 4. Troubleshooting 5. JAMMA Adapters... - Page 7 1: Game Menu The BitKit boots to the game select screen by default, displaying the list of the available games. To start a game, use the Player 1 Joystick to browse the game list and find the desired game title. Then press Player 1 Start to launch the game.
-
Page 8: Options Menu
Manage game list, and indivdual game settings Controls Test controls, and configure restart & pause combinations Video Flip screen, Vert/Horz position, and test patterns for monitor adjustment After making changes to BitKit settings, choose the Save action. To back-out of the Options menu without saving changes, choose the Cancel action. - Page 9 SYSTEM Cocktail - This setting will enable cocktail mode for all games that support the feature. Cocktail mode flips the screen between players, in a 2 player game. The Player 2 control inputs are used for the second player. This differs from 2 player non-cocktail mode, where both players use the Player 1 controls.
- Page 10 Game Menu. When enabled, the only way to access the Options menu is to hold down Player 1 Start during the boot sequence. This setting is ideal for protecting BitKit settings during parties, tournaments, or other group events. Reset Scores - This option will globally reset high scores for all games.
- Page 11 GAMES This sub-menu is where the game list and settings for individual games, are managed. The game list is presented as 8 pages of 8 game slots each (64 total slots). Navigate between pages with Player 1 Left & Player 1 Right.
- Page 12 skip past these entries. To select a slot, press Player 1 Start. The screen below will be displayed, where individual settings for that game may be adjusted. To toggle a setting on/off, or rotate between choices, press Player 1 Start. Settings common to all games are detailed in the following section.
- Page 13 Bonus Life - Many games offer configurable bonus lives at specific score thresholds, such as 10000 pts, 75000 pts, etc. Difficulty - Some games have a configurable difficulty level, usually with an Easy or Hard option (this setting may also be a number range). Enable - When enabled, the game will be selectable from the Game Menu.
- Page 14 Swap Slot - This action will flag this slot for swapping. In order to perform a swap, two slots need to be flagged. When two slots have been flagged, a new action will appear on the game slot screen, Swap Slots. Selecting that action will display a confirmation screen, and then the flagged slots will be swapped.
- Page 15 CONTROLS From this sub-menu, player 1 & 2 controls may be tested. Control combi- nations for Reset (exit game) and Pause, are configurable here. Most games only read input from the Player 2 controls in Cocktail mode (except for Player 2 Start).
- Page 16 Player 2 Button 2, will display “BUTTON1” or “BUTTON2” accordingly. Reset - This setting defines the control combination for restarting the BitKit. Use this combination to return to the Game Menu after launching a game. The default setting is Player 1 Start + Player 2 Start (press and hold both buttons simultaneously).
- Page 17 VIDEO The Video sub-menu provides test patterns for configuring the CRT display, and to adjust the horizontal/vertical position of the BitKit’s video output. Crosshatch - Use the crosshatch pattern to adjust monitor convergence. Color Bars - For adjusting brightness, contrast, and RGB drive.
- Page 18 Red/Green/Blue Fill - Use these solid color screens to assist in degaussing, and to diagnose a problem with color purity. Flip Screen - If the BitKit displays upside-down, use this option to change the screen orientation. This setting works in combination with each games’s Cocktail setting, to ensure the proper screen orientation for...
-
Page 19: Special Features
3: Special Features Unique settings for each game title are listed below. For an explanation of common settings (e.g. Lives, Cocktail) see the previous chapter. NIBBLER Practice - This setting can be used to set the game speed at a fixed level for all waves (only available for Nibbler 9). - Page 20 ZARZON Shield - For cabinets without a second button, the combination of Player 1 Up + Button 1 can be configured to activate the player shield. PAC GAMES Turbo - Equivalent to the “fast hack” popular on Pac-man. This setting is available for all Pac games, bootlegs, and variants (Piranha &...
- Page 21 SCRAMBLE / SUPER COBRA Bomb P1 Btn - This setting will map the P1 Start button to act as a second button (bombs) for a control panel with only a fire button. TURTLES Red PROM - Enables red color palette instead of the default blue dominated color scheme.
-
Page 22: Troubleshooting
If the monitor only accepts +sync, the sync polarity of the BitKit video signal can be changed. BitKits made after 2018 have a Sync header on the bottom edge of the top side of the pcb. - Page 23 If you connect pins P5 & G of the expansion header, the BitKit will output +sync. Note, do not connect these pins to your monitor, connect P5 & G together with a short length of wire.
- Page 24 Note because the monitor is vertical, this will actually adjust the side-to-side position of the picture. 2. Exit Nibbler, back to the BitKit Menu. Now the problem will be reversed, and the BitKit Menu will be shifted left/right of center.
-
Page 25: Jamma Adapters
Left & Fire Right. There is an additional 2 pin header on the adapter for connecting Fire Up & Fire Down to the BitKit. Connect Fire Up to pin 3 (P3) on the extension header, and Fire Down to pin 4 (P4). - Page 26 BitKit -> Eyes This adapter maps Player 1 and Player 2 controls, including 2 action buttons, to the cabinet harness. Eyes only uses Button 1, so Button 2 is not used with an original Eyes control panel. Contact sales@craftymech.com for ordering information.
Need help?
Do you have a question about the BITKIT and is the answer not in the manual?
Questions and answers