Advertisement
Quick Links
TD-901T
TD-900XT
TD-907T
TD-905
TD-906
TD-901GT
Distributor Contacts
Producer
: Shanghai TOEX International Trading Co., Ltd.
Address
: Floor 5, Building 6, No.675 Zhujin Road,
Songjiang District, Shanghai, 201615, China
Manufacturer : Shanghai Xunyuan Industrial Co., Ltd.
Address
: Building 8, No. 65 Huandong First Road,
Jinshan District, Shanghai, China
TD-900CG
TD-907L
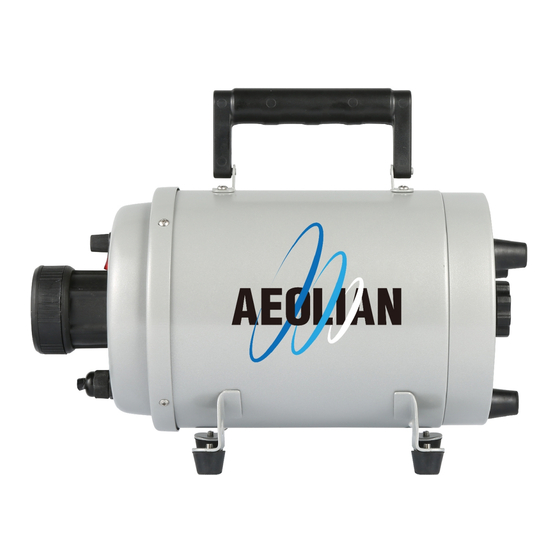
AEOLIAN
PET DRYER
TD-901GT
Owner's Guide
PET DRYER
New Legend
xtraordinary Blow Force
utstanding Durability and Sturdiness
ong Lasting Carbon Brush &Motor
nbeatable Single Motor Dryer
uperb Noise Control Technique
Advertisement

Related Manuals for aeolus AEOLIAN TD-901GT


Summary of Contents for aeolus AEOLIAN TD-901GT
- Page 1 AEOLIAN PET DRYER PET DRYER TD-901T TD-900XT TD-900CG TD-901GT New Legend TD-907T TD-905 TD-906 TD-907L xtraordinary Blow Force utstanding Durability and Sturdiness TD-901GT ong Lasting Carbon Brush &Motor nbeatable Single Motor Dryer Distributor Contacts uperb Noise Control Technique Producer : Shanghai TOEX International Trading Co., Ltd. Address : Floor 5, Building 6, No.675 Zhujin Road, Owner’s Guide...
- Page 2 Serial No. Item No. Part Name Quantity Structure Chart Rear Cap Fixture Knob TD-90001 TD-90002 M4×10 Screw Washer TD-90003 Rear Cap Rubber Foot TD-90004 Rear Cap TD-90005 M4 Lock Nut TD-90006 Foam Filter TD-90007 TD-90008 Handle M4×12 Screw and Nut TD-90009 TD-90010 Short Housing...
- Page 3 They can take this product for environmental concerning use of the appliance by a person responsible for their safety. AEOLUS TD-901GT has a proprietary easy use nozzle attachment which allows the operator to remove safe recycling.
- Page 4 Wall-mounting Bracket Dryer Stand Carbon Brush Remove the retaining screws on front cap by cross screwdriver in Press the clip down on the connectors of arrow direction, and open the front the wires to motor, unplug the wires and cap. remove the front cap.
Need help?
Do you have a question about the AEOLIAN TD-901GT and is the answer not in the manual?
Questions and answers