Advertisement
Quick Links
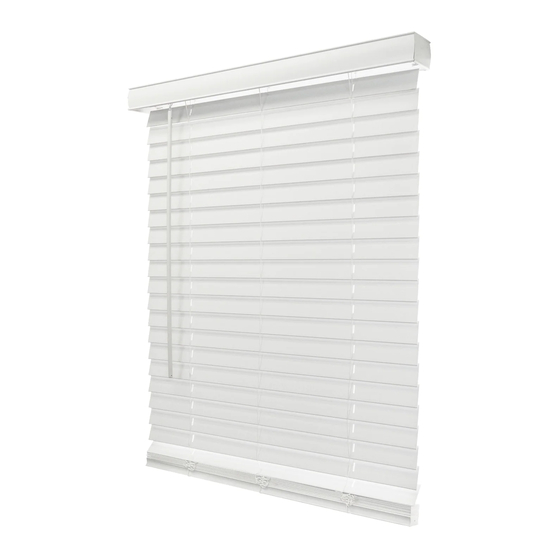
CORDLESS 2 INCH
FAUX WOOD BLINDS
Check Components
Blinds Width ( inches )
Faux Wood Blinds
Components
12-36 37-48 49-72 73-84
Mounting Bracket
Center Support Bracket
Screws
Valance
Valance Clips
Side Returns
(2 choices)
Side Returns Clip
Wand
Hold Down Bracket
Prepare necessary tools
STEP 1: DETERMINE INSIDE
OR OUTSIDE MOUNT
a. Inside/Ceiling or Inside/Wall Mount
(A minimum 1 3/4 in. depth is required or 3 3/4 in. depth
for flush mounts.)
1)
Place the mounting brackets on each end of the blind's
headrail.
2)
Mark the position of the mounting brackets with a pencil
3)
Align with pencil marks with the brackets then drill into
the window frame using the screws provided. Use a 1/8
inch drill bit to make a hole.
x 2
x 0
x 1
x 2
x 3
x 4
x 6
x 8
x 10
x 2
x 2
x 3
x 4
x 5
b. Wall or Outside Mount
x 2
(A minimum 1 3/4 in. flat wall space is necessary)
x 2
1)
Place the mounting brackets on each end of the blind's
headrail against the wall(on the window frame or above
x 1
the window frame).
2)
Mark the position of the mounting brackets with a pencil.
x 2
3)
Align with pencil marks with the brackets then drill into
the window frame using the screws provided. Use a 1/8
inch drill bit to make a hole.
1/8" drill bit
or
Note:
If your product includes a center bracket: Installing at the
center of the blinds will provide additional support to
blinds. Center support bracket are included for blinds
ranging from 37" - 84"
Outside/ Wall
Inside/Ceiling
STEP 2: ATTACH VALANCE CLIPS
Insert the valance
clips.
STEP 3: ATTACH WAND
Insert the wand hook gently into the tilter as shown below.
STEP 4: MOUNT THE HEADRAIL
Mount your blind by inserting the headrail into the open
mounting brackets. Snap the bracket until you hear a "click"
Advertisement

Related Manuals for CHICOLOGY FAUX WOOD BLINDS


Summary of Contents for CHICOLOGY FAUX WOOD BLINDS
- Page 1 CORDLESS 2 INCH (A minimum 1 3/4 in. depth is required or 3 3/4 in. depth for flush mounts.) FAUX WOOD BLINDS Place the mounting brackets on each end of the blind’s headrail. Mark the position of the mounting brackets with a pencil...
- Page 2 To Obligations to the consumer: What is Covered: FU LL The obligations of Chicology are limited to the repair or All shades and blinds are warranted against manufacturer replacements of parts or products found to be defective. defects in materials or workmanship, provided: Chicology will determine if the product is defective or not and may replace the product.
Need help?
Do you have a question about the FAUX WOOD BLINDS and is the answer not in the manual?
Questions and answers