Table of Contents
Advertisement
Quick Links
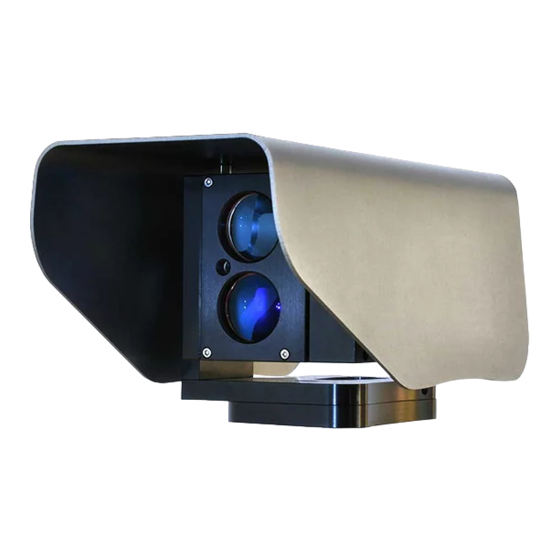
Laser-Watch
GJD515 Laser surveillance sensor
Contents
1.
Introduction
1.1.
Features
1.2.
Before operation
1.3.
1.4.
2.
2.1.
2.2.
2.2.1.
2.2.2.
2.2.3.
3.
3.1.
3.2.
3.3.
3.4.
3.5.
3.6.
4.
4.1.
4.2.
4.3.
4.4.
5.
5.1.
5.2.
5.3.
5.3.1.
5.3.2.
5.3.3.
5.3.4.
5.3.5.
5.4.
5.4.1.
5.4.2.
5.4.3.
5.4.4.
5.4.5.
5.5.
1. Introduction
The GJD Laser-Watch is a powerful sensor for detecting
objects and humans with high accuracy at long distances,
without the need for lights, reflectors or separate
transmitters/receivers used by other systems. Calculating
the distance to any object up to 500 meters away at 250 Hz,
the sensor has the ability of lowering the false alarm rate to
a minimum while increasing the number of genuine detected
objects.
1.1. Features
Field of application
Alarm zones
Alarm actions
Self awareness
Detection range
Detection resolution +/- 1 dm
Update rate
Laser wavelength
Beam divergence
Alignment laser
Laser class
Power supply
Power consumption 4W (PoE class 2)
Operating temperature - 30°C to + 60°C
Interface
Relay switch
Mounting
Enclosure rating
Color
Weight
Certifications
1.2. Before operation
The GJD Laser-Watch laser sensor is designed to be
intuitive and easy to use, but to ensure best performance all
users of the unit should carefully read this instruction manual
before use.
This manual uses the following warning indications to
provide information regarding usage of the product to
prevent you and others from being harmed and your
assets from being damaged. These warning indications are
described below. Ensure you understand these precautions
before proceeding with the installation.
1
Outdoor surveillance and monitoring
Up to 20 fully adaptable zones, each
zone has individual alarm sensitivity
settings and alarm actions
Network alarm, discreet relay. Easy
direct integration with IP to VMS,
enabling PTZ control,
automatic video recording and object
position
Adaptive digital processing algorithm
suppresses noise from fog and snow,
and detects challenging weather to
allow alarms to VMS
0 - 500 meters
250 Hz
905 nm
2.0 x 0.2 m Rad
Yes
Class 2 laser product, eye-safe
Power over Ethernet (48V DC) or 12
V DC
Ethernet IEEE 802.3af, TCP/IP, web
browser user interface
Max 30V 200mA, N/C and N/ O
4 x M5 - Bosch compatible (73 x 41
mm)
4 x M5 - Axis compatible (40 x 62
mm)
2 x M6 - Common standard (73 mm
C-C)
5/8"-11 UNC (Tripod mount)
IP66
Shell: grey, sensor: black
2.3 kg
Advertisement
Table of Contents

Related Manuals for GJD GJD515


Summary of Contents for GJD GJD515
-
Page 1: Table Of Contents
Logout 1.2. Before operation 1. Introduction The GJD Laser-Watch laser sensor is designed to be intuitive and easy to use, but to ensure best performance all The GJD Laser-Watch is a powerful sensor for detecting users of the unit should carefully read this instruction manual objects and humans with high accuracy at long distances, before use. - Page 2 Do not touch the unit connections with a wet hand or when the product is wet with rain. It may cause short circuit and damage the unit. Clean and check the product periodically for safe use. If any problem is found, contact GJD or authorized partner to solve the issue before continuing to use the product.
-
Page 3: Precautions
1.3. Precautions 2.2. Detection methods • Only use wall brackets and tripod with compatible With fully adaptable alarm zones, the product has many mounting. detection methods depending on application. Below are • Install the product only on a solid surface. three typical applications described. -
Page 4: Operation Principles
3. Operation principles If it is less than 5 meters between the objects the sensor cluster the objects and use weighted averaging to calculate 3.1. Sensor placement a virtual object position. If each object gets 50% of the laser The sensor has a maximum detection range of up to 500 beam the calculated distance will be in the middle between metres. -
Page 5: Combining Laser-Watch With Cameras
3.5. Combining Laser-Watch with cameras The Laser-Watch sensor is designed to detect objects and alarm to VMS software or direct to IP cameras. With a dedicated detector fewer cameras can be used since they can be controlled to the exact location of an intrusion. Number of cameras required depends on camera type. -
Page 6: User Interface
5. User interface All settings are made through the web based user interface. This means there are no limits in hardware or software for using the systems, all that is needed is a modern web browser. The instructions for the user interface described below are valid for firmware 1.8. 5.1. -
Page 7: Unit Configuration
5.3.2. Unit configuration Open the sub-tab in the Installation and configuration window. Current settings are shown. To change TCP/IP settings, press "edit settings". Input fields appear to the right. Enter desired settings and press the save button. Remember to reload the page with the new IP address if changed. To change Login settings, press "edit settings". -
Page 8: Import And Export Settings
5.3.3. Import and export settings Alarm settings can be exported as a file for backup purposes and to copy the settings to other units. IP address and Login settings are not included in this file. Open the Import and export settings sub-tab in the Installation and configuration tab. Export all current alarm settings by pressing the Download button. -
Page 9: Firmware Update
5.3.4. Firmware update The Laser-Watch firmware can be updated to add new functions or resolve software issues. Open the Firmware update sub-tab in the Installation and configuration tab. Current firmware version is displayed. Press the Update firmware button to stop the firmware and enter the system bootloader. In the bootloader, you have the option to upload a new firmware, clear all settings (restore factory settings) and restore factory firmware. -
Page 10: Restart After Hardware Reset
Press Upload button. The firmware file will be uploaded to the Laser-Watch. When the file is uploaded, the unit will replace the firmware and then reboot the system with the new firmware. After a reboot the firmware settings page will be shown again. Press Start firmware button to restart the Laser-Watch with the new firmware. -
Page 11: Alarm Zones Actions
Steps 6 to 9 covers advanced settings. These settings are not necessary, but can be used to adapt the zones for special purposes. We recommend to thoroughly verify the function of the alarm zone if these settings are changed. Press "Advanced settings". Three new settings are shown. The sensitivity bar allows adjustment of the object detection sensitivity. -
Page 12: Reference Point
5.4.3. Reference point Reference point alarm is a tampering alarm used to detect if the sensor has moved or been covered. Reference point alarm is only possible when the product is aligned in a manner where there is a reference object and the signal stability is good. In the Alarm settings tab, open the Reference point sub tab. -
Page 13: Heartbeat
5.4.4. Heartbeat Heartbeat is a tampering alarm used to detect cable break and product malfunction by periodically sending a short message to the server. In the Alarm settings tab, open the Heartbeat sub tab. Press "Edit settings". Input fields appear on the right. Enter desired URL for Heartbeat, for example the VMS server. -
Page 14: Weather Alarm
5.4.5. Weather alarm The unit constantly evaluates the measurement signal to determine the weather intensity at a scale from 0 to 10 to allow alarm actions based on weather intensity. In the Alarm settings tab, open the Weather alarm sub tab. Press "+ Add weather alarm".
Need help?
Do you have a question about the GJD515 and is the answer not in the manual?
Questions and answers