Table of Contents
Advertisement
Quick Links
Part No: 54558
Volts AC
120V~ 60Hz
Cutting capacity
1/4" (6mm) - in steel
2-1/2" (65mm) - in wood
THANK YOU FOR BUYING AGRI-SUPPLY JIG SAW.
Your new jig saw has been engineered and manufactured to high standard of dependability, ease of
operation, and operator safety. Properly cared for it will give you years of trouble-free performance.
CAUTION!: Carefully read through this entire operator's manual before using your new jig
saw.
Pay close attention to all Safety Rules, Warnings, and Cautions. If you use your jig saw properly and
only for what it is intended, you will enjoy years of safe, reliable service.
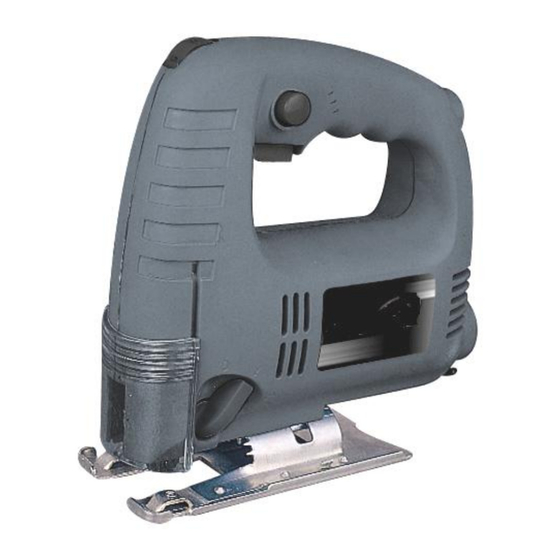
INSTRUCTION MANUAL
Jig Saw
SPECIFICATIONS
Rating
4A
Base tilting
0 – 45
o
No-load stroke (SPM)
500 – 3,200
Stroke length
20mm
Advertisement
Table of Contents

Related Manuals for agri supply 54558

Summary of Contents for agri supply 54558
- Page 1 INSTRUCTION MANUAL Jig Saw Part No: 54558 SPECIFICATIONS Volts AC Rating No-load stroke (SPM) 500 – 3,200 120V~ 60Hz Cutting capacity Base tilting Stroke length 1/4” (6mm) - in steel 0 – 45 20mm 2-1/2” (65mm) - in wood THANK YOU FOR BUYING AGRI-SUPPLY JIG SAW.
-
Page 2: General Safety Rules
SAVE THIS MANUAL FOR FUTURE REFERENCE GENERAL SAFETY RULES WARNING: Read and understand all instructions. Failure to follow all instructions listed below may result in electric shock, fire and/or serious personal injury. SAVE THESE INSTRUCTIONS Work Area Keep your work area clean and well lit. Cluttered benches and dark areas invite accidents. - Page 3 Tool Use and Care Use clamps or other practical ways to secure and support the work-piece to a stable platform. Holding the work by hand or against your body is unstable and may lead to loss of control. Do not force tool.
-
Page 4: Know Your Jig Saw
UNPACKING Your jig saw has been shipped completely assembled and ready for use. Inspect it carefully to make sure no breakage or damage has occurred during shipping. Warning: If any parts are damaged or missing, return it back to obtain replacements before attempting to operate it. -
Page 5: Operation
ASSEMBLY Assembling the saw blade (Figure 2) NOTE: Before assembling the saw Socket screw blade, ensure that the plug has been removed from the main supply. Move the see-through guard upward to expose the 2 socket Roller guide screws Loosen 2 socket screws using the Allen key provided. -
Page 6: Operating Hints
Base tilting adjustment 1. Using Allen key provided, loosen 2 bolts Base plate securing the base plate. (Fig. 4) 2. For preset angles, rotate the base plate so Allen key as to follow the angle scale on base plate at the designed angle (0 , 15 , 30 Bolt... -
Page 7: Pocket Cutting
Pocket cutting To cut material out, either drill a hole large enough to insert the jig saw blade or proceed as follows: Clearly mark the area to be cut. Position the jig saw over the marked area with the rounded front edge of the base plate resting on the surface. -
Page 8: Warranty
WARRANTY Full 1 Years Home Use Warranty If this Jig Saw is founded to be defective in materials or workmanship within a 1 year period from the date of purchase, then the tool will be replaced free of charge Warranty replacement is only available by returning the tool to the place of purchase along with the receipt showing date of purchase...
Need help?
Do you have a question about the 54558 and is the answer not in the manual?
Questions and answers