
Related Manuals for Azure 200

Summary of Contents for Azure 200
- Page 1 Azure Imaging Systems User Manual for the Azure 200, Azure 280, Azure 300, Azure 300Q, Azure 400, Azure 500, Azure 500Q, Azure 600 Rev 20210831...
- Page 2 U.V. protection glasses or face shield. The Azure Imaging System comes with a built-in ultraviolet (UV 200-400nm) Transilluminator. Exposure to UV radiation can cause permanent damage to the eyes and skin. The enclosure confines the radiation within the system and shields the user from exposure.
- Page 3 Laser repair or replacement may be performed in the field by Azure Biosystems authorized service technicians, or by return of the entire system to Azure Biosystems, or its authorized service location(s) for laser repair or replacement. Lasers are deemed to be faulty or defective if users discover images that show...
- Page 4 The Azure Imaging System has a power supply that automatically chooses the correct voltage for your country or region. CE Conformity The following Azure Imaging Systems, models: 200, 280, 300, 300Q, 400, 500, 500Q, 600 are in conformity with the provisions of the following EC Directives, including all amendments, and national legislation implementing these directives: •...
- Page 5 Changes or modifications not expressly approved by the party responsible for compliance could void the user’s authority to operate the equipment. Contact Azure Biosystems, Inc. 6747 Sierra Court, Suite A-B • Dublin, CA 94568 • USA info@azurebiosystems.com • (925) 307-7127 • Fax (925) 905-1816 Azure Imaging System User Manual Page 4...
-
Page 6: Table Of Contents
Nucleic Acid Gels with Dyes Imaging Mode Protein Gels with Dyes Imaging Mode True Color Imaging Mode Custom Imaging Mode Image Gallery Overview Gallery Image Adjustment Functions Settings Overview General Create Darkmasters, Focus Calibration, Create Flats Azure Imaging System User Manual Page 5... -
Page 7: Introduction
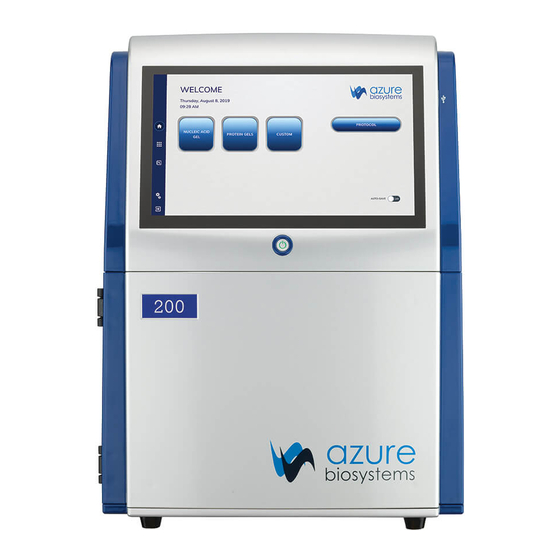
1. Introduction The Azure Imaging System offers high performance imaging for a wide variety of applications. The family of instruments includes the following products: 200, 280, 300, 300Q, 400, 500, 500Q, and 600. Select which one fits your applications now, and learn more about upgrading later when your needs change. -
Page 8: Table Of Specifications
Upgrades available for chemiluminescence, RGB fluorescence and NIR fluorescence. • Q Module—Upgrade the Azure 500 and Azure 300 to include a green fluorescence Q module to add a dedicated channel for total protein normalization in quantitative Western blots. 1.2 Contacting Technical Support For questions about installation, setup or general use of the system, please contact support@azurebiosystems.com... -
Page 9: Installation And Setup
The Azure Imaging System should be installed at no more than 3000 meters above sea level. The unit should be placed out of direct, bright sunlight or illumination sources to guard against light leaks. -
Page 10: Software Installation
The Azure Capture Software is pre-installed. When the 13.3-inch touchscreen computer running Windows 10 Enterprise is powered on, launch the Azure Imaging Systems software from the icon on the desktop. If the software has been closed, double click on the desktop icon. -
Page 11: Image Capture Overview
Image Capture Overview The Azure Imaging System captures high quality images with an intuitive user interface. The icon based software allows you to program multiple applications with the touch of a button. There is no need to adjust the focus on your sample. Simply put your sample in the system, select an exposure time, then hit capture. -
Page 12: Key Definitions That Apply To All Imaging Types
• Auto-exposure to region – set area that you want the autoexpose to focus on. • Capture selected region – generate an image of the selected region of interest. Azure Imaging System User Manual Page 11... -
Page 13: Chemi Blot Imaging Mode
• Auto-exposure to region – set area that you want the autoexpose to focus on. Azure Imaging System User Manual Page 12... -
Page 14: Fluorescent Labels Imaging Mode
17. After capture, images will appear in the Gallery automatically. The Gallery can be reached at any time by pressing the Gallery icon. 18. Go back one screen at any time by pressing the back icon. Azure Imaging System User Manual Page 13... - Page 15 Remove the black tray from its position on the inside of the door, and place the fluorescent blot or gel in the center of the tray. Then place the tray and sample on the bottom or top shelf inside the imager. Close the Azure Imaging System door. Select Fluorescent Labels from the home screen.
-
Page 16: Nucleic Acid Gels With Dyes Imaging Mode
Open door and place sample directly on trans UV illuminator if using UV modes. If using Blue light for the excitation, place sample on the black tray and place in the imager. Close the Azure Imaging System door. Select Nucleic Acid Gels with Dyes from the home screen. - Page 17 11. UV Override is useful for band excision, or pre-warming the UV bulbs. Click the UV Override button to engage. • For band excision, click the Band Excision button and use the key located on the door of the Azure Imager to manually override the UV safety mechanism in the door lock of the imager. Use the correct protection described in the UV Safety Precautions sections of this manual.
-
Page 18: Protein Gels With Dyes Imaging Mode
Place sample in the center of the field of view (UV Transilluminator or Black Tray, depending on the detection mode). Close the Azure Imaging System door. Select Protein Gels with Dyes from the home screen. By default, the software will be set to gray as the primary channel. Click the gray Choose a Channel button to select the desired dye for imaging. -
Page 19: True Color Imaging Mode
• Use Translucid Sample Trans for imaging translucent samples such as Coomassie gels using the Trans White Table Note: This feature is only available in the Azure 400 and 600 imagers. Click Auto Image to capture image. The system will determine the optimal exposure using the Wide Dynamic Range exposure mode. -
Page 20: Custom Imaging Mode
If desired, the focus can be manually adjusted by moving the slider. Note: For Azure 200, the focus does not need to be adjusted for the UV table or black tray. Select to adjust the exposure type for each channel. Select between the different auto exposure modes or choose Manual Exposure Type to enter the desired exposure time. - Page 21 15. Go back one screen at any time by pressing the back icon. Azure Imaging System User Manual Page 20...
-
Page 22: Image Gallery Overview
The images must be the same size and resolution. Create a multichannel image by merging between two and four channels. Create Single Channel separates multiplex images into individual, single-channel images. Azure Imaging System User Manual Page 21... -
Page 23: Image Adjustment Functions
Only images saved as a .jpg, BMP, and PUB tiff (8-Bit images) will display with the adjusted contrast settings. Azure recommends using .tiff formats for images that need to be quantified, and saving a copy in 8-Bit format with contrast adjustments for publication purposes. -
Page 24: Settings Overview
• Rapid capture – will calculate an optimal exposure time based on the signal ceiling entered set here. The ceiling range is 0 to 65,535. • Simulation Mode – allows you to run the software even if not connected to an Azure Imaging System. 5.2 Create Darkmasters, Focus Calibration, Create Flats Darkmasters, Focus Calibration and Flats are set at the time of manufacture. - Page 25 • info@azurebiosystems.com Copyright © 2021 Azure Biosystems. All rights reserved. The Azure Biosystems logo and Azure Biosystems are trademarks of the ® Company. All other trademarks, service marks and trade names appearing in this brochure are the property of their respective owners.
Need help?
Do you have a question about the 200 and is the answer not in the manual?
Questions and answers