
Related Manuals for Azure c150, c200, c300, c400, c500, c600

Summary of Contents for Azure c150, c200, c300, c400, c500, c600
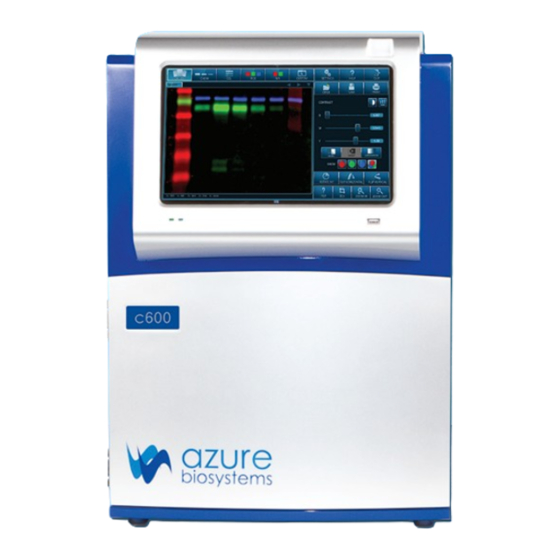
- Page 1 Azure cSeries ™ User Manual for the c150, c200, c300, c400, c500 and c600 BLUE WHITE CHEMI LIGHT LIGHT Rev 20150428 Azure™ cSeries User Manual Page 1...
- Page 2 The Azure cSeries imaging systems belongs to Class A equipment, and fulfills the limit values of table 3 but not table 4 of EN 61326:1997+A1+A2+A3. It may become necessary to defeat the safety lock or operate the transilluminator outside the system for service.
- Page 3 Laser repair or replacement may be performed in the field by Azure Biosystems authorized service technicians, or by return of the entire system to Azure Biosystems, or its authorized service location(s) for laser repair or replacement. Lasers are deemed to be faulty or defective if users discover...
- Page 4 If any defect occurs in the instrument during this warranty period, Azure Biosystems, Inc. will repair or replace the defective parts at its discretion without charge. The following defects, however, are specifically excluded: •...
-
Page 5: Table Of Contents
Save Acquired Image Settings Help Quit Tablet and Windows Tools ® Tablet Specifications How to Power Off/Restart the Tablet How to Access the Keypad Appendix A: Installing a New Version of the cSeries Capture Software Azure™ cSeries User Manual Page 4... -
Page 6: Introduction
UV transilluminator. For Chemi blots, it can be placed on the UV transilluminator, or on the chemi shelf in the cabinet. • USB Memory Stick – The Azure Biosystems memory stick contains files relevant to your imaging system. -
Page 7: Table Of Specifications
The Azure cSeries imaging system should be installed at no more than 3000 meters above sea level. 2.2 Connecting to Power The power entry module is located in the lower right on the back panel of the system. -
Page 8: Software Installation
USB port on the system. 3. cSeries Capture Software Overview Azure cSeries captures high quality images with a very simple and intuitive user interface. The icon based software allows you to set up the instrument for different applications by simply touching one button. - Page 9 A keypad will appear for you to name your file. Note: Azure does not recommend saving images to the tablet computer, in order to maintain a fast processing speed for the application.
-
Page 10: Gel Applications
Maximum exposure time is 30 seconds. 4. Hit CAPTURE. The software will direct the camera to collect the image, and the final image will be displayed in the Gallery tab. Azure™ cSeries User Manual Page 9... -
Page 11: B Band Excision And Light Safety Switch
Note: Marker feature works optimally when taken on the bottom, UV transilluminator shelf position. For all blots, use the blot tray which is stored in the door. The blot tray provides a dark background to improve the contrast on the blot image. Azure™ cSeries User Manual Page 10... -
Page 12: A Imaging Workflow For Chemiluminescent Applications
For all RBG blots, use the Blot Tray on the UV transilluminator position only. The blot tray provides a dark background to improve the contrast on the blot image. Placing this Tray on the UV transilluminator position provides even illumination for your samples. Azure™ cSeries User Manual Page 11... -
Page 13: Nir Applications (C500 And C600)
. Auto exposure: autoexpose will calculate the best imaging time for you image. After selecting AUTOEXPOSE, simply press CAPTURE. You can choose auto exposure for all, one, or two channels. 4. Select the resolution. The higher the resolution, the longer we recommend setting your exposure time. Azure™ cSeries User Manual Page 12... -
Page 14: Custom Applications
Please use a USB storage device, or if the system is networked, save to a network location. There are three USB port, one in the front and two on the right side panel. Azure™ cSeries User Manual Page 13... -
Page 15: Settings
Cache 1 MB Bluetooth Standard Memory 2 GB Operating System Windows Flash Memory 32 GB Platform Capacity Operating System Genuine Windows 8 Screen Size 10.1” Screen Mode Operating System 32-bit Architecture Aspect Ratio 16:9 Azure™ cSeries User Manual Page 14... -
Page 16: How To Power Off/Restart The Tablet
Swiping from the right to left on the right side of the screen to bring up the right side toolbar. b. Select SETTINGS. c. Select POWER. d. Select SHUT DOWN or RESTART. 7.2 How to Access the Keypad The keypad can be accessed on the bottom screen menu bar. Azure™ cSeries User Manual Page 15... -
Page 17: Appendix A: Installing A New Version Of The Cseries Capture Software
Please note: you need to be logged in an Admin account to install new software on your computer. If you are using the Azure provided tablet, the admin password is admin. 1. Swipe from the right of the screen, and click the SETTINGS tab. - Page 18 NEXT. 14. On the next screen, accept the agreement. 15. Select FINISH on the next screen in this installation process. 16. The next screen will be the 32 bit software setup screen. Select NEXT. Azure™ cSeries User Manual Page 17...
- Page 19 Copyright © 2013 Azure Biosystems, Inc. All rights reserved. The Azure Biosystems logo and Azure™ are trademarks of the Company. SYBR is a trademark of Invitrogen Corporation.
Need help?
Do you have a question about the c150, c200, c300, c400, c500, c600 and is the answer not in the manual?
Questions and answers