
Related Manuals for G-Technology G-RAID3

Summary of Contents for G-Technology G-RAID3
-
Page 1: Table Of Contents
G-RAID Product Guide G-RAID ™ Installation Guide G-Technology Inc. Tel: (310) 449-4599 Fax: (310) 449-4670 support@g-technology.com TABLE OF CONTENTS 1. INTRODUCTION 2. SAFETY PRECAUTIONS 3. SYSTEM REQUIREMENTS 4. WHAT’S IN THE BOX 5. G-RAID 6. INSTALLING G-RAID 7. INITIALIZING G-RAID 7.1 Mac OSX... - Page 2 G-RAID Product Guide Page 2...
- Page 3 G-RAID Product Guide Page 3...
-
Page 4: Introduction
G-RAID features a quad interface with 3 Gbit eSATA, FireWire 400, FireWire 800 and USB2.0 connectivity, and is available in storage capacities up to an amazing 3TB! When connected via eSATA, G-RAID provides data transfers rates in excess of 200 MB/second to support the most demanding professional content creation applications including Final Cut Studio. -
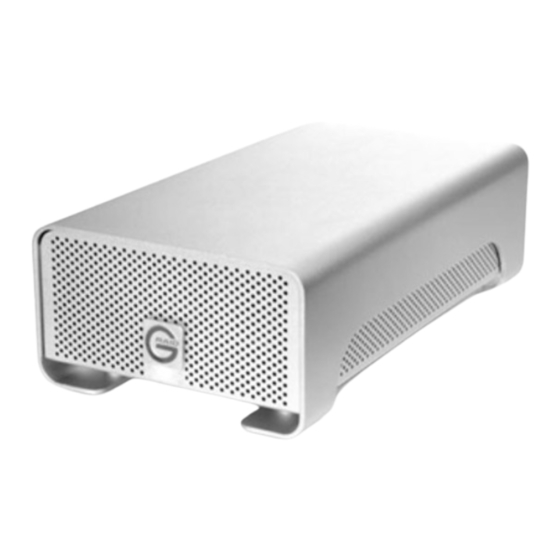
Page 5: G-Raid3 Overview
G-RAID Product Guide 5. G-RAID3 OVERVIEW Attention Mac OS X Users G-RAID is set up at the factory for use with Mac OS X systems. If you are running Mac OS X, G-RAID will mount on the OS X desktop right out of the box. -
Page 6: Initializing G-Raid
, follow the 4. Set the Volume Scheme: to 1 Partition. Enter a Volume Name under Volume Information (in this example “G-RAID3”) and set Format to Mac OS Extended as shown below. Note: Alternatively, G-RAID selecting the desired number of partitions from the Volume Scheme pull-down menu. -
Page 7: Windows 2000/Xp
G-RAID Product Guide 5. Click on the <Partition> button. The dialog box shown below will appear. Click on the <Partition> button to continue. When partitioning complete, displayed in the left-hand panel as shown below. 7. Exit the Apple Disk Utility. 8. - Page 8 G-RAID Product Guide 4. Click on the <OK> button to continue. 5. The following window will appear. G-RAID identified as Basic and Online. 6. Right-click on the Disk 1 “Unallocated” bar entry and select New Partition… from the pull-down menu as shown below.
- Page 9 10. Windows will automatically assign a drive letter, in this example “D”. Accept this assignment and click on the <Next> button to continue. 11. Enter a Volume Label: (in this example, G-RAID3), check the Perform a quick format box and click on the <Next> button to continue.
-
Page 10: Cross Platform Use
G-RAID Product Guide 12. The following window will appear. Click on the <Finish> button to continue. 13. Windows will format the volume and then display the following window. Disk 1 is now identified as G-RAID Exit the Computer Management console 14. -
Page 11: Unmounting/Disconnecting G-Raid
“Erase” button at the top as shown. Select MS-DOS File System from the drop down menu and Enter “G-RAID3” in the Name field. 3. Click on the erase button and the screen on the next page will appear. -
Page 12: Optimizing Data Transfer Rates
(310) info@g-technology.com. 11. LIMITED WARRANTY G-Technology Inc. (G-Tech) warrants your product against any defect in material and workmanship, under normal use, for the designated warranty period. become defective within the warranty period, G-Tech, will at its discretion, repair or replace the product. - Page 13 G-Tech in the original shipping container. For more information on how to obtain warranty service, an RMA number or to acquire shipping materials, contact G-Tech at support@g-technology.com. IN THE EVENT A PRODUCT BECOMES DEFECTIVE DURING THE WARRANTY PERIOD, THE PURCHASER’S EXCLUSIVE REMEDY SHALL BE REPAIR OR REPLACEMENT AS PROVIDED ABOVE.
Need help?
Do you have a question about the G-RAID3 and is the answer not in the manual?
Questions and answers