Advertisement
Table of Contents
G-RAID
Product Guide
2
G-RAID
Installation Guide
G-Technology Inc.
Tel: (310) 449-4599
Fax: (310) 449-4670
support@g-technology.com
™
2
P/N GR21207 RevA
TABLE OF CONTENTS
8.1 Mac OSX
8.2 Windows 2000/XP
Page 1
Advertisement
Table of Contents

Related Manuals for G-Technology G-RAID2

Summary of Contents for G-Technology G-RAID2
-
Page 1: Table Of Contents
Fax: (310) 449-4670 support@g-technology.com TABLE OF CONTENTS 1. INTRODUCTION 2. SAFETY PRECAUTIONS 3. SYSTEM REQUIREMENTS 4. WHAT’S IN THE BOX 5. G-RAID2 OVERVIEW 6. INSTALLING G-RAID2 7. INITIALIZING G-RAID2 7.1 Mac OSX 7.2 Windows 2000/XP 7.3 Cross Platform use 8. UNMOUNTING/DISCONNECTING G-RAID2 8.1 Mac OSX... - Page 2 G-RAID Product Guide Page 2...
- Page 3 G-RAID Product Guide Page 3...
-
Page 4: Introduction
(310) 449-4599. Please keep the shipping container and packing materials. In the unlikely event that you need to return G-RAID2 to us for any reason, you must use the G-Tech shipping container. If the product is returned damaged caused by improper packaging, the warranty will be void and liability will rest with the user. -
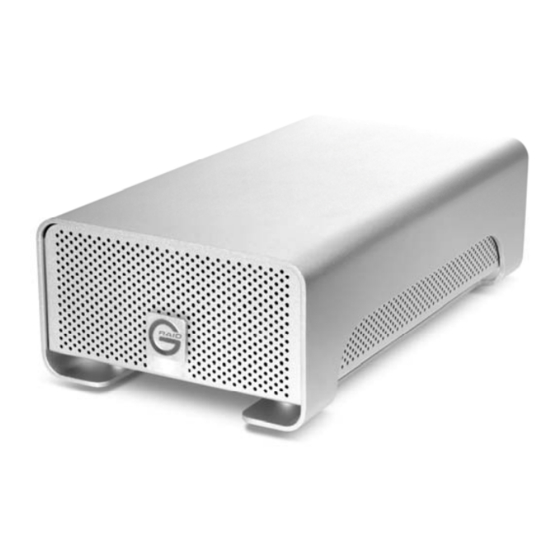
Page 5: G-Raid2 Overview
Connector 1. Connect the 4 pin plug from the power supply “brick” to the power connector on the rear of the G-RAID2 and plug the AC cable in to a surge protector or wall outlet. 2. Connect the G-RAID2 to your system via the FireWire 400, USB 2.0 Port... -
Page 6: Initializing G-Raid2
G-RAID Product Guide 7. INITIALIZING G-RAID2 G-RAID2 is set up at the factory for use with Mac OS X systems. If you are running Mac OS X, G-RAID2 will mount on the desktop right out of the box. If it becomes necessary re-format instructions below. -
Page 7: Windows 2000/Xp
8. G-RAID2 will be displayed on the desktop as shown. G-RAID2 is now set up for use!! 7.2 Windows 2000/XP 1. Power on G-RAID2, wait 10 seconds, then power on your computer. 2. Open the Disk Management utility by right-clicking on the My Computer icon on the desktop and selecting “Manage”... - Page 8 G-RAID Product Guide 4. Click on the <OK> button to continue. 5. The following window will appear. G-RAID2 (Disk 1) is now identified as Basic and Online. 6. Right-click on the Disk 1 “Unallocated” bar entry and select New Partition… from the pull-down menu as shown below.
- Page 9 <Next> button to continue. This will create one large volume using all of the available space on G-RAID2. Note: Multiple partitions can be created on G-RAID2. Consult your Windows documentation for instructions on setting up multiple partitions. 10. Windows will automatically assign a drive letter, in this example “D”.
-
Page 10: Cross Platform Use
12. The following window will appear. Click on the <Finish> button to continue. 13. Windows will format the volume and then display the following window. Disk 1 is now identified as G-RAID2 (E:). Exit the Computer Management console 14. G-RAID2 will now be displayed as an available hard disk drive under My Computer as shown below. -
Page 11: Unmounting/Disconnecting G-Raid2
Windows OS to mount MAC formatted drives. (www.macdrive.com) 8. UNMOUNTING/DISCONNECTING G-RAID2 A great feature of G-RAID2 is its ability to be connected and disconnected while your computer is running. failures and/or data loss it is important to follow the steps below when unmounting/disconnecting G-RAID2 from your computer. -
Page 12: Optimizing Data Transfer Rates
G-RAID Product Guide 9. OPTIMIZING DATA TRANSFER RATES G-RAID2 can be connected to any Mac or PC equipped with a FireWire 400, FireWire 800 or USB port. performance, G-RAID2 should be connected via a FireWire 800 port. For maximum performance on Mac and PC computers that do...
Need help?
Do you have a question about the G-RAID2 and is the answer not in the manual?
Questions and answers