Advertisement
You will need:
Pencil, tape measure, drill, screwdriver, pliers, and appropriate fasteners
1
Choose the Correct Fastener
1 1/2" #8 hex head wood screws (included).
2
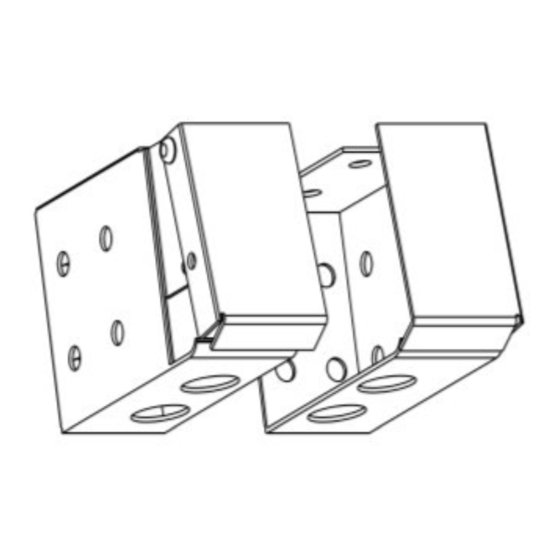
Prepare Brackets
Use the following number of center support installation brackets based on the blind width:
Revision 110420
Made in America
2" and 2 1/2" Basswood and Fauxwood
Installation Guidelines
Up to 63"
2612 West Townley Ave, Suite 5, Phoenix, AZ 85021
Phone: 602-995-9659 Fax: 602-995-7157
Alternative fasteners should be used for metal,
brick, tile, concrete or other material installations
(not included in HOME DECOR hardware
package).
63" - 84"
0
1
Open the front of the bracket by pressing on the
bottom of the bracket to release the locking tab,
while lifting the front gate.
Greater than 84"
2
HII-1
Advertisement
Table of Contents

Related Manuals for Home Decor Basswood

Summary of Contents for Home Decor Basswood
- Page 1 Made in America 2” and 2 1/2” Basswood and Fauxwood Installation Guidelines You will need: Pencil, tape measure, drill, screwdriver, pliers, and appropriate fasteners Choose the Correct Fastener 1 1/2” #8 hex head wood screws (included). Alternative fasteners should be used for metal,...
- Page 2 Made in America Mark the Bracket Locations For Outside Mount Installations: Position the box brackets at each end of the headrail. When using a single center support bracket, center it between the box brackets. For more than one center support bracket, space the support brackets evenly, not more than 30”...
- Page 3 Made in America Valance Installation HOME DECOR’s inside mount 1/2” return valances come preassembled with metal valance clips. Attach the loose plastic valance clips to the front of the headrail, one at each end. Space any remaining clips evenly. Press the slot in the Valance against the bottom post of the Valance Clip and rotate it upwards.
- Page 4 Made in America Operating Instructions: To lower the blind: Pull the cord down and towards the center of the shade to unlock the cord. Then, slowly release the cord until the shade reaches the desired location. Move the cord past the outer edge of the shade and let go to lock the cord. Guide the blind down with your hand.
Need help?
Do you have a question about the Basswood and is the answer not in the manual?
Questions and answers