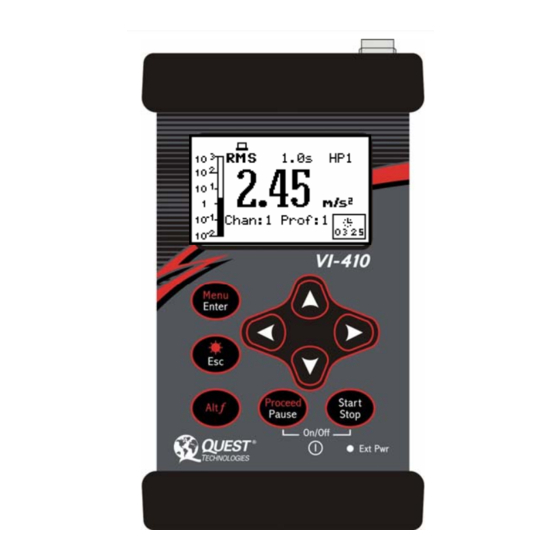
Advertisement
Calibrating the VI-410
For vibration studies, the x-axis, y-axis, and the z-axis are calibrated using an oscillating source. An
optional hand-held shaker calibrator may be included in your start-up kit or is available to purchase via the
parts listing. (Please see the price listing or contact Quest for more information.)
On the VI-410, there are two methods to calibrate.
By measurement - this entails connecting a calibrator to the VI-410, turning it on, and allowing the
output to stabilize. Once the desired frequency and amplitude has been reached, this is entered and
stored into the VI-410 (or in QSP-II).
By sensitivity – this entails manually entering in the instrument's calibrated measurement indicated on
the instrument's certification papers. (The instrument is factory calibrated before it is shipped with
certification papers.)
Connecting the handheld shaker to the accelerometer
The handheld shaker produces a known vibration acceleration rate and frequency. It is used to adjust the
instrument to a constant vibration level of 1 g.
When using, the accelerometer is attached to the shaker using either the threaded stud (for the z-axis) or
with a supplied flat mounting plate and supplied bees-wax (for the x-axis and y-axis). Once connected, the
shaker is turned on and the adjusted level is selected and stored on the instrument.
Connecting the shaker and accelerometer
For the Z-axis
1.
For the X-axis and Y-axis
2.
Technical Tip
Page 1 04/2009
, please follow these steps:
Twist the threaded stud into the top of the shaker. (It will fit tightly.)
Attach the accelerometer to the calibrator.
Figure 1-1: Attaching accelerometer to calibrator
Attach the accelerometer cable to the accelerometer and then to the instrument.
Figure 1-2: Attaching accelerometer cable to instrument
Remove the threaded stud from the top of the shaker and place in the storage case.
Place the flat mounting plate over the top crevice.
Using the bees-wax as a type of adhesive, apply a very small amount with the tip of your
finger nail and spread it on top of the flat mounting disc.
Place the accelerometer in the X-axis direction onto the adhesive. (Repeat this process for
Y-axis).
Lastly, attach the accelerometer cable to the accelerometer and then to the instrument.
**NOTE: when attaching the cable, be careful not to accidentally pull the
accelerometer off of the adhesive/bees-wax.
Attach the accelerometer
to the calibrator by twisting
it for a tight fit.
,
please follow these steps:
Advertisement
Table of Contents

Summary of Contents for Quest Engineering VI-410
- Page 1 On the VI-410, there are two methods to calibrate. By measurement - this entails connecting a calibrator to the VI-410, turning it on, and allowing the output to stabilize. Once the desired frequency and amplitude has been reached, this is entered and stored into the VI-410 (or in QSP-II).
- Page 2 Once you have connected the devices together you are ready to run a calibration test. Menu path: Function>Calibration> >Channel X (1-3) >By Measurement>Calibration Connect the calibrator and accelerometer to the VI-410 (as explained above in “Connecting the shaker and accelerometer”.
- Page 3 You can calibrate the instrument by inputting values from the instrument’s calibration card/certificate. Note: on a yearly basis, you may want to send the VI-410 to Quest Technologies for factory calibration to ensure the instrument is setup correctly with the appropriate calibration.
- Page 4 To save, press Save As key and name the new setting. To send to the instrument, ensure the VI-410 is connected via a USB cable to your pc. Press the “Send to Instrument” key. Viewing last calibration Calibration History In calibration history screen, you can view up to 10 last calibration records.


Need help?
Do you have a question about the VI-410 and is the answer not in the manual?
Questions and answers