
Related Manuals for Nuu Garden AH001

Summary of Contents for Nuu Garden AH001
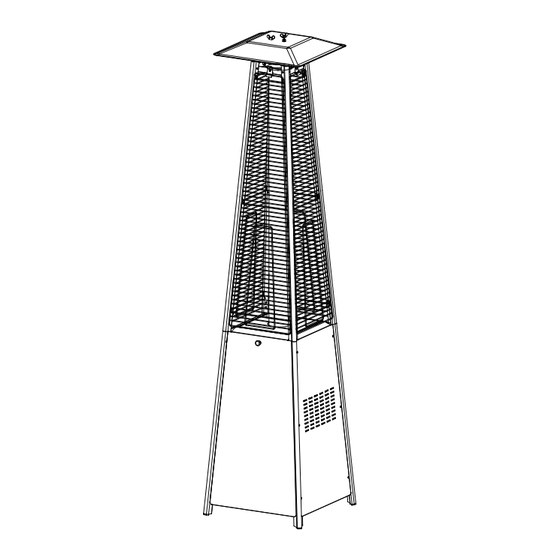
- Page 1 NUUGARDEN USA Nuu Garden Corp. Pyramid Gas Patio Heater Add: 6366 Corley Road, Norcross GA 30071. SKU: AH001 Tel: (800) 257-7108 Web: http://www.nuugarden.com E-mail: service@nuugarden.com...
- Page 2 DAN ER If you smell gas: 1. Shut off gas to the appliance. 2. Extinguish any open flame. 3. If odor continues, keep away from the appliance and immediately call your gas supplier or fire department. WARNIN Do not store or use gasoline or other flammable vapors and liquids in the vicinity of this or any other appliance.
-
Page 3: Package Contents
PACKAGE CONTENTS SAFETY INFORMATION Please read and understand this entire manual before attempting to assemble, operate or install Reflector the product. This manual contains important information about the assembly, operation and maintenance of Flame Screen this patio heater. General safety information is presented in these first few pages and is also located throughout the manual. - Page 4 PREPARATION SAFETY INFORMATION Before beginning assembly of product, make sure all parts are present. Compare parts with DANGER WARN NG package contents list and hardware contents above. If any part is missing or damaged, do not attempt to assemble the product. Contact customer service for replacement parts. Estimated Assembly Time: 60 minutes Tools Required for Assembly (not included): Phillips screwdriver w/ medium blade.
- Page 5 ASSEMBLY INSTRUCTIONS ASSEMBLY INSTRUCTIONS 1. Assemble the wheel assembly to the 3. Assemble block belt. bottom plate. Fix the wheel assembly to the Fix the block belt to the 2pcs of lower support bottom plate using 4pcs bolt M6X12 and 4pcs behind the front door, using 2pcs screw M5X12.
- Page 6 ASSEMBLY INSTRUCTIONS ASSEMBLY INSTRUCTIONS 5. Assebmle the flame screen to the upper 7. Carefully install the glass tube by lifting up support. and inserting through the center hole in the Secure the flame screen to the upper support upper plate. Ensure the black silicone ring is using 8pcs screw 3/16”.
- Page 7 ASSEMBLY INSTRUCTIONS ASSEMBLY INSTRUCTIONS 9. Attach the three side panels to the heater 11. Screw gas hose and regulator to propane cylinder using 18pcs screw 3/16”. (not included). Do not cross-thread. Note : Do not cover the front side where the control knob is.
-
Page 8: Operation
ASSEMBLY INSTRUCTIONS OPERATION OPERATION INSTRUCTIONS A dented, rusted or damaged propane cylinder may be Leak Check hazardous and should be checked by your cylinder supplier. Never use a propane cylinder with a damaged WARNING valve connection. The propane cylinder must be constructed and marked •... - Page 9 OPERATION INSTRUCTIONS OPERATION INSTRUCTIONS 4. Push and release the igniter button until pilot flame is visible through DANGER the glass tube. 5. Once the pilot is lit, continue to depress the control knob for 30 seconds. • CARBON MONOXIDE HAZARD 6.
- Page 10 OPERATION INSTRUCTIONS OPERATION INSTRUCTIONS 9. Heater is away from gasoline or other flammable liquids or vapors. WARNING 10. Heater is away from windows, air intake openings, sprinklers and other water sources. 11. Heater is at least 24 in. on top and at least 36 in. on sides from combustible materials. FOR YOUR SAFETY 12.
-
Page 11: Care And Maintenance
CARE AND MAINTENANCE TROUBLESHOOTING Visually checking portions of the hose assembly located within the confines of the heater post. Inspect PROBLEM POSSIBLE CAUSE CORRECTIVE ACTION the entire hose assembly at least annually, disassembling the reflector and burner. Inspect the hose Wait until the propane cylinder Propane cylinder is frosted over assembly for evidence of excessive abrasion, cuts, or wear. -
Page 12: One-Year Limited Warranty
ONE-YEAR LIMITED WARRANTY This product is inspected, tested and carefully packaged to minimize the chance of damage during shipment. If a part within one year from the date of purchase proves to be defective in material or fabrication under normal use, the part will be repaired or replaced. The Company's obligation under the warranty is to replace or repair defective parts at our discretion.
Need help?
Do you have a question about the AH001 and is the answer not in the manual?
Questions and answers