Table of Contents
Advertisement
Quick Links
Advertisement
Table of Contents

Related Manuals for iGenix IG348R


Summary of Contents for iGenix IG348R
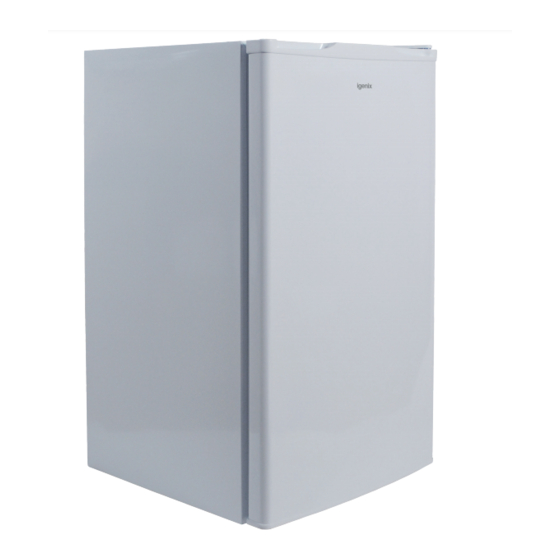
- Page 1 USER MANUAL 48cm Under Counter Fridge with 3* Ice Box IG348R Please read these instructions carefully before use and retain for future reference Before switching on you appliance Always check for any damage which may have been caused in transit...
-
Page 2: Table Of Contents
CONTENTS Important Safety Instructions ..........2-3 Specification .................4 Appliance Overview ..............5 Installation .................5-7 Operating Instructions ............8-9 Cleaning and Maintenance ..........10-11 Trouble Shooting Guide ............12 Fuse Replacement ..............13 Disposal Information ............... 13 Terms and Conditions and Warranty Information ..14-15 IMPORTANT SAFETY INSTRUCTIONS Read and follow all of the instructions even if you feel you are familiar with the product, and find a place to keep this manual handy... - Page 3 • Children shall not play with the appliance. • Children aged from 3 to 8 years are allowed to load and unload this appliance. • This appliance can be used by persons with reduced physical, sensory or mental capabilities or lack of experience and knowledge if they have been given supervision or instruction concerning use of the appliance in a safe way and understand the hazards involved.
-
Page 4: Specification
SPECIFICATION Supplier Name / Trade Mark Igenix Model Number IG348R Category Type Refrigerator with 3* Ice Box Energy Efficiency Class EU Eco-Label Award Annual Energy Consumption 157kwh/annual Freezing Capacity Fridge Storage Volume (Litre) and Applicable Star Rating Compartment Freezer Storage Volume (Litre) -
Page 5: Appliance Overview
APPLIANCE OVERVIEW 3* Ice Box Thermostat and Light Glass Shelf Door Shelves Salad Drawer Cover Salad Drawer Levelling Feet INSTALLATION Location and Air Circulation • The appliance must stand vertically on a flat, even surface, to level the appliance use the levelling feet by turning them until the appliance is as level as possible. - Page 6 Levelling the unit To level the appliance you will need to adjust the levelling feet found at the front of the appliance. If the appliance is not level the doors and magnetic seal will not align properly. Reverse the door The appliance door can be fitted to open to either the left or the right depending on its location.
- Page 7 9. Move the hinge cover from the left side to the right. 10. Rotate the ice box door and place the hinge side on the opposite side and then fix the door holder. 11. With help, gently tilt the appliance backwards to allow access to the bottom bracket.
-
Page 8: Operating Instructions
OPERATING INSTRUCTIONS Before using your Appliance • This appliance must be left to stand in an upright position for at least 4 hours before being switched on the first time to allow the coolant gases time to settle after the appliance is in place. •... - Page 9 Refrigerator compartments Type of food Door or balconies of fridge compartment • Foods with natural preservatives, such as jams, juices, drinks, condiments. • Do not store perishable foods. Crisper drawer (salad drawer) • Fruits, herbs and vegetables should be placed separately in the crisper bin.
-
Page 10: Cleaning And Maintenance
CLEANING AND MAINTENANCE Switch off the electrical supply and remove the plug from the mains socket before cleaning. Interior 1. Remove all food from the appliance and cover to help keep cool. 2. Remove all the shelves and salad crisper carefully from the appliance and wash in warm clean water with a soft cloth and dry thoroughly. - Page 11 Drainage Channel • The drainage channel must be cleaned regularly to prevent a build-up of impurities; this can be found on the interior back wall of your appliance. • Use a damp clean cloth and wipe the channel clean, then use a pipe cleaner or similar flexible object to clean the drainage hole to prevent blockages.
-
Page 12: Troubleshooting Guide
TROUBLESHOOTING GUIDE If you are having problems with your appliance, please use our troubleshooting guide below. If you are unable to resolve the issue using this guide please ring our Customer Service Department on 01473 271 272. Please have the model code, batch number and purchase information available. Fault Possible Cause Solution... -
Page 13: Fuse Replacement
FUSE AND MAINS PLUG REPLACEMENT Fuse Replacement (Class I) This appliance must be earthed. There are 3 screws on the plug, remove them and open the shell. Take out fuse and replace with a new fuse of the same Amp. Install the shell again and tighten the screws. DISPOSAL INFORMATION The European Directive 2012/19/EU on Waste Electrical and Electronic Equipment (WEEE), requires that old household... -
Page 14: Terms And Conditions And Warranty Information
lgenix Warranty Terms & Conditions This product is guaranteed for a period of 12 months as standard from the date of purchase against mechanical and electrical defects. You can extend your warranty for a further 12 months by registering your product. Upon registration we will cover your product for a period of 24 months from the original purchase date against any mechanical or electrical defects. - Page 15 To qualify for the 2 year warranty you must register your product within 30 days of purchase. The full Terms & Conditions of our warranty policy are shown on the opposite page. They are also available on our website. www.igenix.co.uk...
- Page 16 38 Bluestem Road, Ransomes Europark, Ipswich, IP3 9RR Tel. 01473 271 272 Disclaimer: Igenix operate a policy of continual improvement and development. We therefore reserve the right to change/alter the specification and appearance of our appliances without prior notice. All diagrams and images shown in this manual are for illustration purposes only.
Need help?
Do you have a question about the IG348R and is the answer not in the manual?
Questions and answers