Advertisement
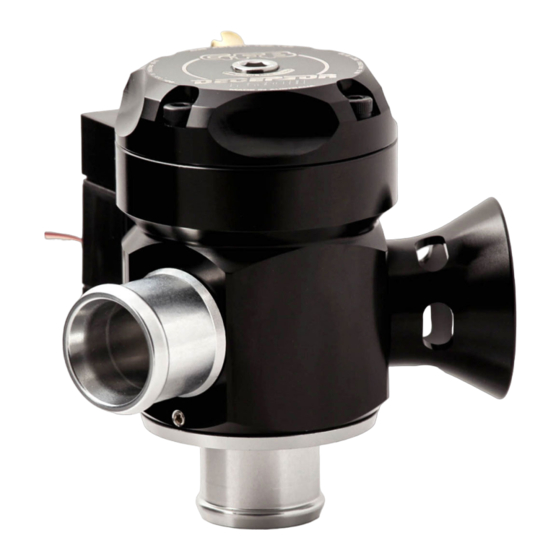
Fitting Instructions for GFB Deceptor Pro II (part # T9507)
Installing and wiring the in-car volume controller
Connect the red wire to a switched 12V power supply
inside the cabin – make sure this power supply is off
when the key is turned off, otherwise the unit will be
permanently powered.
Connect the black wire to
ground, most commonly this is
a bolt on the chassis.
Find
a
suitable
mounting
location for the head unit. Clean
both
mating
surfaces
methylated spirits or similar
cleaner
and
secure
controller using the supplied
double-sided tape. Press hard
and hold the unit for 30
seconds. Note that it takes up to
24 hours for the tape to develop
a strong bond.
Plug the head unit into the
wiring harness connector.
Feed the primary servo cable
(250cm section, covered with
black mesh sleeve) through the
firewall into the engine bay.
Often there is an existing grommet that can be used for this purpose. In any case, it is important to ensure that the lead
is protected where it passes through the firewall to prevent wear or damage.
Basic Head Unit Operation
WARNING: Do not attempt to manually rotate the noise adjustment, always apply power and use the
controller to change the venting bias. When testing your Deceptor Pro II, DO NOT put fingers or foreign
objects through the trumpet or plumb back ports. Doing so may result in personal injury or damage to the
blow-off valve.
with
the
The head unit features a "sleep" mode that dims the dial lighting and reduces power to
the servo motor after approximately 10 seconds.
When the unit is "sleeping" (i.e. dim lighting), press the dial briefly to wake it up, and
then make position adjustments by rotating the dial. The unit will return to sleep mode
after 10 seconds.
Advertisement
Table of Contents

Related Manuals for GFB Deceptor Pro II


Summary of Contents for GFB Deceptor Pro II
- Page 1 WARNING: Do not attempt to manually rotate the noise adjustment, always apply power and use the controller to change the venting bias. When testing your Deceptor Pro II, DO NOT put fingers or foreign objects through the trumpet or plumb back ports. Doing so may result in personal injury or damage to the...
- Page 2 GFB Respons TMS kit. Install the Deceptor Pro II valve, then re- connect the vacuum hose, the two hoses in front of the valve, and the turbo intake pipe, making sure to replace and tighten all bolts and hose clamps.
- Page 3 Contrary to popular belief, the spring pre-load DOES NOT need to be adjusted to suit different boost levels. Unlike other valve types on the market, the Deceptor Pro II will stay shut under full throttle conditions regardless of boost pressure or spring pre-load.
- Page 4 The unit will record this new position as the maximum atmosphere-venting limit. Now when you turn the dial fully clockwise, the Deceptor Pro II will only open as far as the point which you have just set.
Need help?
Do you have a question about the Deceptor Pro II and is the answer not in the manual?
Questions and answers