Table of Contents
Advertisement
Quick Links
Name
No. of
Description
Ports
A
2
100-240VAC 50/60Hz. Connect A1 and A2 to separate power circuits. Power switches, A3, correspond to the respective ports
Power
below.
B
PS/2 connector
1
PS/2 port.
C
3
HDMI (C1), Display port (C2), VGA (C3)
Video out
You may use a maximum of two video outputs simultaneously.
D
USB
6
USB keyboard, mouse, memory device, or DVD burner. USB 2.0 (D1 and D3) and USB 3.0 (D2)
E
Audio in/out
3
Line in (blue); line out (green) and microphone (pink).
F
10/100/1000 Ethernet
2
Dual on-board NICs. 2.5GB (F1) and 1GB (F2).
G
Serial port
2
Serial port.
H
Auxiliary Connections
20
For more information, see detail in Figures 2 and 3.
Table 1: Z-Series 4U IP server back panel
Auxiliary Connections
Figure 3: Z-Series 4U IP System auxiliary connections
September 2021, Rev A
©2021 Exacq Technologies, Inc
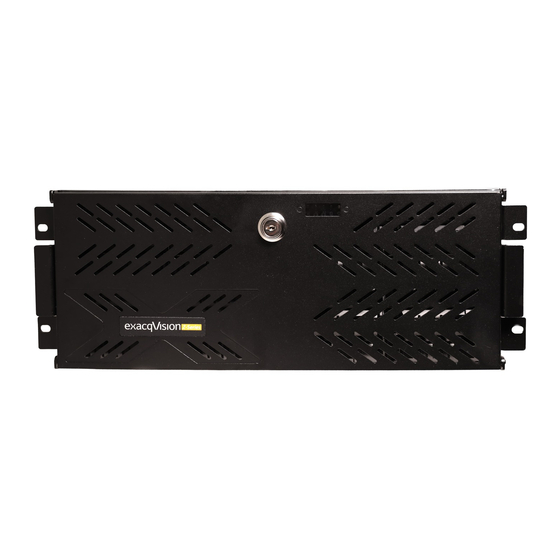
Z Series 4U IP NVR Series Quick Start Guide
Relay block connections and Alarm Outputs blocks
OUT3
Alarm output 3
OUT2
Alarm output 2
OUT1
Alarm output 1
G
Common for all inputs
NC
Normally closed relay output #1 (24V/1A max)
C
Relay common
NO
Normally open relay output #2 (24V/1A max)
G
Common for all inputs
Trigger Inputs
IN8
Trigger input 8
IN7
Trigger input 7
IN6
Trigger input 6
IN5
Trigger input 5
IN4
Trigger input 4
IN3
Trigger input 3
IN2
Trigger input 2
IN1
Trigger input 1
RS-485 block connections
Rx-
PTZ control
Rx+
PTZ control
Tx-
PTZ control
Tx+
PTZ control
Table 2: Z Series 4U IP System auxiliary connections
www.exacq.com
500-00108
Introduction
The exacqVision Z-Series is part of exacqVision's series of network video recorders (NVR). The exacqVision Z-Series 4U IP NVR provides high performance hardware with an exacqVision
surveillance video management software.
Installation
This is a Rack Mount System. Before turning on the exacqVision Z-Series server, ensure that you meet the following requirements:
Mounting and operating environment requirements
•
Mount the exacqVision server in a dust-free, and climate controlled location where the temperature is between 40°F to 95°F (4.5°C to 35°C), and the humidity level is less than 80% non-
condensing.
Note: Dust can cause components of the server to overheat, and elevated temperatures can contribute to premature hard
drive failures.
•
If the hard drives dispatch separately to the system, insert each drive into the appropriate hard drive slot if they are numbered.
•
If you use an outdoor camera, the server must connect permanently to the ground wire. Ensure that
you use an 18 AWG wire or larger to make the connection, and that you label the grounding screw
near the power connector with the image in Figure 1.
Electrical environment requirements
•
For maximum reliability, connect the exacqVision server to an online UPS. An online UPS, filters power surges and dips that can damage the server.
•
Connect a keyboard, monitor, and mouse to the server.
•
Connect the exacqVision server network interface cards (NIC) to the appropriate network switch ports.
•
It is recommended to use a cable with a ferrite core for connecting to monitors. If the cable does not have a ferrite core, the unit still performs as expected but may not meet CE safety regulation
standards.
•
Battery is replaceable by a skilled person.
Network connection requirements
•
If the video surveillance system does not have a physically isolated network, connect all IP cameras and one server NIC to a dedicated camera VLAN.
•
Install the camera manufacturer's software on a PC in this subnet, or configure the router to connect a client computer with the camera subnet.
•
This VLAN configuration reduces the chances of network traffic conflicts and unauthorized access to the cameras.
Initial startup
When you start the exacqVision Z-Series server for the first time, create a user name and password for the operating system, then create a root user name and password for the Enterprise Manager.
Turn on the exacqVision server.
Create a user name and password for the operating system when the logon dialog box appears.Configure operating system settings as required.
If prompted, log back on to the operating system with the user name and password you just created.
When you log back on, an exacqVision dialog box appears on the desktop. Create the exacqVision admin user name and password.
Note: This is not the same as the credentials you created to log on to the operating system. Use these credentials to log on to the exacqVision Server.
Z Series 4U IP NVR Series Quick Start Guide
Figure 1: Grounding wire
www.exacq.com
Advertisement
Table of Contents

Related Manuals for exacqVision Z Series


Summary of Contents for exacqVision Z Series
- Page 1 Initial startup PTZ control When you start the exacqVision Z-Series server for the first time, create a user name and password for the operating system, then create a root user name and password for the Enterprise Manager. PTZ control Figure 3: Z-Series 4U IP System auxiliary connections Turn on the exacqVision server.
- Page 2 Start the exacqVision client application. When the local client is launched for the first time, enter the exacqVision user name and password created during initial startup. Verify that the server appears in the Systems list with a status showing Connected.
Need help?
Do you have a question about the Z Series and is the answer not in the manual?
Questions and answers