Table of Contents
Advertisement
Quick Links
Advertisement
Table of Contents

Related Manuals for Home Fitness G80

Summary of Contents for Home Fitness G80
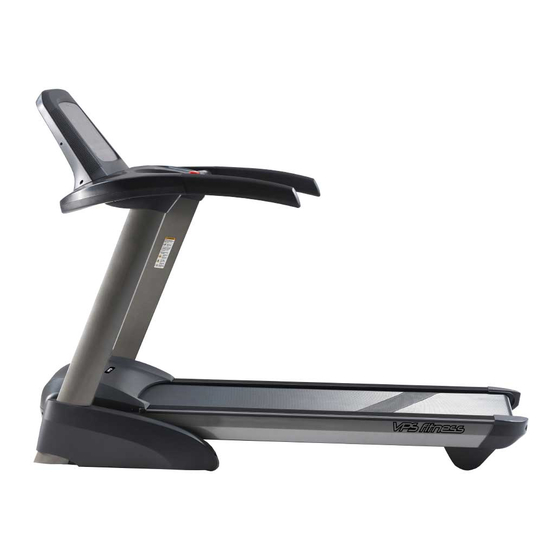
- Page 1 Owner’s Manual G80...
-
Page 2: Table Of Contents
Catalogue Assembly Instruction ....................3 Technical Data ......................10 Fold and Unfold, Transportation ................11 Safety instructions ....................13 Warming Up guide ....................15 Operation Guide ...................... 16 Trouble Shooting: ....................19 Exercise Safety Measures ..................19 Maintenance Guide ....................19 Maintenance Instruction .................. -
Page 3: Assembly Instruction
Assembly Instruction Below is the Parts List of this treadmill. Name Spec. Name Spec. Main Frame R Outer Cover L Post Button Allen Bolt M8*50 R Post Button Allen Bolt M8*15 Lower Console PH Truss Screw St4.2*15 Upper Console Round Allen Bolt M8*30 L Post Cover Inner Teeth Washer... - Page 4 Assembly Steps Step 1. Connect Cable A from #1 with Cable A from #3 firmly. Lock #2 & #3 onto #1 with #12, #13 and #16 slightly (not to firm), using Allen Wrench. Important: When connect the cables, be careful of the socket and plug. Do not pull the cable when connected.
- Page 5 Step 3. Connect Cable B from #4 with Cable B from #3 firmly. Put the wires into #3 neatly. Assemble #4 onto #2  with #13 and #16,using Allen Wrench. Important: When connect the cables, be careful of the socket and plug. Do not pull the cable when connected.
- Page 6 13 16 Step 4. Connect Cable C from #4 with Cable C from #5 firmly. Pre-lock #5 onto #4 with #15. Lock #6-L and #7-R onto #4 with #14. Important: When connect the cables, be careful of the socket and plug. Do not pull the cable when connected.
- Page 7 Step 5. Lock #12 & #13 tight. Fold the treadmill deck, Insert #8 & #10 onto the Posts, lock them with #14. Important: Hold the deck when doing the lock to avoid injury. Name Spec. PH Truss St4.2*15 Screw...
- Page 8 Step 6. Insert #9 & #11 onto the Posts, lock them tight with #8 & #10 using #14. Important: Hold the deck when doing the lock to avoid injury. Name Spec. PH Truss Screw St4.2*15...
- Page 9 Step 7. Put the treadmill on the flat floor. Put #17 onto the yellow-marked location on #4 Lower Console, and put #18 onto the treadmill.
-
Page 10: Technical Data
IMPORTANT! Please make sure all above steps are finished before put on power. Using of this equipment please check the following instructions. Technical Data AC 220∽240v Item Size(mm) 1925*905*1450 Power Folding Size(mm) 1100*905*1625 Output 1500W Running 520*1450 Current 8.5A Deck(mm) N.W. -
Page 11: Fold And Unfold, Transportation
Fold and Unfold, Transportation Fold the Treadmill In order for space-saving, when the treadmill is not in use, it could be folded up by a hydraulic folding system. Lift the treadmill up as shown in the picture until you hear the Gas Spring telescoping pole gives a snap sound, the treadmill is folded. - Page 12 Note: Before you folding the treadmill,make sure the treadmill has stopped running and the incline is down to zero level, OR you might damage the treadmill and cause injury. Unfold the Treadmill 1. Stand facing the folded Deck in the middle, hold the ends of the running deck with both your hands. Step the connecting point of Gas Spring (located as in the fig.) to release the Gas Spring.
-
Page 13: Safety Instructions
Transportation 1. Fold the treadmill first. 2. Make sure the Deck is locked up. Put one foot at the transportation wheel to hold it, then pull the treadmill to you for make the whole treadmill stand on the Wheels in balance(as above figure). 3. - Page 14 To avoid electrostatic interference, make sure to insert the plug into the socket with ground wire. Socket not well grounded might result into unstable operation of the computer, even damage to it. The power line from original package is of exclusive usage to the treadmill. If damaged, please purchase from our dealer or contact us directly.
-
Page 15: Warming Up Guide
The treadmill is a kind of indoor fitness equipment, please don’t use it outdoor. Apply to aerobic cardio exercise, increase heart and lung function mainly, training muscle supplement. It’s not allowed to convert the equipment beyond its original design and purpose. Warming Up guide ... -
Page 16: Operation Guide
Operation Guide Make sure the Safety Key is in position before start. Display 1、 “TIME” Window shows time of exercise. From beginning it is 00:00-99.59;If the timer counting down, it is from set time to 0. When the time count to 0, the treadmill will slowly stop and the display will show “End”,then enter the standby mode. - Page 17 from 0;Calories countdown,start from the set value down to 0,after reaching 0 the treadmill will stop and the display show “End”, then enter the standby mode. 3、 “DISTANCE” Window shows distance of exercise. From beginning it is 00:00-99.59;If counting down, it is from set distance to 0. When the distance count to 0, the treadmill will slowly stop and the display will show “End”,then enter the standby mode.
- Page 18 21、 Programs(P01~P8):press PROG button to choose any program from P01~P8. Set the time with SPEED+/- and INCLINE+/- (optional time range 5~99:00,default 10:00),press the Start button to start the program. The treadmill will change speed and incline for 16 times according to the program. Every combined value will change at the frequency of set speed/10*60 seconds.
-
Page 19: Trouble Shooting
Pull off safety key could stop the treadmill immediately at any emergency situation. The window shows “Safety Key Off” with a beeping. The treadmill cannot work or start at this time. Saving Electricity: If standby and with no instruction key in, the system will turn off the display. Press any key to wake the system up. - Page 20 The surface of treadmill bolt must be cleaned by wet cloth spread with soap. Please note that avoid water splashing on the electric parts and the bolt. Warning! Please make sure to take off the plug before remove treadmill safety guard. ...
-
Page 21: Maintenance Instruction
After lubrication, use a cloth to clean up the extra oil on the side and surface of the running belt. Maintenance Instruction We suggest the owner to lubricate the Treadmill according to below. Exercising Frequency Lubricating Schedule Inactive User (less 3 hours every week) once every year Active User (3-5 hours every week) once every 6 months... - Page 22 After a long time exercise, the multi-wedge belt was worn or became loose. In this case, you must do an appropriate adjustment for the safety. The way of judgment is: during your normal running exercise, when your foot step on the running belt and feel that the running belt has the phenomenon of occasional stop that indicates the running belt or multi-wedge belt is somewhat loose, the further confirmation should be done.
-
Page 23: Faq And Trouble Shooting
FAQ and Trouble Shooting Problem Possible Reason Trouble Shooting 1. The plug hasn’t been connected or the switch hasn’t 1. Insert plug or start the power been opened 2. Change fuse or press the Equipment 2. The over current protector of protector button cannot Start the treadmill disconnected...
Need help?
Do you have a question about the G80 and is the answer not in the manual?
Questions and answers