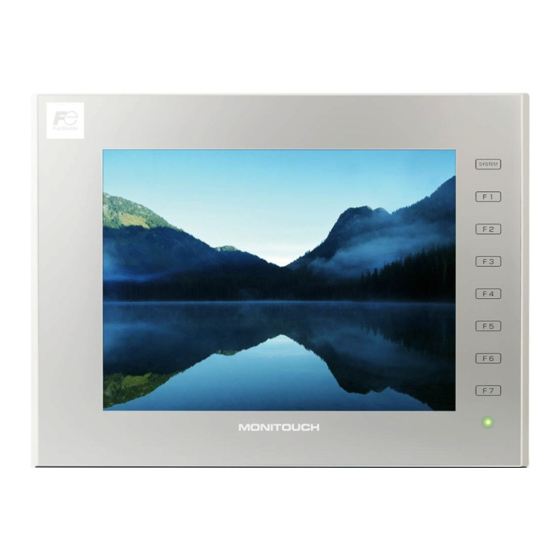
Hakko Electronics MONITOUCH V9 Series Technical Information
With a wireless lan
Hide thumbs
Also See for MONITOUCH V9 Series:
- Connection manual (430 pages) ,
- Troubleshooting instructions supplement (112 pages)
Advertisement
Quick Links
Technical Information
Theme
V9's VNC connection using "Simple Remote"
Models
V9 series with a wireless LAN
1. Outline
This document explains how to connect the V9 as an access point (with no encryption) to an
Android tablet (app: Simple Remote) by VNC. The V9 DHCP server feature is used to set the IP
address on your Android tablet.
2. Supported models
V9 series with a wireless LAN
3. Configuration of settings of the V9
3.1
Switching to the local mode screen
1
Press one corner of the screen for at least 2 seconds and release your finger when there
is a beep. Then press a different corner and hold for at least 2 seconds to display the
system menu.
*For V9 Standard panels, press [SYSTEM] to display the system menu.
DHCP server function
This function allows the V9 as a server to reserve
some IP addresses in advance.
The V9 automatically assigns one of the available
IP addresses to the client device when the client
device accesses the V9 network.
July 2020
No. TI-M-1278
1/16
Advertisement

Summary of Contents for Hakko Electronics MONITOUCH V9 Series
- Page 1 Technical Information July 2020 Theme V9’s VNC connection using “Simple Remote” Models V9 series with a wireless LAN No. TI-M-1278 1/16 1. Outline This document explains how to connect the V9 as an access point (with no encryption) to an Android tablet (app: Simple Remote) by VNC.
- Page 2 Technical Information No. TI-M-1278 2/16 Press the [Local] button to show the local mode screen. [WLAN Setting] screen The IP address, subnet mask, and wireless LAN settings are as follows. Go to [WLAN Setting] and click [IP Setting]. Configure “IP Address” and “Subnet Mask”. E.g.) IP address : 192.168.10.184...
- Page 3 Technical Information No. TI-M-1278 3/16 Click [Wireless Option]. Set [IP Address Setting] to “Manual/DHCP server”. Configure “Start address”, “Maximum number of DHCP Users”, and “Lease time”. Press [Apply]. E.g.) Start address : 192.168.10.185 Maximum number of DHCP Users : 10 Lease time : 24 (h) The [User Settings] screen...
- Page 4 Technical Information No. TI-M-1278 4/16 <If any user is already registered> Click “Administrator Authentication”. Enter the ID and password of a user with administrator authentication. Click “OK”. III. The user list opens in administrator mode. Follow the section 3.3 step 1.
- Page 5 Technical Information No. TI-M-1278 5/16 4. Android tablet settings The Settings icon Tap the Settings icon on the Home screen page and tap “Wi-Fi”. Tap the SSID that you configured in section 3.2 step 2. When you press and hold the target SSID, a pull-down menu appears. Tap [Modify network].
- Page 6 Technical Information No. TI-M-1278 6/16 Starting and closing “Simple Remote” <How to launch the app> Tap the Simple Remote icon on the home screen page. Simple Remote It is a free VNC client app for Android developed by Hakko Electronics and exclusively for MONITOUCH. Long term support is available thanks to in-house development.
- Page 7 Technical Information No. TI-M-1278 7/16 The VNC launch menu appears. Tap the screen to display the following transparent menu, and then tap the icon in the center. Tap the screen...
- Page 8 Technical Information No. TI-M-1278 8/16 When the keypad appears, scroll the VNC screen until you can see [User Authentication]. Enter the user name (moni) and password (moni) that you configured in section 3.3 step 2. To turn off the keypad, tap the down arrow button at the bottom of the screen. Tap here to close the keypad.
- Page 9 Technical Information No. TI-M-1278 9/16 <How to close the app> Tap the screen to display the following transparent menu, and then tap the three dots icon. The settings menu appears. Tap “Disconnect”. Tap the screen Return to the startup window of Simple Remote.
- Page 10 Technical Information No. TI-M-1278 10/16 5. Simple Remote Features Centering the screen At startup, the screen appears in the lower right corner. At this time, you can use a pinch-to-zoom operation to enlarge or reduce the screen. Use the pinch-to-zoom operation to enlarge/reduce the image.
- Page 11 Technical Information No. TI-M-1278 11/16 The Scaling menu appears. Because the default is “Zoomable”, tap “Fit to Screen” to select. The screen is centered. Screen enlargement and reduction by the pinch-to-zoom operation is prohibited.
- Page 12 Technical Information No. TI-M-1278 12/16 Show/hide a mouse pointer It is possible to display a mouse pointer. (It is not displayed by default.) Tap the screen to display the following transparent menu, and then tap the three dots icon. The settings menu appears. Tap “Disconnect”. Tap the screen The startup screen of Simple Remote appears again.
- Page 13 Technical Information No. TI-M-1278 13/16 Change “Cursor Mode” from “Auto” to “Local”. Connect to the V9. The mouse cursor appears during the VNC session.
- Page 14 Technical Information No. TI-M-1278 14/16 How to operate V9‘s function keys from the tablet Send Keys feature enables you to press the function keys of the V9 series. <How to press the SYSTEM key using the Send Key feature> Tap the screen to open the transparent menu below. Tap the three dots icon. The settings menu appears.
- Page 15 Technical Information No. TI-M-1278 15/16 The following pull-down menu appears. Scroll to select “F8”. Tap “Send” while “F8” is being selected. The V9‘s SYSTEM menu appears on the screen.
- Page 16 The menu can be displayed in 5 languages. (English, Japanese, Korean, Chinese simplified, and Chinese traditional) The display language automatically switches following the language settings of the Android tablet. (e.g. Chinese simplified) [For inquiry] Hakko Electronics Co., Ltd. - Overseas Sales Sec. - TEL: +81-76-274-2144...


Need help?
Do you have a question about the MONITOUCH V9 Series and is the answer not in the manual?
Questions and answers