Advertisement
Demo Mode Set Up Instructions for all Kobo eReaders
FOR SALES USE ONLY
If the device is new, just out of the box:
1. Select language.
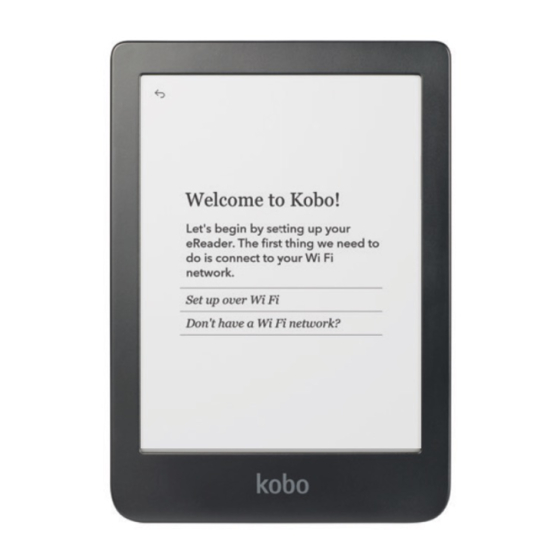
2. On the "Welcome to Kobo!" screen, triple tap the top right corner of the
screen.
3. Enter password: "demomodeon".
4. If Wi-Fi is available, connect to your network now to get the latest
software. An update will download and install automatically. If Wi-Fi is
unavailable, choose "Skip" at the bottom right of the screen.
5. Select Region, if prompted.
6. Device is now in demo mode! The demo loop will begin after the device
is inactive for a few minutes.
7. For Kobo Sage and Kobo Elipsa, it is important to complete the
following additional steps for the Kobo Stylus and Notebook Experience.
Complete while connected to Wi-Fi:
1. Tap "My Notebooks" in the bottom menu, then tap "New" to
create a New Notebook, and select "Advanced Notebook"
2. Type any letter to create a Notebook name
3. A prompt will appear asking you to Sync, tap "Sync Now"
4. Connect to Wi-Fi if prompted.
5. Allow Sync to complete. Progress bar will appear.
6. When complete, Notebook will open.
7. Exit the Notebook
8. Demo mode for Kobo Stylus and Notebook is now set up.
Advertisement
Table of Contents

Subscribe to Our Youtube Channel
Related Manuals for Rakuten Kobo Series


Summary of Contents for Rakuten Kobo Series
- Page 1 Demo Mode Set Up Instructions for all Kobo eReaders If the device is new, just out of the box: 1. Select language. 2. On the “Welcome to Kobo!” screen, triple tap the top right corner of the screen. 3. Enter password: “demomodeon”. 4.
- Page 2 Demo Mode Set Up Instructions Continued If the device is already set up in demo mode or as a regular customer device, you will need to first Factory Reset the device: 1. Tap the menu button (3 lines) in the top right of the screen. 2.
Need help?
Do you have a question about the Kobo Series and is the answer not in the manual?
Questions and answers