Table of Contents
Advertisement
Quick Links
www.costway.com
USER'S MANUAL
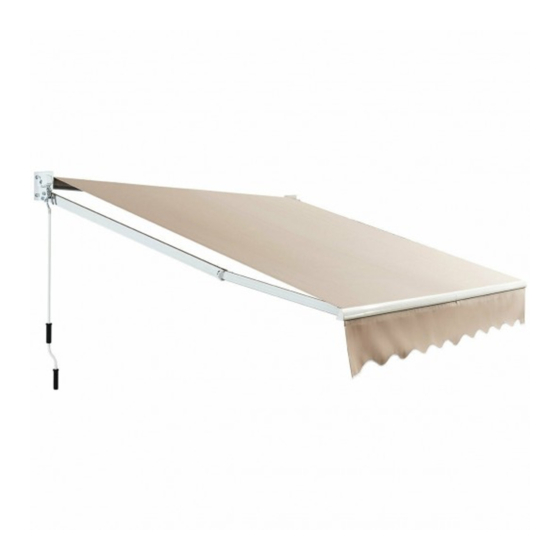
Retractable Awning
OP70367/OP70368
THIS INSTRUCTION BOOKLET CONTAINS IMPORTANT SAFETY INFORMATION. PLEASE READ AND KEEP FOR FUTURE REFERENCE.
Follow Costway
Please give us a chance to make it right and do better!
Visit us: www.costway.com
Contact our friendly customer service department for help first.
Replacements for missing or damaged parts will be shipped ASAP!
Advertisement
Table of Contents

Subscribe to Our Youtube Channel
Related Manuals for Costway OP70367


Summary of Contents for Costway OP70367
- Page 1 THIS INSTRUCTION BOOKLET CONTAINS IMPORTANT SAFETY INFORMATION. PLEASE READ AND KEEP FOR FUTURE REFERENCE. Follow Costway Please give us a chance to make it right and do better! Visit us: www.costway.com Contact our friendly customer service department for help first. Replacements for missing or damaged parts will be shipped ASAP!
-
Page 2: Before You Start
Contact Us! Do NOT return this item. Contact our friendly customer service department for help first. E-mail US: cs.us@costway.com UK: cs.uk@costway.com Before You Start Before You Start Please read all instructions carefully. Retain instructions for future reference. Seperate and count all parts and hardware. -
Page 3: Preparing Your Work Space
Please prepare below tools before assembly. (Not included) Wrench Measuring tape Non-metallic mallet (wrenches of M17 and M14) Preparing Your Work Space 1.Before you begin, it is best to lay out all necessary tools to make setup smoother. - Page 4 STEP 1 Connecting Roller Tubes STEP 2 Connecting Front Bars 1.Gather the two long silver tubes(B1&B2) and lay them in a line. 1.Insert the front bar(D2) into the interior end of the front bar(D1). If insertion is difficult, use a mallet to tap it into place.
-
Page 5: Step 3 Fabric Assembly
STEP 3 Fabric Assembly 6.Roll the awning fabric counter clockwise around the roller tubes as tightly and evenly as possible. 1.Open the fabric carefully to ensure that the product is not damaged. 2.Unfold both pieces of awning fabric.You should have one large fabric piece (F) and a valance with scalloped edge(G). -
Page 6: Specification
8.Slide arm-bar link(K) into the groove of the front bar on the right side. Specification Put the bolt(J) for fabric inserted,fix the bar end with a plastic cover(I-2). Then tighten the screw on the bolt. Material and Applicable wall... - Page 7 Mark the position on the wall STEP 4 Assembly awning on the wall Mark the position Wall bracket leveled against horizontal line Wall bracket leveled against horizontal line Wall bracket Wall bracket Wall bracket Wall bracket 1. Insert part O into A2...
-
Page 8: Preparing For Mounting
Drilling the Bolt Holes 1.Now that you have a straight level line across the wall with the locations of the wall brackets and their bolt holes marked, you can drill holes to mount the brackets. Spring washer Drill 4 inches deep... - Page 9 STEP 5 Assemble Arms 5.Screw two plastic washers (M) into the arm-bar links (K). Then insert the arm-bar links to the holes on the end of both arms. Tighten the screw nuts on the arm-bar links and then fix the links and arms with another two screws nuts.
- Page 10 7.Open the awning with hand crank E. 8.When you open the awning, if you find that the cloth surface has fallen 6.Carefully cut the tie and rope on the arm. down. Please retract the cloth surface 3-5cm to ensure that the cloth surface is in a tight state.
- Page 11 How to adjust the awning inclination When we fully unfold the awning, we may find that the left and The inclination of the awning is set by adjusting the screw right sides of the awning are unbalanced. WARNING:when adjusting the awning inclination, please expand the awning completely...
- Page 12 Great products so far. Fast delivery, easy setup, and working without any issues. With your inspiring rating, COSTWAY will be more consistent to offer you EASY SHOPPING EXPERIENCE, GOOD PRODUCTS and EFFICIENT SERVICE! US office: Fontana, California...
Need help?
Do you have a question about the OP70367 and is the answer not in the manual?
Questions and answers