Advertisement
Quick Links
Step 7:
Install the pedal marked "L" on the left side of
the bike and pedal marked "R" on the right
side (side with chain and gears).
Tighten the pedals securely by turning the
pedals towards the front of the bike with a
wrench as seen in the assembly video at
support.blixbike.com. Install carefully to not
damage the thread.
Step 8:
Adjust the seat post to desired height and
firmly tighten the seat post clamp.
Step 9:
Inflate the tires to the recommended
pressure 40-65 PSI, indicated on the tire
sidewall.
Recommended Torque Values
Tighten bolts to torque specifications to prevent the bolts from slipping.
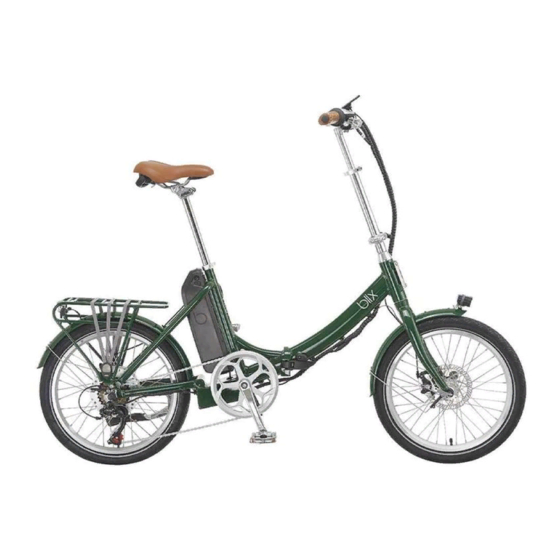
Vika +
Assembly Guide
Assembly video available
at support.blixbike.com
View on phone or desktop!
Do not extend any components including the
stem or seat post beyond the minimum insertion
markings, which are etched into the seat post
and stem. Before using the bike, check that the
saddle post quick release bolt is closed and
firmly tightened. Secure all hardware properly or
it may become loose and result in serious injuries.
®
Advertisement

Related Manuals for Blix Vika +


Summary of Contents for Blix Vika +
- Page 1 Step 7: Install the pedal marked “L” on the left side of the bike and pedal marked “R” on the right Vika + side (side with chain and gears). Tighten the pedals securely by turning the Assembly Guide pedals towards the front of the bike with a wrench as seen in the assembly video at support.blixbike.com.
- Page 2 Remove all packaging material from the bike and carefully cut the zip-ties attaching the handlebars and wheel to the frame. Make sure the below items are included in the package. Contact Blix if any items are missing. • The Vika+ •...
Need help?
Do you have a question about the Vika + and is the answer not in the manual?
Questions and answers