Advertisement
Quick Links
Advertisement

Related Manuals for Costway HW65638


Summary of Contents for Costway HW65638
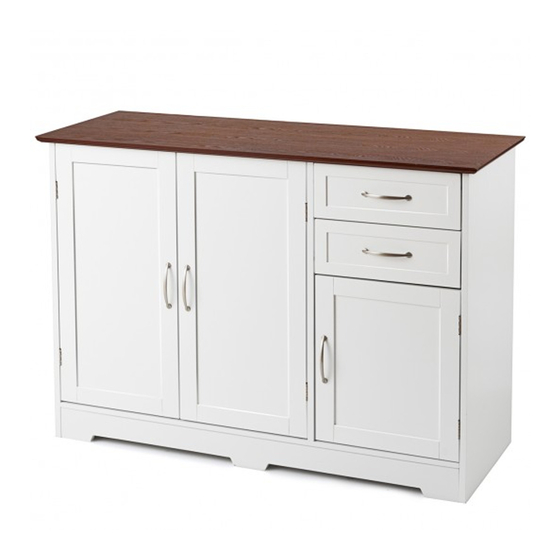
- Page 1 USER'S MANUAL Storage Cabinet HW65638...
-
Page 2: Product Assembly
PRODUCT ASSEMBLY Hardware List 4 pcs 26 pcs 3 pcs Magnetic Bar Cam-bolt Plastic Glide 26 pcs 4 pcs 4 pcs Cam-lock Screw Stopper 3*14mm 22 pcs 4 pcs 30 pcs Wood Dowel Screw Shelf Pin 2.5*10mm 6 pcs 2 pcs 2 pcs Hinge Magnetic Catch... - Page 3 PRODUCT ASSEMBLY Part List Assembly Overview...
- Page 4 PRODUCT ASSEMBLY 8 pcs Step 1 Attach Drawer Left & Right Panels (15 & 16) to Drawer Back Panel (17) by using Screw (E) as shown. Do not Overtighten. Note: the groove on each panel is at the bottom. Step 2 8 pcs 8 pcs 4 pcs...
- Page 5 PRODUCT ASSEMBLY 4 pcs Step 3 4 pcs 6 pcs a) Screw in Cam-bolt (A) into designated holes on Bottom Panel (11). b) Insert Wood Dowel (C) to the designated holes on Bottom Back and Front Connect Bar (9 & 10). c) Attach (9 &...
- Page 6 PRODUCT ASSEMBLY 8 pcs a) Screw in Cam-bolt (A) to the designated holes Step 5 on Side Panels (2 & 4). 8 pcs b) Insert Wood Dowel (C) to the designated holes on (3, 9, 10 & 11) as shown. 10 pcs c) Attach Divide Panel (3) to Bottom Panel (11) via Wood Dowels, then fix by using Screw (P).
- Page 7 PRODUCT ASSEMBLY 30 pcs Step 7 Attach Back Panel (12,13 & 14) by using Screw (I). 27 pcs Step 8 3 pcs 6 pcs 6 pcs 3 pcs a) Attach Hinge (J) and Magnetic Bar (G) to Door (6, 7 & 8) by using Screw (F) as shown.
- Page 8 PRODUCT ASSEMBLY 4 pcs Step 9 Insert Shelf Pin (O) and place Adjustable Shelf (5) on it. 4 pcs Step 10 Insert drawers and Put Stopper (N) into the designated hole on Drawer Side Panels. Important: Before inserting Stopper (N), check that the hole does not pass the front end of Plastic Glide (M).
- Page 9 Great products so far February 24, 2018 Great product so far. Fast delivery, easy setup, and working without any issues. With your inspiring rating, Costway will be more consistent to offer you EASY SHOPPING EXPERIENCE, GOOD PRODUCTS and EFFICIENT SERVICE! US office:Fontana...
Need help?
Do you have a question about the HW65638 and is the answer not in the manual?
Questions and answers