Table of Contents
Advertisement
Instruction Manual for
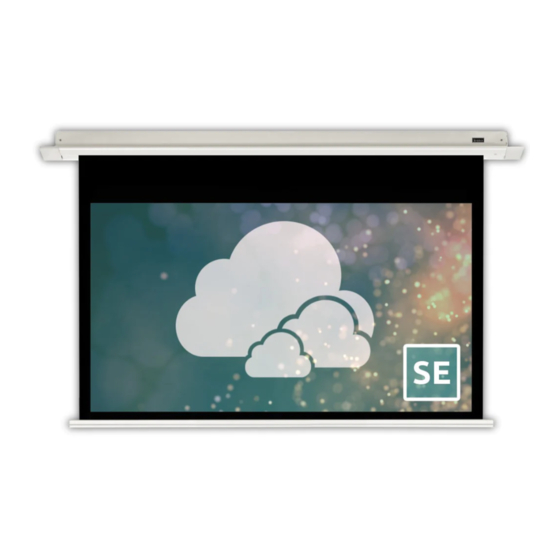
Spirit & Spirit Tab-Tension Series In-Ceiling Electric
MODELS: SE43***, SE169***, SE1610***, ST43***, ST169***, ST1610***
Thank you for purchasing a Severtson projection screen. Before use, please read the instructions
carefully. After installation, store the instructions for future reference.
Rev 191205
Advertisement
Table of Contents

Summary of Contents for Severtson SE43 Series
- Page 1 MODELS: SE43***, SE169***, SE1610***, ST43***, ST169***, ST1610*** Thank you for purchasing a Severtson projection screen. Before use, please read the instructions carefully. After installation, store the instructions for future reference. Rev 191205...
- Page 2 Instruction Manual for Spirit & Spirit Tab-Tension Series In-Ceiling Electric Overview Parts Included 1 ...
-
Page 3: Preparation Instructions
Instruction Manual for Spirit & Spirit Tab-Tension Series In-Ceiling Electric Preparation Instructions Take out all the parts from the packaging and verify that all the parts have been included, then follow the steps below to install the screen. ... -
Page 4: Installation Instructions
Instruction Manual for Spirit & Spirit Tab-Tension Series In-Ceiling Electric Installation Instructions 1. Slide four M5 screws (two along each track) onto the screen case ( F ig. 1 ) . Place the first screen bracket on the screen case aligned with the four screws ( F ig. 2 ) . Slide the bracket so that there is no gap between the bracket and the end of the screen case. - Page 5 Instruction Manual for Spirit & Spirit Tab-Tension Series In-Ceiling Electric 3. Be sure that the screen case is facing the correct direction. The screen controls should be on the left side of the case when looking at the viewing side of the screen. Lift the screen up so that the threaded hanging rods slide into the holes in the case mounting brackets ...
- Page 6 Instruction Manual for Spirit & Spirit Tab-Tension Series In-Ceiling Electric 5. Install the screen trim flanges. Each trim flange snaps into small groves near the bottom of the left and right sides of the screen case. The screen should now be fully installed and the cut-out hole should not be visible since it is covered by the trim flanges. ...
-
Page 7: Controlling The Screen
Instruction Manual for Spirit & Spirit Tab-Tension Series In-Ceiling Electric Controlling the Screen There are many different options included to control the projection screen. Only connect the screen to the options that will be used. Note 1.1: ... - Page 8 Instruction Manual for Spirit & Spirit Tab-Tension Series In-Ceiling Electric 3. IR Remote. The remote control will work up to 25’ from the IR eye and an angle of up to 30°. The remote will not work if the signal or receiver is covered. Keep the remote away from high temperatures and humidity.
- Page 9 Instruction Manual for Spirit & Spirit Tab-Tension Series In-Ceiling Electric 8 ...
-
Page 10: Appendix A: Adjusting The Screen Limits
Instruction Manual for Spirit & Spirit Tab-Tension Series In-Ceiling Electric Appendix A: Adjusting the Screen Limits We only recommend that experience AV installers adjust the motor limits of the projection screen. The upper limit should never be adjusted - it controls the point at which the screen stops retracting into the case and is factory-set to flush. -
Page 11: Appendix B: Adjusting The Screen Tension
Instruction Manual for Spirit & Spirit Tab-Tension Series In-Ceiling Electric Appendix B: Adjusting the Screen Tension This section is only for applicable models ( t ab-tensioned models beginning with “ST” ) . The tension of the screen may need to be adjusted occasionally if the screen begins to appear wavy. ... -
Page 12: Appendix C: Troubleshooting The Screen
Instruction Manual for Spirit & Spirit Tab-Tension Series In-Ceiling Electric Appendix C: Troubleshooting the Screen The Spirit Series screens are designed for many years of use. Problems are usually simple to resolve and caused by small issues or improper end use. If problems persist, please contact us. ... - Page 13 Instruction Manual for Spirit & Spirit Tab-Tension Series In-Ceiling Electric Warnings 1. Do not attempt to take apart or modify the screen. If any problems occur please contact your local dealer. 2. The screen is designed to be transported, stored, and operated in the horizontal position. Do not stand the screen up on its end vertically for any extended period of time. ...


Need help?
Do you have a question about the SE43 Series and is the answer not in the manual?
Questions and answers