Advertisement
Quick Links
Advertisement

Subscribe to Our Youtube Channel
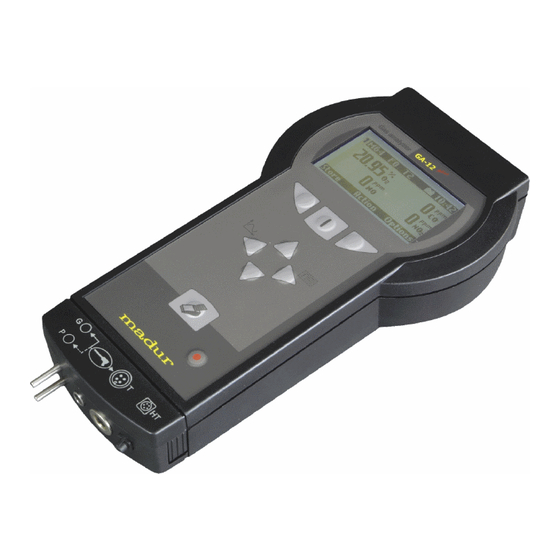
Summary of Contents for Madur GA-12plus
- Page 1 ELECTROCHEMICAL CELL REPLACEMENT IN GA-12PLUS ANALYSER Service manual Version: 0.1 05/2014...
- Page 2 Service Manual GA-12plus Index 1. Electrochemical cell replacement................3...
- Page 3 GA-12plus 1. ELECTROCHEMICAL CELL REPLACEMENT In order to replace EC in GA-12plus analyser follow the steps: 1. Unscrew 6 Philips type screws at the back of the casing 2. Remove the front panel, disconnect the keyboard and display from the CPU...
- Page 4 Service Manual GA-12plus 3. Remove the security bolts from the bottom part of the casing 4. Detach the bottom part of the analyser's casing...
- Page 5 Service Manual GA-12plus 5. Unscrew 3 screws of the gas chamber 6. Disconnect the gas chamber from the CPU PCB by disconnecting differential pressure sensor's tubing (marked in the picture below) 7. Remove the sensors' PCB from the gas chamber – unscrew 5 screws...
- Page 6 Service Manual GA-12plus 8. Gently pull the sensor you wish to replace from the sensors' PCB 9. Follow the above steps in reverse order to assembly the device back.


Need help?
Do you have a question about the GA-12plus and is the answer not in the manual?
Questions and answers