Table of Contents
Advertisement
Advertisement
Table of Contents

Related Manuals for Technika TWDC84

Summary of Contents for Technika TWDC84
- Page 1 Washer Dryer TWDC84 Instruction for Use...
- Page 2 ENGLISH 3-18...
-
Page 3: Table Of Contents
ENGLISH Dear Customer, Thank you for choosing our product. Please read these instructions carefully before connecting and us- ing the appliance. Knowledge of the operating principles will help guarantee correct and safe use of the appliance. This instruction booklet contains the technical characteristics of the washing machine and is full of useful information regarding its operation, all designed to help you get the best out of your appliance. - Page 4 NOTES AND ADVICE FOR THE USER Before connecting the appliance read these instructions carefully. Repairing the failure arising from inappropriate connections or use of the appliance is not covered by the guarantee. ▼ This appliance has been designed for use as Do not touch the door glass either, as this will a domestic washing machine.
-
Page 5: Notes And Advice For The User
NOTES AND ADVICE FOR THE USER Never insert or remove The washing machine Do not use extension Do not expose the ap- the plug from the mains must be connected to a leads or multiple plug pliance to atmospheric adapters to connect the socket with wet hands. -
Page 6: Installing The Washing Machine
INSTALLING THE WASHING MACHINE (according to the model) Installation must be carried out by qualifi ed personnel in line with the instructions supplied by the manu- facturer. Incorrect installation may result in damage and injury. The appliance can be installed anywhere providing that the ambient temperature is not less than 3°C and that the wires or pipes on the rear of the machine are not squashed. -
Page 7: Connecting To The Mains Water Supply
INSTALLING THE WASHING MACHINE CONNECTING THE WATER SUPPLY The mains water pressure must be between 0.05 and 1.00 Mpa (0.5 - 10 bar.) ▼ Before connecting the washing machine, open the valve and allow a certain quantity of water to fl ow out in order to clean the pipes of any sand or rust. This operation is particularly important in the case where the washing machine has been left standing for a long time or when connecting to a new water supply system. -
Page 8: Connecting To The Mains Electricity Supply
INSTALLING THE WASHING MACHINE CONNECTING TO THE MAINS ELECTRICITY SUPPLY Make sure that the voltage indicated on the identifi cation plate attached to the inside of the fi lter door corresponds to that of the mains supply (fi g. 12). All cut-outs, electric wiring and mains sockets must have a rating such that enables them to support the maximum load indicated on the identifi... -
Page 9: Use Of Detergents
USING THE WASHING MACHINE USE OF DETERGENTS The washing machine is fi tted with a three-compartment detergent drawer compartment for pre-wash or soak soap powder (1) compartment for normal wash soap powder (2) softener compartment (3) Use a low-suds detergent and softener (if required) recommended for automatic washing machines. -
Page 10: How To Remove Some Stains
USING THE WASHING MACHINE HOW TO REMOVE SOME STAINS Stains exist that cannot be removed by machine washing alone. Before trying to remove any type of stain by hand, fi rst try the removal procedure on a small area of hidden fabric. Start from the edge of the stain and working inwards, this will prevent a dark ring from forming around the site of the stain. -
Page 11: Easy Logic" Technology
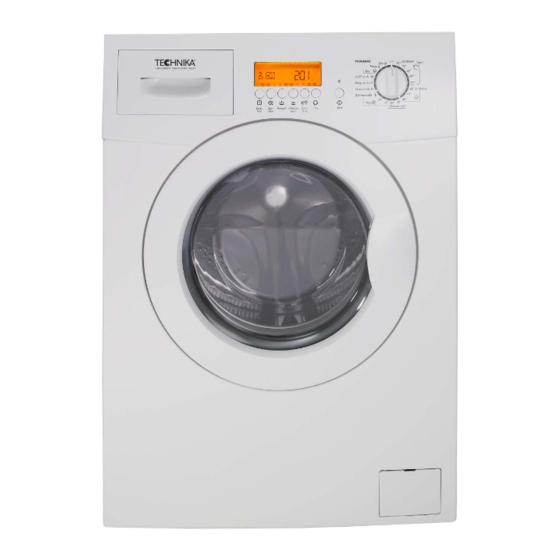
MODEL: 14WD8-5 PRINCIPAL FUNCTIONS OF THE WASHING MACHINE LED Start Display Optional functions button Spin selection button Start button Delayed Start button Program and temperature knob USE OF THE WASHING MACHINE “EASY LOGIC” TECHNOLOGY The electronic washing machine is equipped with an “EASY LOGIC” system that recognises the quantity of clothes put in, consequently adjusting the quantity of water to be used and reducing the washing time proportionally. -
Page 12: Variable Spin
USE OF THE WASHING MACHINE VARIABLE SPIN: The machine offers a wide choice of spin settings that can be selected before starting the program. To vary the spin setting just press button (H) until the desired value is reached (fi g. 1); if you wish to exclude the spin, press the button until “00” appears fig.1 on the display (fi... -
Page 13: Optional Functions
OPTIONAL FUNCTIONS If one of the buttons listed below is selected, its symbol will appear on the display. While if you realize that you have selected it by mistake or you have changed your mind, to cancel the option, press it again. PRE-WASH: When this button is pressed, a short pre-wash with a maximum temperature of 40°C lasting for about 10 minutes is provided. -
Page 14: Manual Dry Program
HOW TO USE THE WASHER-DRYER MANUAL DRY PROGRAM: The manual drying cycle can be effected as follows: If a wash load of cotton has been washed elsewhere, it must be spun before drying. Place the wet washing in the drum and set the spin program to spin at not less than 800 rpm (a low spin speed will increase the percentage of humidity in the fabrics). -
Page 15: Technical Specifications
PROGRAM TABLES BUTTONS ENABLED LABEL TYPES OF FABRICS Detergent PROGRAM WORKING LINGS compart TEMPERATURE SELECTOR ments WOOL Machine washable COLD woollen fabrics DELICATES Lightly soiled delicate cotton QUICK fabrics viscose and mixed WASH delicates, 35/40 min wash Delicate cotton fabrics DAILY delicate coloureds slightly WASH*... -
Page 16: Maintenance
MAINTENANCE CLEANING THE WASHING MACHINE The washing machine has been specifi cally designed to reduce maintenance to a minimum. Nevertheless, it is important that it is cleaned regularly. Before cleaning, make sure that the appliance has been disconnected from the power supply and that the water supply valve has been closed. -
Page 17: Resolving Problems
MAINTENANCE RESOLVING PROBLEMS If the appliance is not working properly, check through the following troubleshooting guide before call- ing for technical assistance. In some models malfunctions are indicated by an error code displayed at the end of the cycle. Code: E:00 Carry out all the checks listed in paragraphs marked with * E:01 Carry out all the checks listed in paragraphs marked with ** E:02 Technical malfunction “Call Customer Service”... - Page 18 NOTES ............................................................................................................................................................................................................................................................................................................................................................................................................................................................................................................................................................................................................................................................................................................................................................................................................................................................................................................................................... SM2828...
- Page 20 461308195 SM2828/01 18/10/2012...
Need help?
Do you have a question about the TWDC84 and is the answer not in the manual?
Questions and answers