Advertisement
Quick Links
Advertisement

Related Manuals for Ronix 7106


Summary of Contents for Ronix 7106
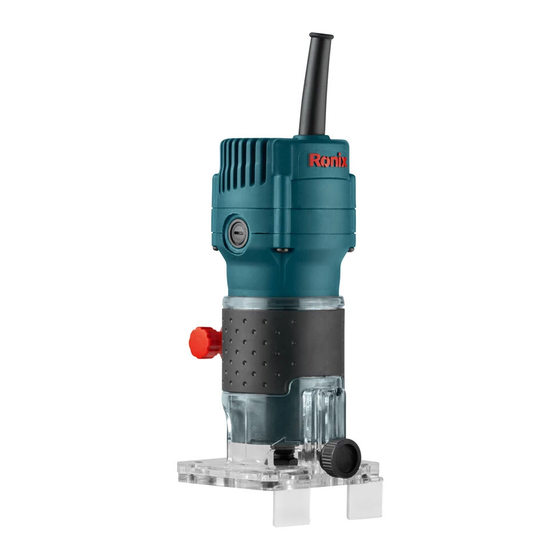
- Page 1 TRIMMER 7106...
-
Page 2: Technical Specification
TECHNICAL SPECIFICATION Model No. 7106 Collet Size Voltage 220V/230V Frequency 50HZ/60Hz Rated Power 550W Currency when loading 2.3A No-load speed 30000R/MIN Weight 1.8Kg bearing guide / 1set parallet guide / 1set standard accessories Guide brush / 1pc Spanner brush / 2pcs... - Page 3 2) CONSIDER WORK AREA ENVIRONMENT Don’t use electric tools in damp or wet locations. Don’t expose electric tools to rain. Keep work area well. In particular, no inflammable liquids or gases must be present. 3) AVOID ELECTRIC SHOCK When you are operating tools, don’t touch metal being grounded, such as pipe, radiator, freezer, etc.
- Page 4 10) DON’T ABUSE CABLES Never carry tool by cable or yank it to disconnect it from socket. Keep cable from heat, oil and sharp edges. 11) DON’T OVERREACH Keep proper footing and balance at all times. 12) MAINTAIN TOOLS WITH CARE Keep tools sharp and clean for better and safer performance.
- Page 5 18) CHECK DAMAGED PARTS Before further use of the tool, a guard or other parts that is damaged should be carefully checked to determine that it will operate properly and perform its intended function. Check for alignment of moving parts, binding of moving parts, breakage of parts, mounting and any other condition that may affect its operations.
-
Page 6: Operating Regulations
have a breakage or a crack. Do not use the cracked or damage bits. 5) Please take down all the screws or nut on work pieces. 6) Hold the tool tightly. 7) When using the tool, please do not touch the cutting bit with your finger, even with glove. - Page 7 NOTE: 1) Base seat 2) Depth indicator 3) Cutting depth 4) Fixing knob 5) Adjusting screw 2) SWITCH ON AN OFF To turn On the tool, just turn the switch button to “1 “ position. To turn off the tool, just turn the switch button to “O” position. 1) Switch button 3) ASSEMBLE AND DISASSEMBLE THE BITS When assembling the bits, put the bit into the collet first, and then use the...
- Page 8 NOTE: 1) Disassembly direction 2) Assembly direction 3) Keep 4) OPERATION Put the tool on the work piece but the cutting bits should not touch it. Turn on the tool. When the tool achieves the full speed, keep it moving forward to correct direction.
- Page 9 wasted work pieces. This will tell you the cutting quality and then you could adjust the tool. 1) Feeding direction 2) Rotating direction of cutting bits 3) Work piece 4) Parallel guide When using the parallel guide or guide bar, please make sure to install it onto the right hand of feeding direction.
- Page 10 NOTE: 1) Base plate 2) Screws 3) Screwdriver Fix the logo guider onto the work piece. Put the tool onto the guider. Move the tool forward to cut the work piece according to the side line of the guider. NOTE: 1) Cutting bit 2) Base plate 3) Logo guider...
- Page 11 Use the bolt and wing nut to assemble guide bar to the parallel guide. NOTE: 1) Bolt 2) Guide bar 3) Parallel guide 4) Wing nut Use the fixing screw (A) to assemble the parallel guide. Screw out the wing nut on parallel guide. Adjust the distance between the cutting bits and parallel guide.
- Page 12 7) CUTTING CIRCLE If you assemble the parallel guide according to the Fig.13 and Fig.14, then you could cut circle with the tool. The cutting radius (the distance between cutting bits and the center of circle): Minimum Radius: 70 mm Maximum Radius: 221 mm If you want to cut the circle between 70 mm to 121 mm radius, you could assemble the parallel guide according to Fig.13.
- Page 13 NOTE: 1) Nail 2) Center hole 3) Parallel guide 8)BEARING GUIDE You can operate the tool conveniently with for home furniture like desk, bed, seat etc. with the bearing guide. The tool can move with the bearing guide agilely to assure precise cutting. Use the fixing nut (A) to assemble the bearing guide to the base plate.
- Page 14 NOTE: 1) Fixing nut (A) 2) Adjusting nut 3) Fixing nut (B) 4) Bearing guide seat When operating the tool, please keep the bearing guide tightly to the edge of the work piece. NOTE: 1) Work piece 2) Cutting bit 3) Bearing guide seat SERVICE AND MAINTE 1) Always disconnect the tool before carrying out inspection or cleaning.
-
Page 15: Replacing The Carbon Brushes
REPLACING THE CARBON BRUSHES a) Replace the carbon brushes, when the tool does not run or makes too much sparkle. b) Carbon brushes which are worn out (burned, broken or shorter than limited length see Fig.19) have to be replaced by new ones. c) Always replace both carbon brushes at the same time and use the brush by original manufacturer. - Page 16 are excluded from the guarantee. The prerequisite is that the tool is handed over assembled, and com- pleted with the proof of sale and guarantee. Don’t disassemble the tool. For guarantee claim, only use the original packaging. REPAIRS Don’t disassemble the tool by yourself or replace the parts supplied by other factories.
Need help?
Do you have a question about the 7106 and is the answer not in the manual?
Questions and answers