Advertisement
Advertisement
Table of Contents

Subscribe to Our Youtube Channel
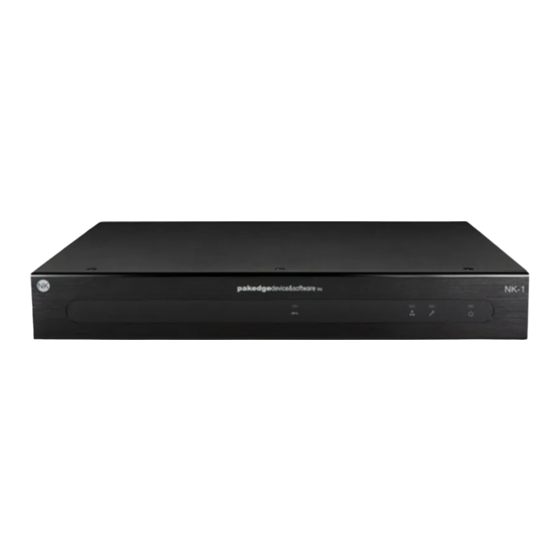
Summary of Contents for Pakedge NK-1
- Page 1 NK-1 Wireless Controller with BakPak BakPak Enabled QUICK START GUIDE...
-
Page 2: Package Contents
NK-1 package contents Management Agent Your NK-1 includes the Wireless Controller and the BakPak Cloud Management System. Refer to the Access Points label on the package to determine the number of access points the controller can manage. Default settings Default IP address: 192.168.1.240... - Page 3 • Ethernet cable Installation 1 Open the box and remove the NK-1. 2 If mounting the NK-1 in a standard 19" AV rack, attach the included rack-mount brackets to the sides of the NK-1. If not mounting to a rack, ensure that...
- Page 4 The NK-1 includes both the BakPak Cloud Management System and the Wireless Controller. 1 Connect the NK-1 to power and press the power switch on the rear panel. The PWR LED lights up. 2 Use an Ethernet cable to connect a computer to the NK-1.
-
Page 5: Running The Setup Wizard
Running the Setup Wizard The first time you log in, the Setup Wizard starts and displays the number of APs (access points) it has discovered. Note: You will not be able to access the Wireless Controller Dashboard until this wizard is completed. AP Discovery must discover at least one AP before you continue with the Setup Wizard. - Page 6 APs installed. Note: The wizard is disabled after it has completed setup. To run the wizard again, you must restore the NK-1 to its factory default settings. To do this, click the menu bar, click System Settings, then click Factory Default.
-
Page 7: Accessing The Home Screen
Wireless Controller, as well as change NK-1 settings and update its firmware. 1 To access the Home screen, just complete the initial Setup Wizard, then the Home screen will open. At any other time, from anywhere in the interface, click NK-1 at the top of the screen, then click Home. - Page 8 Creating a BakPak account from the cloud mybakpak.com 1 Open a web browser and go to 2 Click Create Admin Account. The Register for mybakpak page opens. 3 Follow the on-screen instructions to get your Dealer Code. 4 Enter your new login credentials, then click Register.
-
Page 10: Technical Support
Technical Support For technical help: www.pakedge.com/portal support@pakedge.com (650) 385-8703 For non-technical inquires: customerservice@pakedge.com (650) 385-8701 For regulatory information: www.pakedge.com/regulatory 11734 S. Election Road Draper, UT 84020 www.pakedge.com sales@pakedge.com ©2018 Control4. All rights reserved. 200-00585-E, DOC-00230-E 2018-09-05 MS...


Need help?
Do you have a question about the NK-1 and is the answer not in the manual?
Questions and answers