
Related Manuals for Island Umbrella Santorini II Fiesta NU6245B


Summary of Contents for Island Umbrella Santorini II Fiesta NU6245B
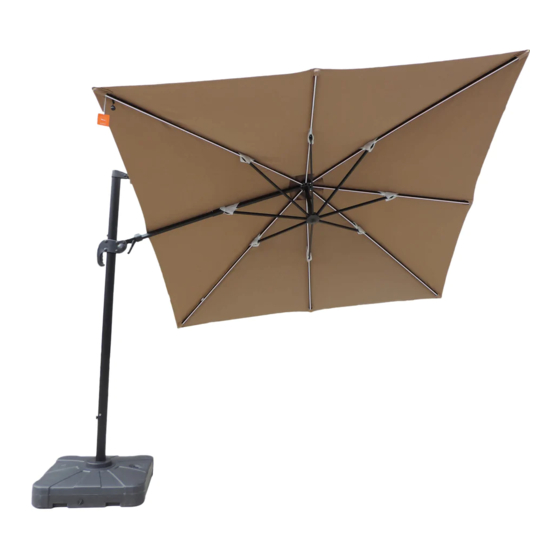
- Page 1 Santorini II Fiesta 10-ft Square Cantilever Solar LED Umbrella with Sunbrella Fabric ® NU6245B • NU6250B • NU6255B www.bluewaveproducts.com Ver. 0219LP...
-
Page 2: Package Contents
PACKAGE CONTENTS A – (1) Main Umbrella* B – (1) Plastic Water Fillable Stand (incl. in separate carton as NU6000JL) C – (1) Base Pole, NUP4117 D – (1) Swivel Cover, NUP4118 E – (1) Allen Wrench, NUP4119 F – (4) Stainless Bolt, NUP4120 G –... - Page 3 ASSEMBLY INSTRUCTIONS Carefully check all packaging materials before discarding. Do not assemble if there are missing pieces. Step 1 Put the stand on a level ground where you intend to locate your umbrella. Open the cap on the top of the stand & fill the stand with water. Then tighten the cap.
- Page 4 Step 3 Attach the Base Pole (C) on the top of the Plastic Water Fillable Stand (B) with Bolts (F) & Washers (G), using the Allen Wrench (E) to tighten Bottom crank hole Step 4 Place the Swivel Cover (D) around the Base Pole (C). Bottom crank hole Locking hole for threaded knob side A...
- Page 5 Step 5 Attach the Solar Panel (K) to the top of the umbrella. 1 : Insert the plug into the socket under the Solar Panel (K). 2 : Put the Solar Panel (K) on the top of umbrella and hide the plug and wire inside the groove at the top of umbrella.
- Page 6 Step 6 Put the Main Umbrella (A) over the Base Pole (C) Important Notice : When you put the Main Umbrella (A) onto the Base Pole (C), make sure the locking holes are on the same side . Locking hole for threaded knob...
- Page 7 Step 7 Screw the Threaded Knob (H) into the locking hole clockwise.
- Page 8 Step 8 There are 3 Crank Holes on your umbrella. Top crank hole for canopy tilting, Bottom crank hole for 360 degree rotation. Middle crank hole for umbrella opening and closing. Middle Crank Hole for umbrella opening and closing Top Crank Hole for canopy tilting Bottom Crank Hole for 360 degree rotation...
- Page 9 Squeeze the trigger before attempting to raise the crank housing. Insert the Crank Handle (I) Step 9 into the middle crank hole and turn clockwise to extend umbrella fully. CAUTION: Please pull and loosen the umbrella ribs by hand, so they're not entangled, before attempting to open the umbrella by crank.
- Page 10 Step 10 Squeeze trigger and lift up to desired height. Swith On / O...
- Page 11 Step 11 Insert the Crank Handle (I) into the top crank hole to tilt your umbrella canopy. Swith On / O...
- Page 12 Step 12 Insert the Crank Handle (I) into the bottom crank hole to rotate your umbrella 360 degrees. Swith On / O...
- Page 13 Step 13 Squeeze the trigger before attempting to lower the crank housing. Turn the crank handle counter-clockwise to close the umbrella, then squeeze and pull down on trigger to lower. First Step Second Step Step 14 When not in use, place Umbrella Cover (J) over the umbrella.
-
Page 14: Battery Charging
Battery Charging YOU MUST CHARGE BATTERIES BEFORE FIRST USE. Please note that batteries can discharge if they are • left unused or uncharged for a long period of time. We recommend you charge your solar umbrella for at least 8 hours in direct sunlight before the first use. Failure to charge the batteries will result in premature dimming of the lights in your new solar umbrella. -
Page 15: Battery Replacement
Battery Replacement We recommend that you change the batteries in your solar ・ Do not mix old and new batteries. light umbrella every year or when you feel the light output ・ Do not mix Alkaline, Nickel Cadmium or Lithium is diminished.
Need help?
Do you have a question about the Santorini II Fiesta NU6245B and is the answer not in the manual?
Questions and answers