Advertisement
KP1 Settings Change
1. Insert the SD card into your PC/laptop and open up Config Tool.
2. Click the Open button at the bottom of Config Tool.
3. Browse to the SD card contents and open up the device_info folder.
4. Once inside, select the setting.ini file and then click Open to open up the SD card settings.
1
Advertisement
Table of Contents

Related Manuals for Smart Witness KP1

Summary of Contents for Smart Witness KP1
- Page 1 KP1 Settings Change 1. Insert the SD card into your PC/laptop and open up Config Tool. 2. Click the Open button at the bottom of Config Tool. 3. Browse to the SD card contents and open up the device_info folder.
- Page 2 5. Ensure that the Device tab is selected at the top of Config Tool. 6. You can then adjust the Smart G-Sensor Sensitivity level based on your vehicle type. 1 is the least sensitive level and 9 is the most sensitive. You can also hold your mouse over the “i”...
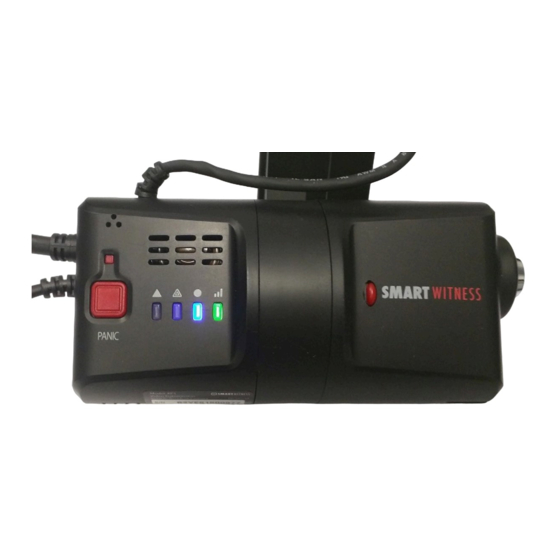
- Page 3 9. Once saved a confirmation message will appear, press OK to complete 10. Remove the SD card, insert it back into the KP1 and power the unit up to apply the new VRN. The unit will boot up and you will see the LED lights slowly light up in sequence, starting from left to right.
- Page 4 If you are getting any error lights please see below for more information. KP1 Error lights Please see below for explanations of any error lights you may encounter. Please note that you will need to power down the unit before making any of the suggestions below, then power up the unit again once complete.
Need help?
Do you have a question about the KP1 and is the answer not in the manual?
Questions and answers