
Related Manuals for RELAXONCHAIR ION-3D


Summary of Contents for RELAXONCHAIR ION-3D
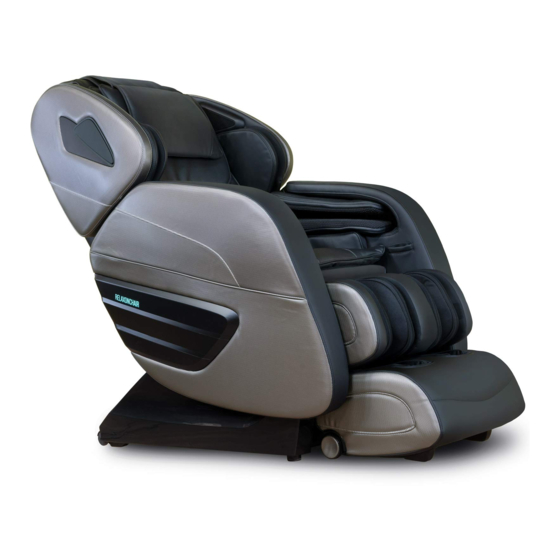
- Page 1 RELAXONCHAIR ION-3D USER MANUAL Please read SAFETY INSTRUCTIONS carefully before using the chair.
- Page 2 ION-3D Function Introduction Function Introduction 1. With the innovative, patented massage mechanism for the back, the massage chair can achieve kneading, knocking, Shiatsu, tapping , rubbing etc. It can create close to the manual massage of the kneading techniques from a professional massage therapist.
-
Page 3: Table Of Contents
1.Thank you for choosing this Massage Chair ION-3D. 2.Please read this manual carefully before using the massage chair. 3.Please keep this manual in a safe place for further reference. 4.Please pay attention to SAFETY INSTRUCTIONS. Note: We reserve the right for design modification. It is subject to change without notice. -
Page 4: Safety Instructions
Safety Instructions... - Page 5 Safety Instructions...
- Page 6 Safety Instructions...
- Page 7 Safety Instructions...
-
Page 8: External Structure Parts
External Structure Parts... -
Page 9: Internal Structure Parts
Internal Structure Parts... -
Page 10: Mechanical Components Diagram
Mechanical Components Diagram... -
Page 11: Mechanical Components List
Mechanical Components List... - Page 12 INSTALLATION-1 STEP 1: REMOVING THE CHAIR A. Lift out from the main packaging carton (BOX #1): Take out the shoulder carton, legrest (BOX #3), left and right airbags (BOX #2) of the seat, back seat cushion, pillow, power cord, hand controller from the main carton. B.
- Page 13 INSTALLATION-2 STEP 3: ASSEMBLING THE LEGREST Installing the legrest to the main body of chair (1) Unscrew the bolt from hanger on legrest (see image below to locate hanger). (2) Connect 3 air pipes on legrest with corresponding colored air tubes on the main body of chair. (from left to right = grey, brown, and black).
- Page 14 INSTALLATION-3 STEP 5: ASSEMBLING LEFT/RIGHT SIDE AIR- BAGS AND CONNECTING REMOTE CONTROL (1) Take out seat side airbag, make sure the side with zipper faces towards the seat, align the two cylindrical pins to the two holes on the seat frame (shown below). Then press down straight and make sure connection is secure.
-
Page 15: Installation
INSTALLATION-4 STEP 7: Installing left/right shoulder massage device (1) Before installing shoulder massage device, unscrew bolts fixed at the inside rear of armrest (as shown below) (2) Use 2 hands to lift and position the shoulder device for installation. (3) Connect the speaker wires and air tubes in the shoul- der device to the backrest. -
Page 16: The Adjustment Before Massage
The Adjustment before Message At least 3 inches from wall. At least 12 inches in front of the leg... - Page 17 The Adjustment before Message...
-
Page 18: Manual Control
Manual Control TIMER Timer... - Page 19 Manual Control 1. Press the on/off key to enter POWER ON status. Press Menu or other keys to select any auto or manual program. The massage chair will start the body scanning process, and then begin the massage. Press the on/off key to power off and put the chair back in the upright position.
- Page 20 Manual Control MAIN INTERFACE Press the On/Off key on your remote control to turn on the compact LCD display screen. You should hear the remote beep once to indicate power. Within 2 to 3 seconds, you should see the main interface. If you do not press a button shortly after powering up the device, it will go into standby mode.
- Page 21 Manual Control The third menu item controls the air pressure in the airbags. There are two functions that you can adjust. Adjust the position of air pressure and the intensity (LOW -> MIDDLE -> HIGH) to create a massage sensation that matches your needs. Press OK to initiate your changes.
-
Page 22: Operation Instruction &Function Illustration
Operation Instruction & Function Illustration TIMER... - Page 23 Operation Instruction & Function Illustration 7 inches.
-
Page 24: After Massage
After Massage TIMER... -
Page 25: Clean And Maintenance
Clean & Maintenance TIMER... -
Page 26: Malfunction Guide
Malfunction Guide Trouble Possible reason Trouble shooting... -
Page 27: Technical Data
Techni c al Data . / . kg ION - 3D × ×...
Need help?
Do you have a question about the ION-3D and is the answer not in the manual?
Questions and answers