Advertisement
Quick Links
Advertisement

Related Manuals for Costway TY327934


Summary of Contents for Costway TY327934
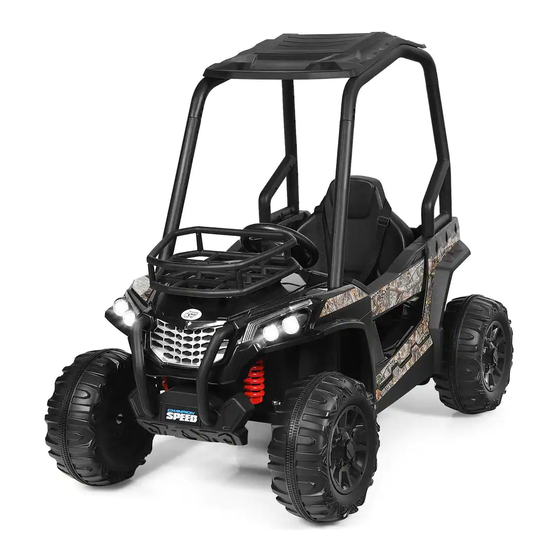
- Page 1 Battery Powered Kids UTV Ride On TY327934...
- Page 2 Owner’s Manual with Assembly Instructions Styles and colo(u)rs may vary. Made in China. The owner’s manual contains important safety information as well as assembly, use and Please read all instructions carefully and keep it for future reference. maintenance instructions. Warnings: The Ride-on Car must be assembled by an adult who has read and understands the instructions in this manual.
- Page 3 About Your New Ride-On │ 1 User Notice │ 2 WARNING! On the purchase of your new Ride-On. • CHOKING HAZARD - Small parts. Not suitable for children under 36 months. The product contains small parts, keep children away when assembling. This ride-on will provide your child with many miles of riding of enjoyment.
- Page 4 Parts Diagram │ 3 Parts List │ 4 HINT: Some parts shown are assembled on both sides of vehicle Q’ty (pcs) PART PART NAME REMARKS Type with roof without roof with roof Type without roof Vehicle body Rear wheel Front wheel Ø12 washer...
- Page 5 Attach the Front Bumpers & Tailight Cover │ 5 Basic type - Attach the Steering Column │ 6 Assembly tools required (not included): HINT: The following steps only for the basic type. Long nose pliers Screwdriver 1. Insert the tabs on the front bumper into the holes on the front of the vehicle, push until you hear it “click”...
- Page 6 Type /RC - Attach the Steering Column │ 7 Reset the Front axle │ 8 HINT: The following steps only for the type R/C. Front Bottom View Split pin M6X20 machine screw Ø12 washer Steering column Front Bottom View...
- Page 7 Attach the Rear Wheels │ 9 Attach the Front Wheels │ 10 Hole on the gear box Front Bottom View Rear Bottom View Cut off the plastic ties on the gear boxes. Remove all the parts from the rear axle.
- Page 8 Attach the Steering Wheel │ 11 Attach the Shift Level Assembly & Protecting Board │ 12 HINT: If the steering wheel of your vehicle equipped with the sound function, please follow the steps 1-4 to add the batteries (Not Included), and refer to the battery information on page 2.
- Page 9 Connect the Power Supply & Attach the Rear Bed Board │ 13 Attach the Seat & Attach the Basket │ 14 1. Fit the seat back to the seat. 2. Insert two Ø4x12 flat head screws from the bottom side of the seat, through the seat and into the seat back, and tighten.
- Page 10 Attach the Rear Rollbar │ 15 Attach the Front Rollbar │ 16 HINT: The following steps only for the type without roof. HINT: The following steps only for the type without roof. 1. Connect the wire connector into the connector on the vehicle body as shown.
- Page 11 Attach the Roof(1) │ 17 Attach the Roof(2) │ 18 HINT: The following steps only for the type with roof. HINT: The following steps only for the type with roof. “R” marked “L” marked “R” marked “L” marked 1.
- Page 12 Use Your Ride-on │ 19 Using the High Speed │ 20 IMPORTANT ● The High Speed Protective cover must be removed by an adult. ● Before remove the HIGH SPEED protective cover: Make sure your child knows how to steer, how to start and stop the product and knows the rules for safe driving.
- Page 13 Charging │ 21 Troubleshooting Guide │ 22 Problem WARNING! • ONLY an adult is allowed to charge and recharge the battery! Vehicle does not run Battery low on power Recharge battery. • This product with Charging Protection: when charging, all functions will be cut off.
- Page 14 Maintaining │ 23 • It is parents' responsibility to check main parts of the toy before using, Must regularly examine WARNING : Never leave child unattended. for potential hazard, such as the battery, charge, cable or cord, plug, screws are fastening enclosure of other parts and that in the event of such damage, the toy must not be used until that damage had been properly removed.
- Page 15 Welcome to visit our website and purchase our quality products! With your inspiring rating, COSTWAY will be more consistent to offer you EASY SHOPPING EXPERIENCE, GOOD PRODUCTS and EFFICIENT SERVICE! US office: Fontana, California UK office: Ipswich Reward Points...
Need help?
Do you have a question about the TY327934 and is the answer not in the manual?
Questions and answers