Advertisement
Quick Links
Advertisement

Subscribe to Our Youtube Channel
Related Manuals for BAY SPORTS AIR GLIDE


Summary of Contents for BAY SPORTS AIR GLIDE
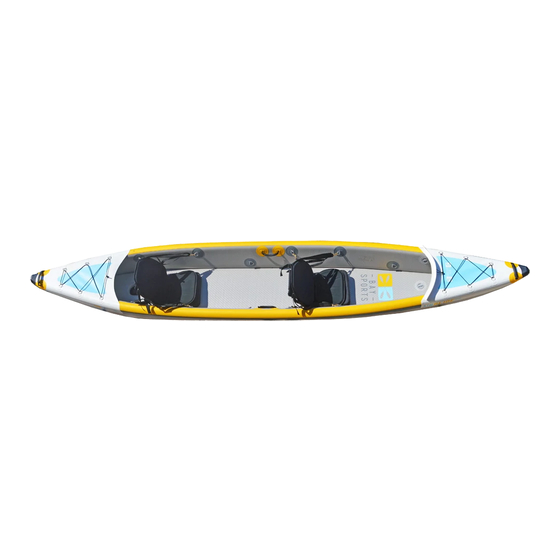
- Page 1 AIR GLIDE INFLATABLE KAYAK USER GUIDE...
-
Page 2: Table Of Contents
TABLE OF CONTENTS UNPACKING INFLATION FIN SET UP RUDDER & FOOTREST SET UP DRAINAGE DEFLATION & PACKING AWAY STORAGE... -
Page 3: Unpacking
1. Open the carton, being careful not to cut it open too deep, so as not to cut or puncture the board contained inside the carton. 2. Upon opening the carton, check contents to ensure the following are all inside: • 1x Air Glide Inflatable Kayak • 1x Hand pump + hose • 1x 9” skeg / fin •... -
Page 4: Inflation
INFLATION 1. Unroll your kayak on a flat surface, such as on sand or grass. 2. Unscrew the valve covers on the kayak, 3. Connect the pump hose to the valve of the floor section with a simple push and turn clockwise until it is securely in place. -
Page 5: Fin Set Up
FIN SET UP 1. Slide the fin into the fin box, the dorsal pointing toward the stern (rear) of the kayak. 2. Gently push and wriggle the fin back toward the end of the fin box. 3. Slide the fin keeper into the slot that runs underneath the fin, with the teeth facing up toward you. -
Page 6: Rudder & Footrest Set Up
RUDDER & FOOTREST SET UP A great new addition to our Air Glide inflatable kayaks is the addition of a rudder system, greatly improving your kayaks manoeuvrability. If you have purchased the optional foot controlled rudder system from Bay Sports, check that you have in the carton the following items: •... - Page 7 4. Feed the nylon rope through the footrest as shown: 5. Attach your kayak seat.
- Page 8 6. Now adjust the position of the footrests to the optimal position based on your height. Simply lift the lever, slide the footrests back or forward along the track rail, and push the level back down to lock your footrest securely in place. 7.
- Page 9 8. Clip the carabiner onto the rudder wing, and feed the nylon cable through so that there is tension on the cable. 9. Proceed to tie off the cable, 10. There should be enough tension on the cable keeping tension on the cable. so that the top piece of the footrest is pulled forward as shown below.
- Page 10 HOW TO INSERT WATER DEFLECTOR 1. Insert one end of the white plastic piece into the slit located underneath the canopy: 2. Gently bend the plastic into an S shape, so you can insert the other end of the white plastic piece into the opposite slit 3.
-
Page 11: Drainage
DRAINAGE The best way to drain the water out from the kayak is to simply flip it upside down, and then tilt the kayak, rocking it back and forth for the water to run out. Another easy way is via the drain plug located at the nose of the kayak which you can use to drain water out of the kayak also. -
Page 12: Deflation & Packing Away
DEFLATION & PACKING AWAY 1. Remove the seats and fin first (and the rudder + footrests if you have them), then unscrew the valve covers on the kayak. 2. Simply push the valve down to lock the valve in the open/deflate position. The air contained within the kayak will immediately begin to exit. -
Page 13: Storage
STORAGE The advantage of inflatable kayaks is their compact nature. You can stow it away under the deck of your boat, in the boot of your vehicle, or neatly away in a home cupboard. 1. Before Storing: Rinse the kayak, fin, paddles, seats & leash in fresh water, and where possible, allow them to dry out. - Page 14 THANK YOU CONTACT US www.baysports.com.au hello@baysports.com.au 6 Woods Close, +61 (0) 474 219 619 Huntingwood NSW 2148 SHARE YOUR EXPERIENCE @BaySportsCo @BaySports_Co...
Need help?
Do you have a question about the AIR GLIDE and is the answer not in the manual?
Questions and answers